• Welcome back Guest!

    MARSH is a private reefing group. Comments and suggestions are encouraged, but please keep them positive and constructive. Negative threads, posts, or attacks will be removed from view and reviewed by the staff. Continually disruptive, argumentative, or flagrant rule breakers may be suspended or banned.

Clint's 120 to 280 gallon in wall tank upgrade build thread (1 Viewer)

Users who are viewing this thread

GotFrogs

Supporting Member
Joined
Feb 23, 2004
Messages
1,065
Reaction score
107
Location
Dickinson
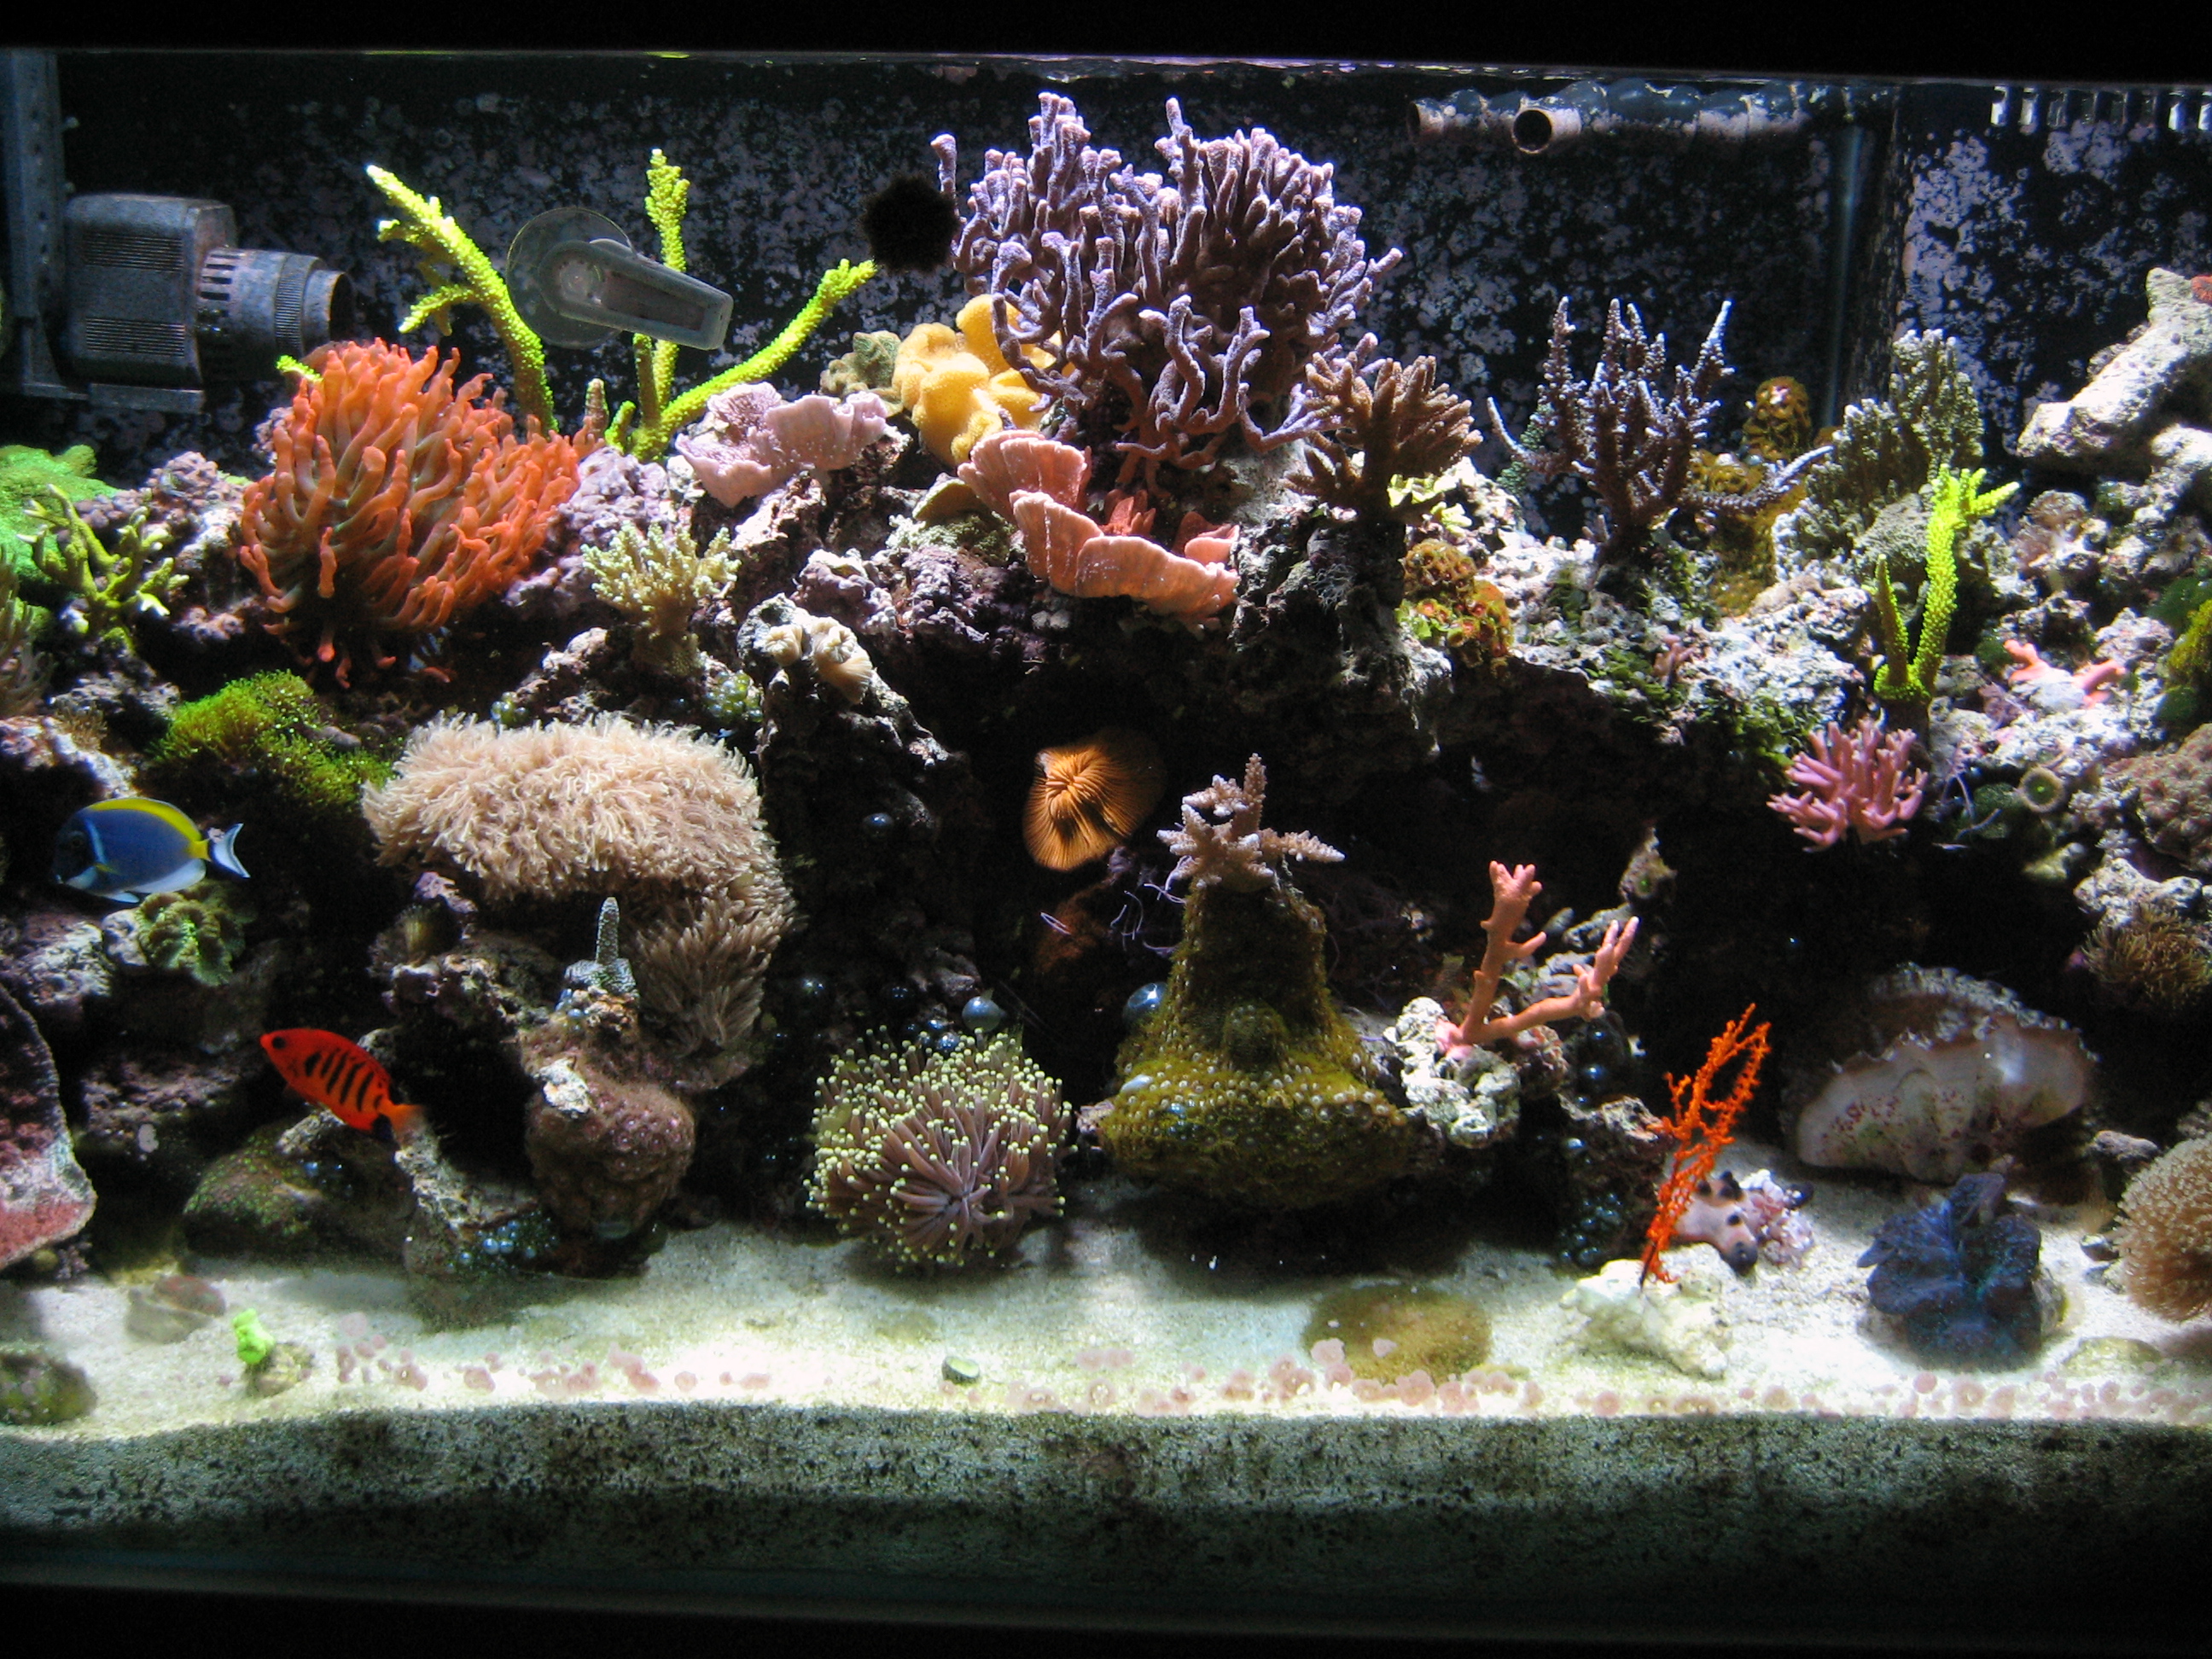
I think this thread is a little over due. My ~10 year 120 gallon mixed reef has served me well over the past 10 years. It is the largest tank I have ever kept and with the exception of the leak it sprung a few years back, has served me well. The tank is an Oceanic eurobraced tank that I purchased used on MARSH. It is mounted in our living room wall and has a ~ 200 sqft "fish room" behind it.

fulltank3_19_06.jpg

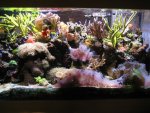
Picture from March 19, 2006

IMG_3248.jpg

Picture of 120 during its peak about 6 years ago

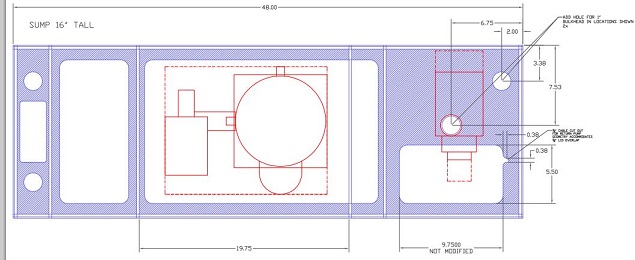
As for the upgrade, I have ordered a 72"X30"X30" tank from Reef Savvy. The lead time when I ordered was ~6 months so I don't expect the tank until around May/April time frame. The tank will be eurobraced like my current tank, starphire on the front panel and blacked out on the other three. I have specified two ghost overflows but am not 100% set on this and may submit a change request. Let me know what your thoughts on the overflow are.

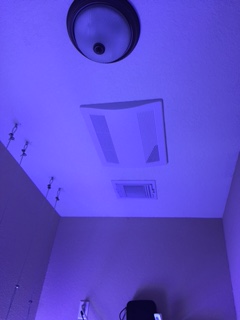
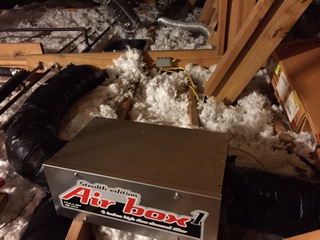
My most recent project in anticipation of the build was to install a fresh air exchanger. I have always had a problem with low pH and I think this may have be caused by elevated CO2 levels. To reduce the CO2 levels, I purchase a Panasonic FV-04VE1 WhisperComfortTM Spot ERV. Out of fear of it pumping in chemicals from outside (such as the mosquito sprayer), I connected a Airbox 1 Stealth Edition 500 CFM 4" flanges HT4496 to the air inlet.
Panasonic FV04VE1.jpg
airbox1__52214__49856.1405414628.1280.1280.jpg
The install ended up being much more work than I expected but it is all behind me with the exception of mounting a nice grill/vent for the 4" air intake under one of my attic soffits.

Many more posts to come!
 

Attachments

  • IMG_3248.jpg
    IMG_3248.jpg
    82 KB · Views: 157

billw

Guest
Joined
Aug 15, 2011
Messages
141
Reaction score
0
Location
Lexington, Kentucky; ex Brazoria Cty
It may be difficult managing 2 independent overflows, especially if you plan on running a full siphon. I had Felix build me a 5 foot external overflow box with 2 20 inch weirs cut into the back panel on an 8 foot tank. I'm extremely happy with the results.
https://www.facebook.com/ReefSavvy/...7593742962216/659720394082879/?type=1&theater


sent from my Samsung Galaxy Tab. Expect terse answers and frequent tipos!
 
OP
OP
GotFrogs

GotFrogs

Supporting Member
Joined
Feb 23, 2004
Messages
1,065
Reaction score
107
Location
Dickinson
Billw, thanks for the feedback. Do you have a picture of the back of the tank after the install? How many drain lines do you have connected to the overflow?
 
OP
OP
GotFrogs

GotFrogs

Supporting Member
Joined
Feb 23, 2004
Messages
1,065
Reaction score
107
Location
Dickinson
Thanks for the "like" FJW. The 440 pounds of sand I purchased from you will be the first thing that goes in it!
SandBags.JPG
 

billw

Guest
Joined
Aug 15, 2011
Messages
141
Reaction score
0
Location
Lexington, Kentucky; ex Brazoria Cty
I can get you some pictures. I plumbed it in a standard 3 drain beananimal configuration. Inch bulkheads and inch and a half pipe. I'll see if i can dig up some pictures, if not I'll take some.

sent from my Samsung Galaxy Tab. Expect terse answers and frequent tipos!
 

billw

Guest
Joined
Aug 15, 2011
Messages
141
Reaction score
0
Location
Lexington, Kentucky; ex Brazoria Cty
overflow2.jpg

overflow1.jpg

overflow3.jpg

Sorry about the dust. Picture was taken during construction :). It's a bit tough to get the gist of the overflow from these pictures but you may get the general idea. The plumbing you see in the first picture is the return.
 
OP
OP
GotFrogs

GotFrogs

Supporting Member
Joined
Feb 23, 2004
Messages
1,065
Reaction score
107
Location
Dickinson
Thanks for the quick reply and pictures. I will call Felix and see what he recommends.
 
Joined
Feb 4, 2014
Messages
10,897
Reaction score
2,068
Location
League City
I would do one ghost with 2 drains and 1 emergency.

External is the way to go.

Ive had low, moderate, and high flow through my sumps. IMO a moderate flow works well.

I have a 225/G with Mag 18 and it's just about right.

In the tank is where the high flow needs to be.
 
OP
OP
GotFrogs

GotFrogs

Supporting Member
Joined
Feb 23, 2004
Messages
1,065
Reaction score
107
Location
Dickinson
Speaking of sump flow, I picked up a variable speed pump with 10V Apex controller interface over Black Friday weekend. I plan on using it as my primary return pump.
RD3_Pump_Boxed.JPG

I also got a bunch of 1" red PVC from BRS for the plumbing. I plan on taking my time with the plumbing and making it look as nice as possible.
 

d2mini

Guest
Joined
Sep 9, 2008
Messages
3,336
Reaction score
24
Location
Houston
Another vote for one long overflow with bean animal plumbing.
I prefer toothless.
A long, toothless overflow does a fantastic job at surface skimming the water.
 

RR-MAN

Supporting Member
Joined
Aug 18, 2003
Messages
5,687
Reaction score
1,221
Location
Pearland
Great dimensions Clint. Some people don't like tall tanks but I love it. The fish and corals show much better when it comes to viewing.

Why reef savvy if tank is in-wall and visible only from one side. Reef Savvy tanks should be displayed as center piece. :)
 
OP
OP
GotFrogs

GotFrogs

Supporting Member
Joined
Feb 23, 2004
Messages
1,065
Reaction score
107
Location
Dickinson
Great dimensions Clint. Some people don't like tall tanks but I love it. The fish and corals show much better when it comes to viewing.

Why reef savvy if tank is in-wall and visible only from one side. Reef Savvy tanks should be displayed as center piece. :)

All good points. I plan on having a "deep" sand bed like my current tank so there will not be 30" of water when all is said and done. I just picked reef savvy because I don't want to worry about the integrity of the tank. I have a 300 DD Marineland tank and it keeps me up at night. This tank will have euro bracing and an aluminum rim. Hopefully it will last me forever.
 
OP
OP
GotFrogs

GotFrogs

Supporting Member
Joined
Feb 23, 2004
Messages
1,065
Reaction score
107
Location
Dickinson
Here are some more pictures of the air exchanger. The first one is what it looks like mounted to the ceiling. The second picture shows the AirBox that has a carbon filter in it and the 4" insulated ductwork. The third is the exchanger shown from the attic.
IMG_6006.JPG


IMG_6007.JPG


IMG_6006.JPG
 
Last edited:
OP
OP
GotFrogs

GotFrogs

Supporting Member
Joined
Feb 23, 2004
Messages
1,065
Reaction score
107
Location
Dickinson
Today I spent some time drawing up the sump for the tank. It is based off of the Zero Edge Series 7 sump but is linger than their largest standard offering and has a few other modifications. What do you think? I plan on ordering it next week and would appreciate any feedback on it. I already have their 26" version and am very happy with it and their customer service.

SumpImage12-5-14.JPG


PDF of Sump Drawing
 
Last edited:

billw

Guest
Joined
Aug 15, 2011
Messages
141
Reaction score
0
Location
Lexington, Kentucky; ex Brazoria Cty
All good points. I plan on having a "deep" sand bed like my current tank so there will not be 30" of water when all is said and done. I just picked reef savvy because I don't want to worry about the integrity of the tank. I have a 300 DD Marineland tank and it keeps me up at night. This tank will have euro bracing and an aluminum rim. Hopefully it will last me forever.

My thoughts were the same as yours. Mine is built like a tank! (M1A1 that is :)). I put it on a steel stand with an inch of plywood underneath with an inch of closed cell neoprene on top of that. Solid as a rock.

sent from my Samsung Galaxy Tab. Expect terse answers and frequent tipos!
 
OP
OP
GotFrogs

GotFrogs

Supporting Member
Joined
Feb 23, 2004
Messages
1,065
Reaction score
107
Location
Dickinson
Billw - Where did you get the stand from? Reef Savvy want ~$2K (shipped) for an aluminum stand. I plan on drawing something up this weekend silimiar to this stand but with a 4" front overhang (to make up the difference of the wall thickness), no back brace, and using 3 X 1.5" steel material. Thoughts?
 

billw

Guest
Joined
Aug 15, 2011
Messages
141
Reaction score
0
Location
Lexington, Kentucky; ex Brazoria Cty
Billw - Where did you get the stand from? Reef Savvy want ~$2K (shipped) for an aluminum stand. I plan on drawing something up this weekend silimiar to this stand but with a 4" front overhang (to make up the difference of the wall thickness), no back brace, and using 3 X 1.5" steel material. Thoughts?

I had a local weld shop fab it out of 2 inch 11 gauge (I think?) for $600. 2 inch is overkill but much more pleasing to the eye. 1 inch is good enough but looked weird to me :).

sent from my Samsung Galaxy Tab. Expect terse answers and frequent tipos!
 

billw

Guest
Joined
Aug 15, 2011
Messages
141
Reaction score
0
Location
Lexington, Kentucky; ex Brazoria Cty
I think they offer an extra year warranty with their stand, but I didn't buy from them for the warranty. I wasn't really impressed with their stands anyway. Particle board doesn't handle moisture very well.

sent from my Samsung Galaxy Tab. Expect terse answers and frequent tipos!
 
Top