• Welcome back Guest!

    MARSH is a private reefing group. Comments and suggestions are encouraged, but please keep them positive and constructive. Negative threads, posts, or attacks will be removed from view and reviewed by the staff. Continually disruptive, argumentative, or flagrant rule breakers may be suspended or banned.

DIY LED Light project for my 220 (1 Viewer)

Users who are viewing this thread

thereefranch

Guest
Joined
Mar 3, 2007
Messages
23
Reaction score
0
Location
Cypress
I signed the second mortgage on the house (at a really low rate) and figured I would spend the money upgrading my lighting to LED. I currently have 3 - 400 watt M.H. and 440 watts of Actinic VHO.

Plans:

5 - fixtures for the Main Tank @ 300 Crees w/ boostled.com controllers
1 - Fixture for the Sump @ 10 Crees
1 - Fixture for the Frag Tank @ 45 Crees w/New Carbon Fiber Cover

I have had an Orpheck, AI fixture, and a new Radion, and I am not impressed with the light output versus a simple 45 Cree Fixture I recently built. Way more light, for way less money. (about half price)

I will also be making an enclosure for the Frag Tank light that may be sold through Rapidled.com It will hide the heat sink and electronics under a sleek cover. I make Carbon Fiber for a living, so I plan on making it out of that. Should look awesome.

Let me know if anyone wants to read another DIY on LEDs. I already have 261 Crees ready to go and thought if there was interest, I would take the time and shoot pics and such. Might save some peeps money.
 

gabe_j

Guest
Joined
Aug 14, 2010
Messages
1,389
Reaction score
0
Location
clear lake
...you can mold cf. That's pretty freaking awesome! Any chance we could work out a box for my units? And yes please document your build. I'm making one for a 250 gallon and thats only 112 lights over the main tank. But I'm using xml for the whites at 2A
 
OP
OP
T

thereefranch

Guest
Joined
Mar 3, 2007
Messages
23
Reaction score
0
Location
Cypress
Awesome! One aboard!

I have been making Carbon Fiber products for about 14 years now. Mostly for Airplanes. I have been talking with Rapidled.com about enclosures for some of the h.s. sizes. The Sump Tank light will be built first so I can make the mold for that enclosure. The h.s. for that is 4.25 x 23".

In this thread, I'll be sure to show the final enclosure for at least the frag light. I have a canopy on my tank and did not plan on doing the enclosures for them or the sump in this particular build. I do have plans on a carbon controller mount for the boostled modules that will run the main fixtures.

I'll start another thread on the enclosures. Rapidled is sending me heat sinks, drivers, and fans to develop them. That all should be here first of next week. If anyone has enclosure questions refer them to that thread. I actually need some info from led builders that would help.
 
OP
OP
T

thereefranch

Guest
Joined
Mar 3, 2007
Messages
23
Reaction score
0
Location
Cypress
I'm going to cover the general LED build with the first fixture for anyone looking to get their head wrapped around the way they work. They are really easy once you get the idea. In future fixtures after this one, I'll forgo the soldering and such...

First up is the Refugium/Sump LED Light. I'm using:

1- Inventronics 1050mah - 36v dimmable driver. (reefledlights.com)
10 - Cree XP-G Cool White w/ 80 degree optics. (rapidled.com)
1 - 4.23" x 23" Undrilled Heat Sink (rapidled.com)
1 - Arctic Cooling F8 PRO TC ARCTIC F8 PRO TC 80MM 500-2000RPM FAN (platinummicro.com)
1 - Thermal Paste (enough for just about my whole build) (rapidled.com)
1 - 2 prong cord (lowes)
1 - 12v dc adaptor (altex.com)

I'm replacing a 96 watt quad c.f. fixture (had it for at least 6 years, or about 8 bulbs). The new LED adds up to about 30watts.

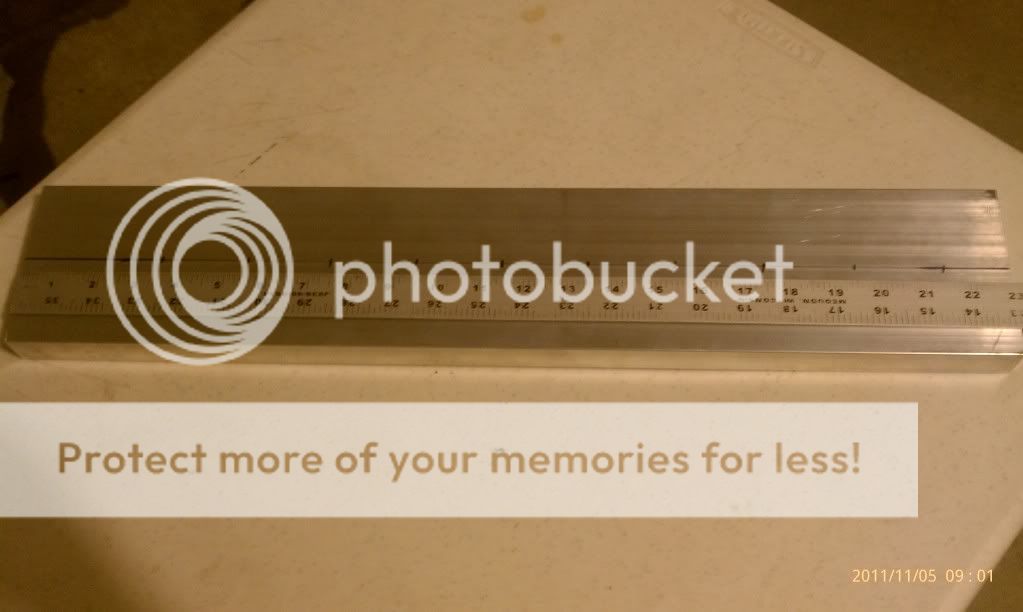
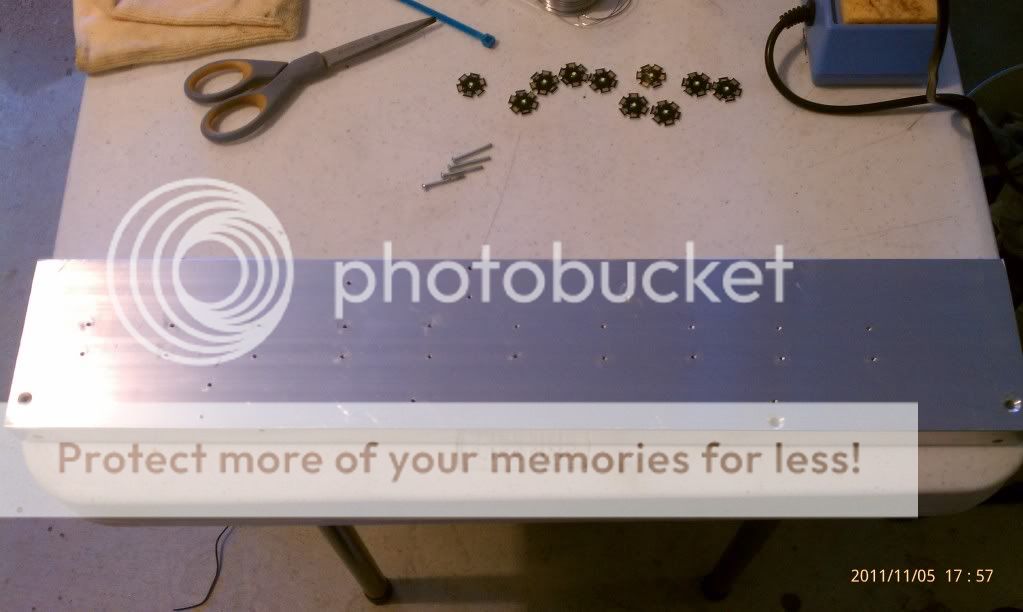
Here is the Heat Sink being marked out. I used a sharpie marker to mark the locations of each star.
refug0.jpg


The distance between the holes is 3/4". So I used a set of calipers to mark the aluminum. Lock them at 3/4" and it is easy to gently push the tips of the calipers down and make a center mark for each hole. The drill bit will center off the mark when you go to drill.
IMAG0676.jpg

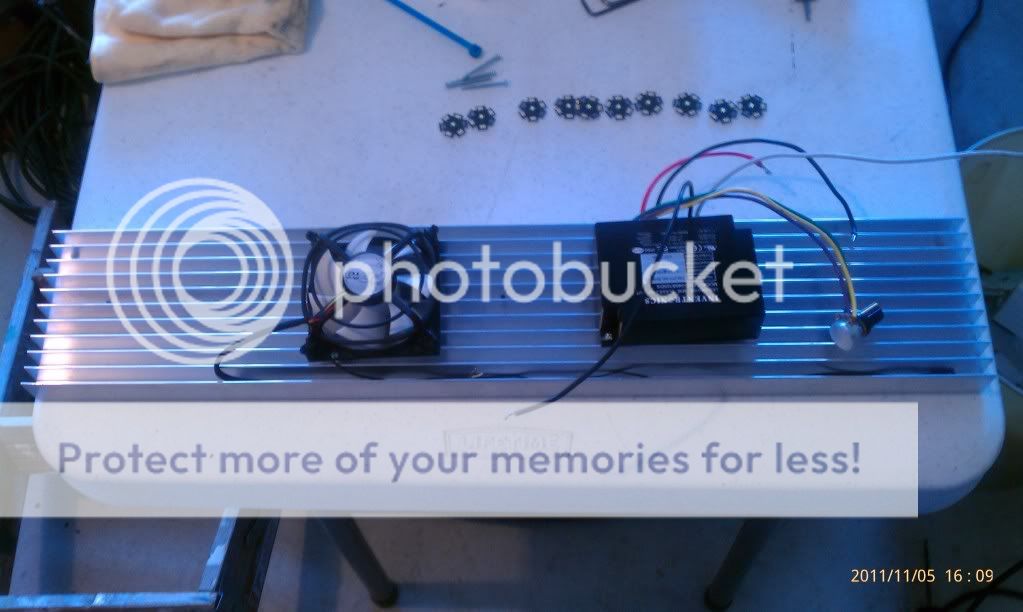
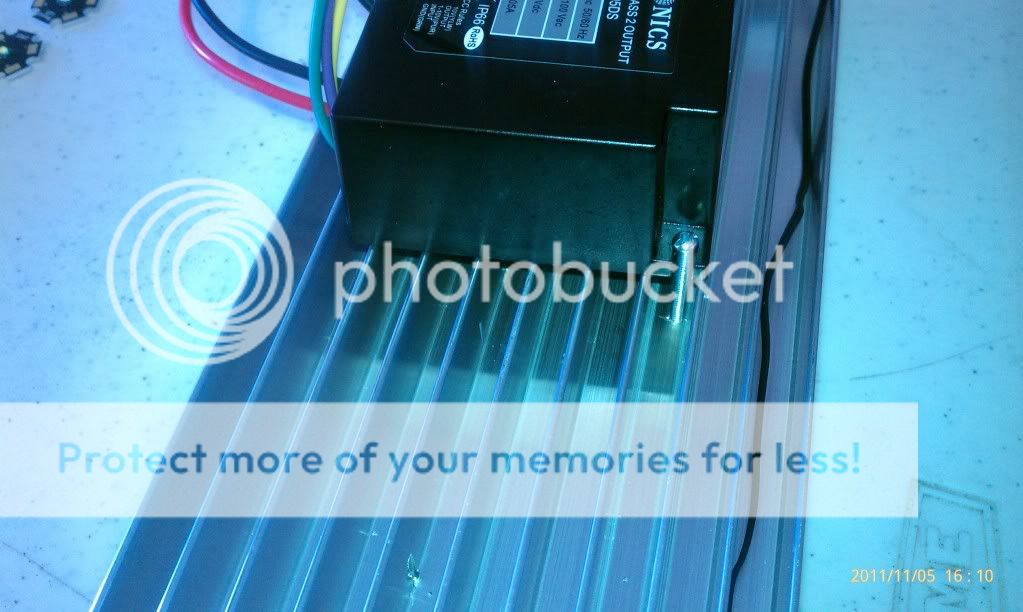
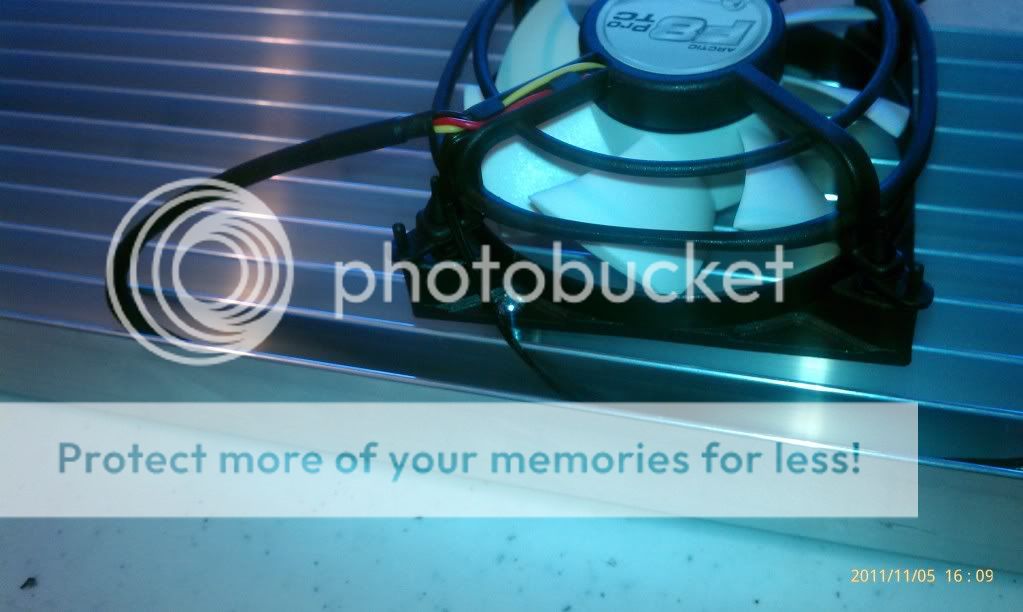
Take the driver and fan and lay them out on the fins. I placed them evenly with about 5" between them and marked the hole locations for the mounting flanges. (next 2 pics) You have to drill down between the fins. I made sure the holes were clear of any Crees on the other side.
refug10.jpg

refug11.jpg

I used 1-1/4" screws. (lowes)
refug115.jpg

Here it is drilled and tapped. I have a small press from lowes that handled this well. If you make sure your holes line up so they don't hit the fins, you will have a better chance with the taps. Go slow! I drilled 1/4" holes for the main wires and beveled them with a chamfer tool. You can use a 1/2" drill bit and accomplish the same thing.
refug1.jpg

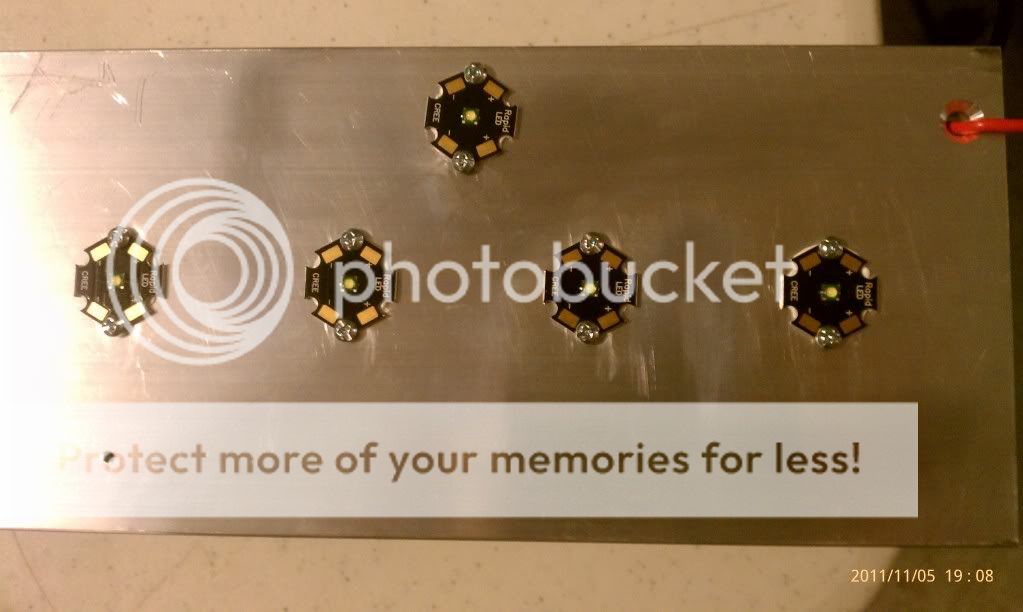
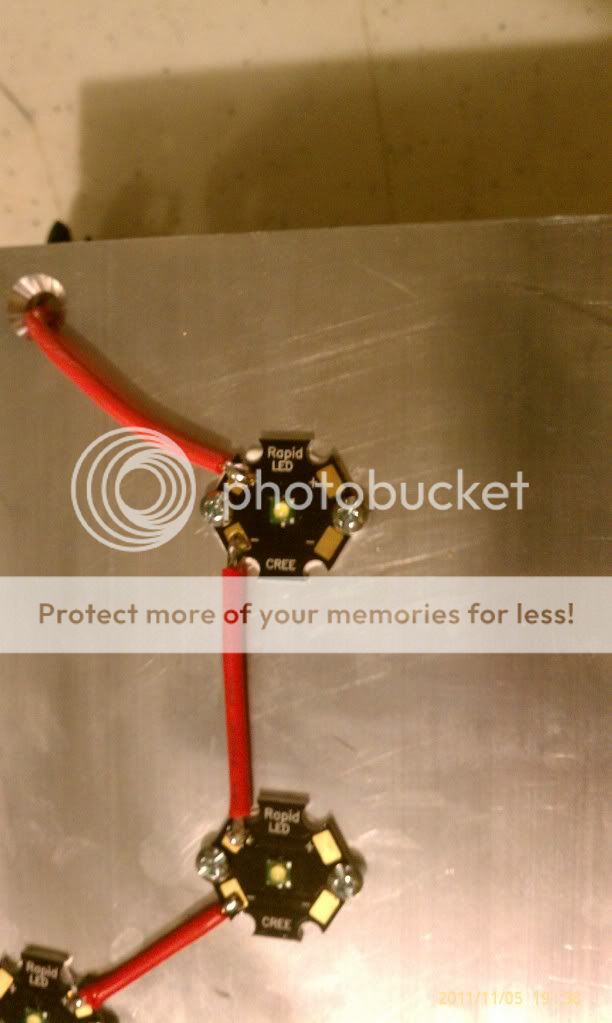
Here the Crees are screwed down. I used thermal paste. Since I'm pretty much going down the heat sink, it works out nicely that they all face the exact same way. I used thin plastic washers for insulation. You can see the chamfer on the main wire hole too.
refug3.jpg

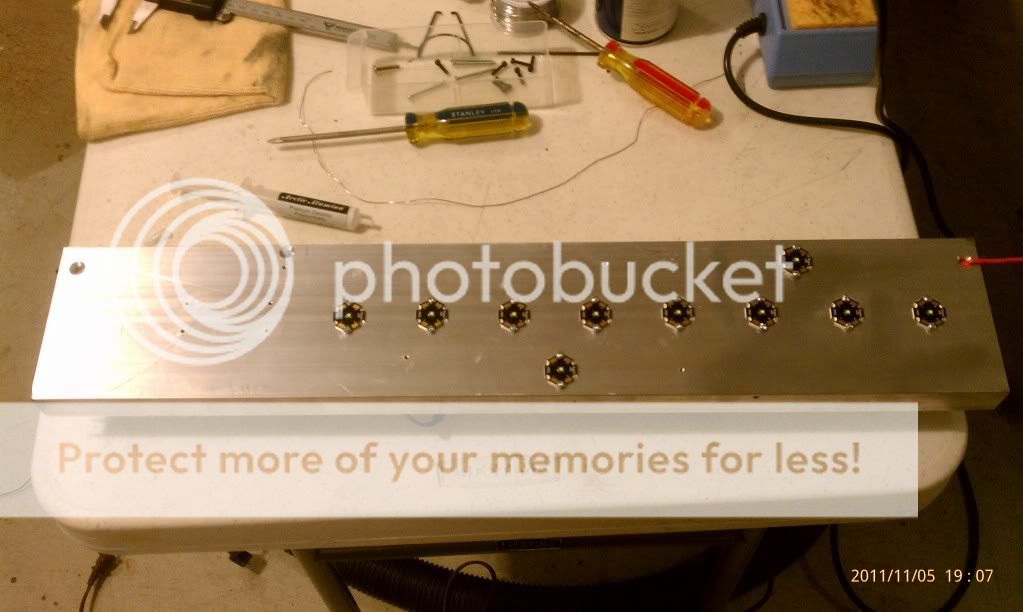
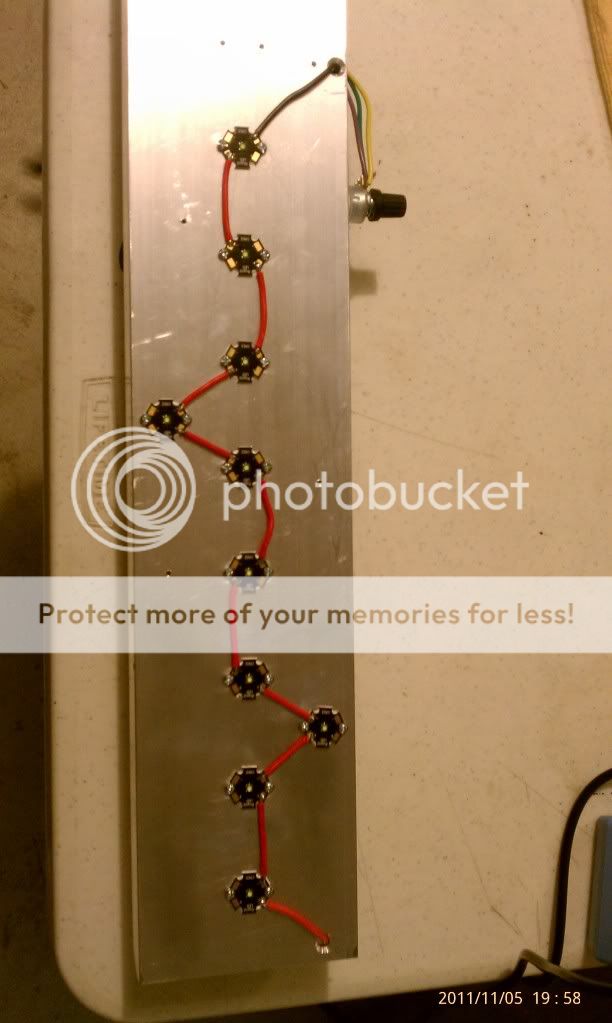
This is the layout for the Crees. I intentionally bought a longer heat sink than needed. (I'll be making a 24" enclosure), so the pattern runs down longer than needed for now. You will see my sump/refug later.
refug2.jpg

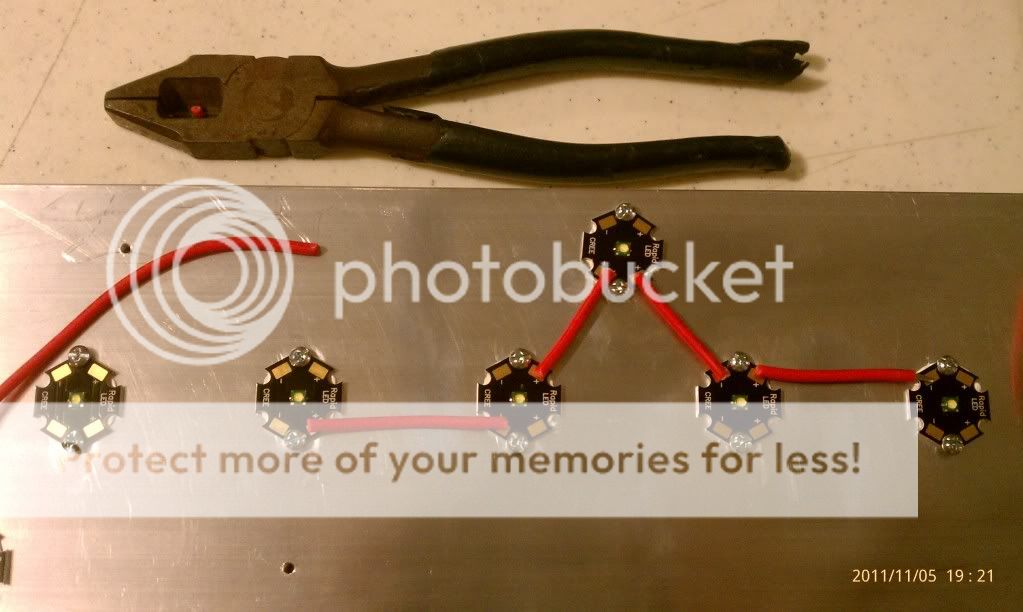
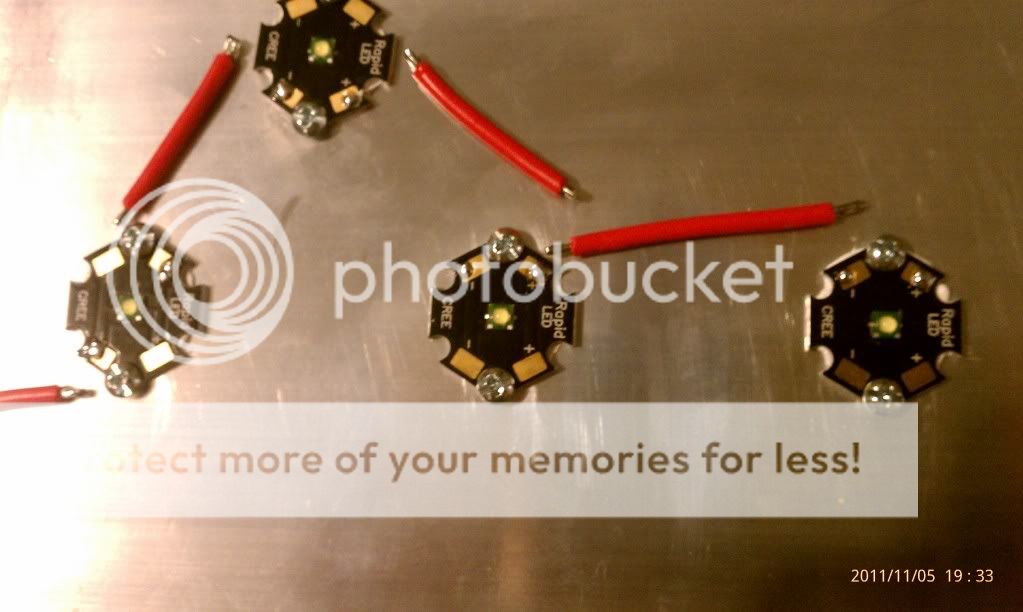
Off to cutting wire. I cut them just long enough to cover the gold solder patch. You go positive to negative and repeat. Easy pattern to alternate sides.
refug5.jpg

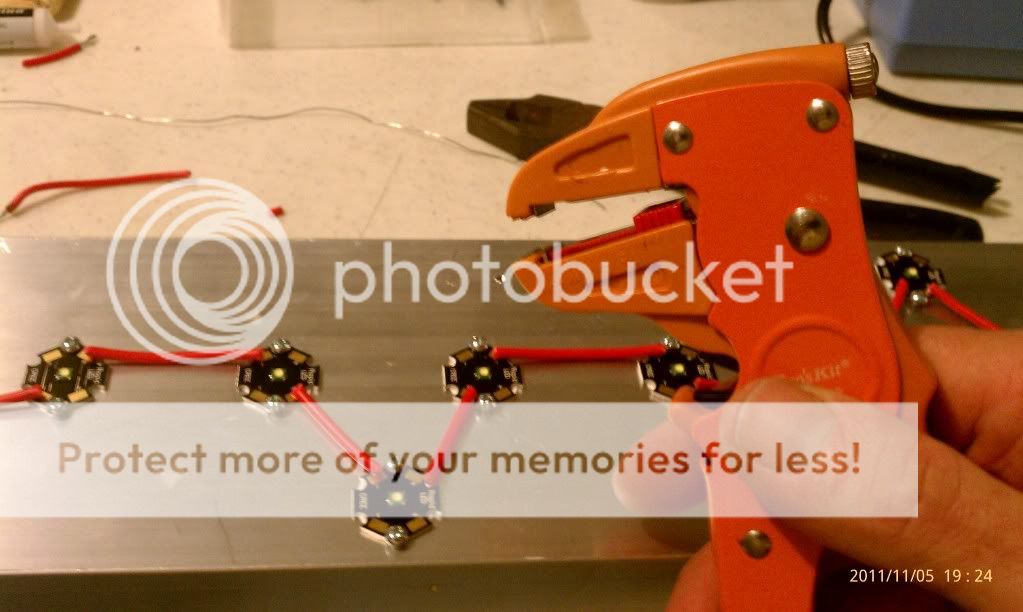
I like this nifty wire stripper. Makes the job much faster. Visit altex.com $10.
refug6.jpg

Here the wire is stripped and tinned. I also tinned each star. I bought a small solder station from altex for $22 thats working very well and has a pointed tip. You can see where I actually tinned just the corner of the gold solder patch.
refug7.jpg

Solder them in! Keep the solder nice and shiny. Great solder iron!!
refug8.jpg

Here they are all soldered in. I have the driver mounted on the other side so the main wires stick through to complete the loop.
refug9.jpg

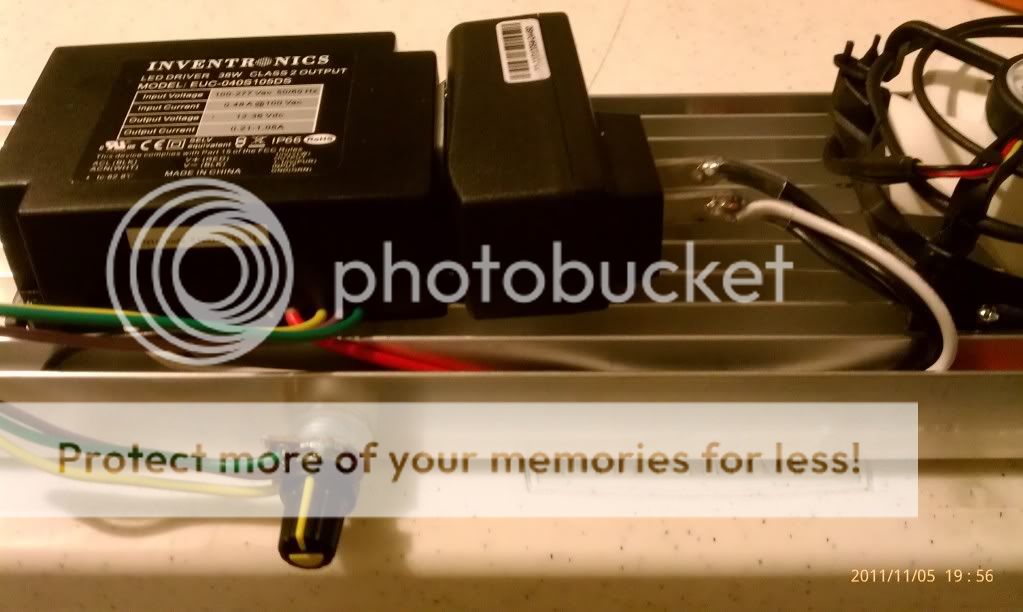
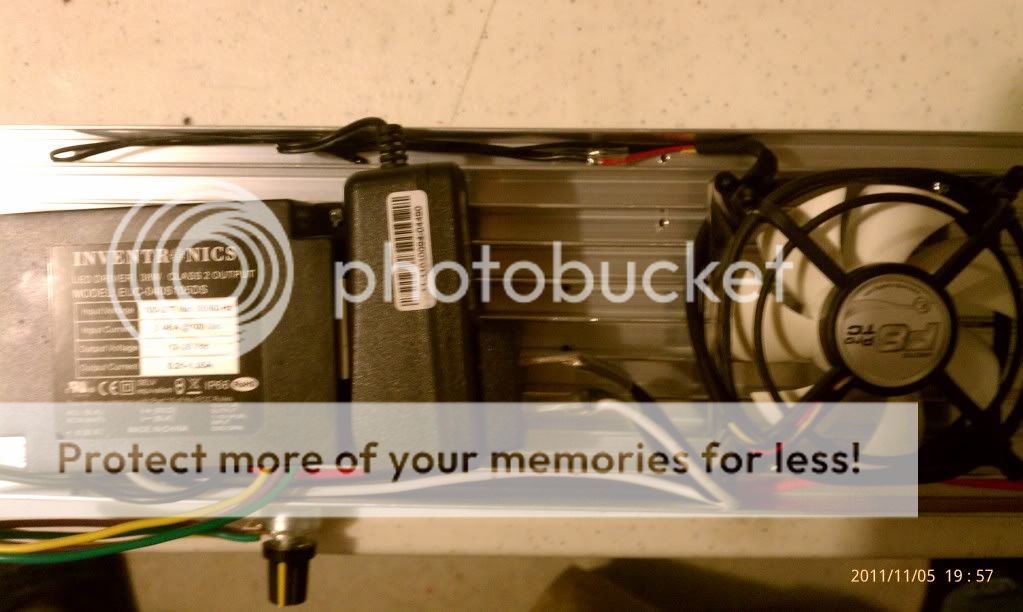
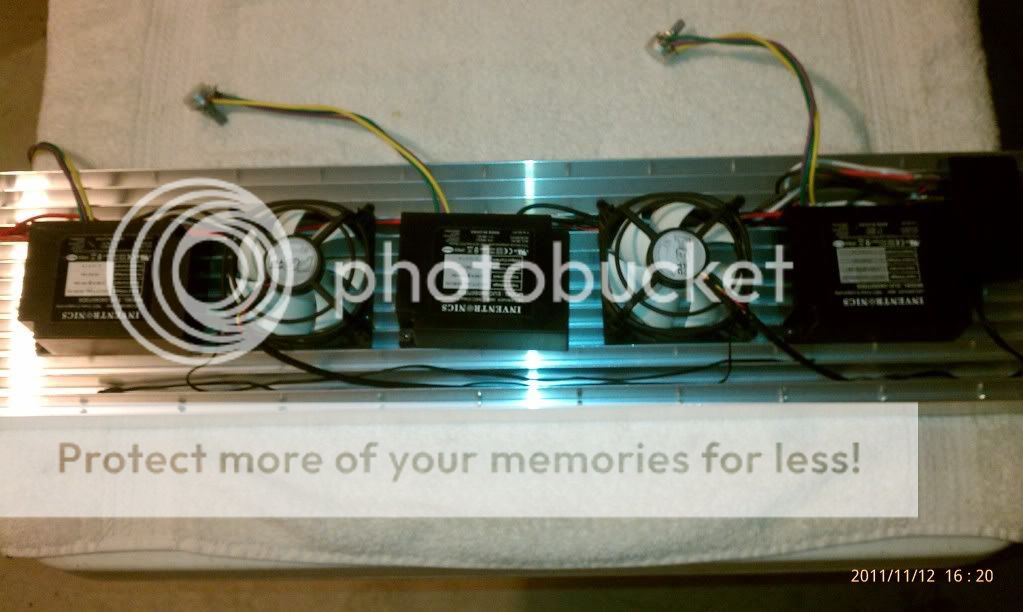
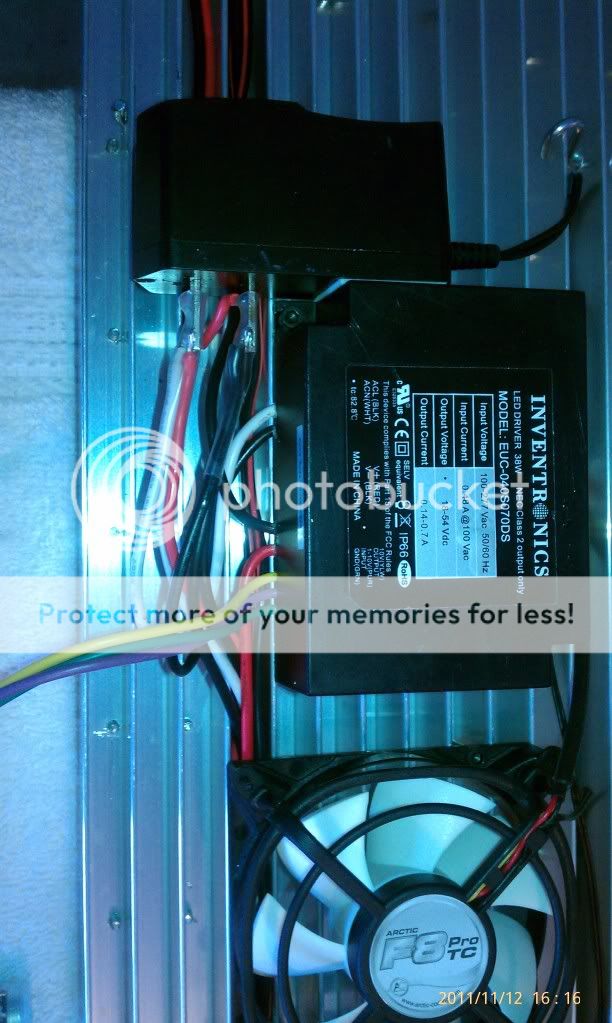
Here is a view of the top lay-out. The driver and fan are screwed into place. I used a 12v wall adaptor from altex and double sided taped it to the driver with some of that 'make sure its in the right place tape'. I used the outlet prongs off that as a bus bar for all the ac power. The main power cord runs to it. And the driver ac input lines run to it. The fan is connected to the output from the 12v adaptor. So when you plug the one cord in, all comes on. I used clear heat shrink so the connections are easily checked. And I made sure the heat shrink covered the prongs of the adaptor completely in the event it comes off.
refug12.jpg

Here is another top view. You can see that the wire will nestle in the fins nicely. You could take double sided tape and wedge a square down to hold the wire more securely. You can see the fan wired in here. And I double side taped the dimmer on the side of the heat sink.
refug13.jpg

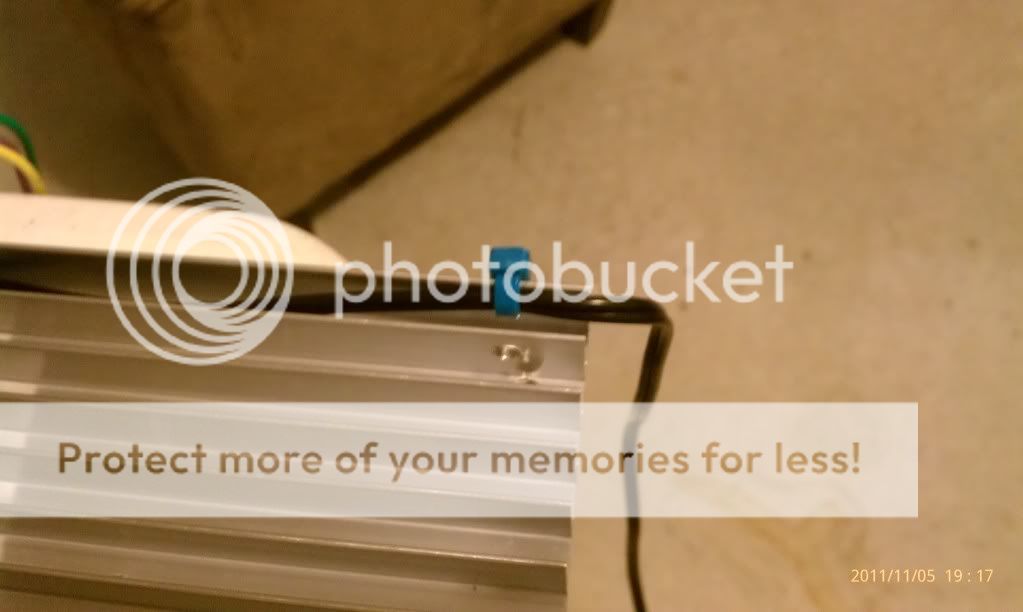
I hand drilled the side fins to zip tie the power cord onto the heat sink.
refug135.jpg

One last check that everrything is wired right....
AC Power - check,
Driver AC power - check,
Driver output Red going to + on first Cree - check,
Crees going positive to negative to positive to negative to 8O - chack,
Driver Black wire going to - on Cree - check,
Fan wired red and black correctly - check
Everything Heat shrinked and secured to the Heat sink - check

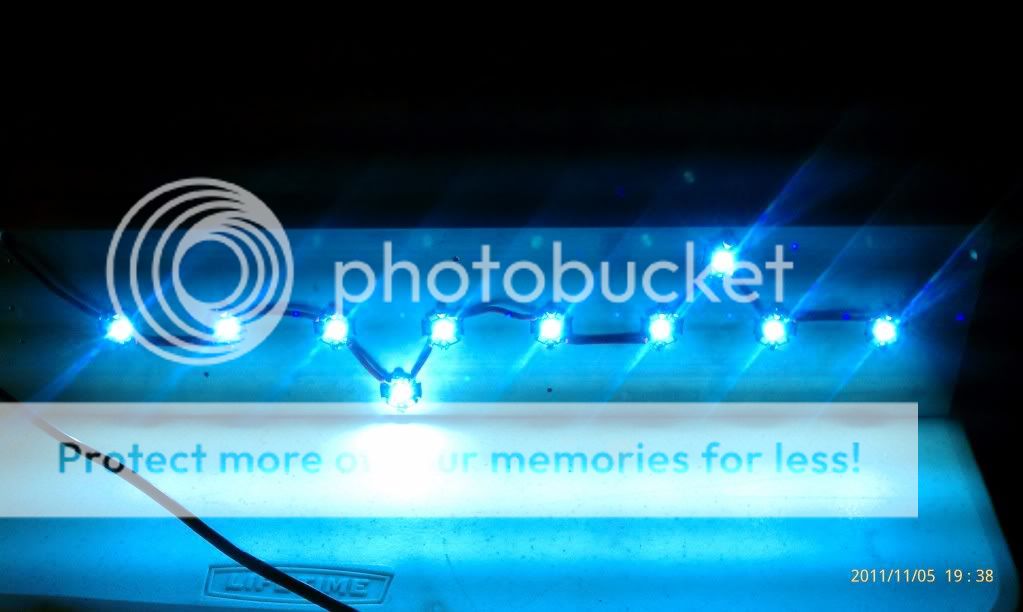
Let there be light!!
refug14.jpg

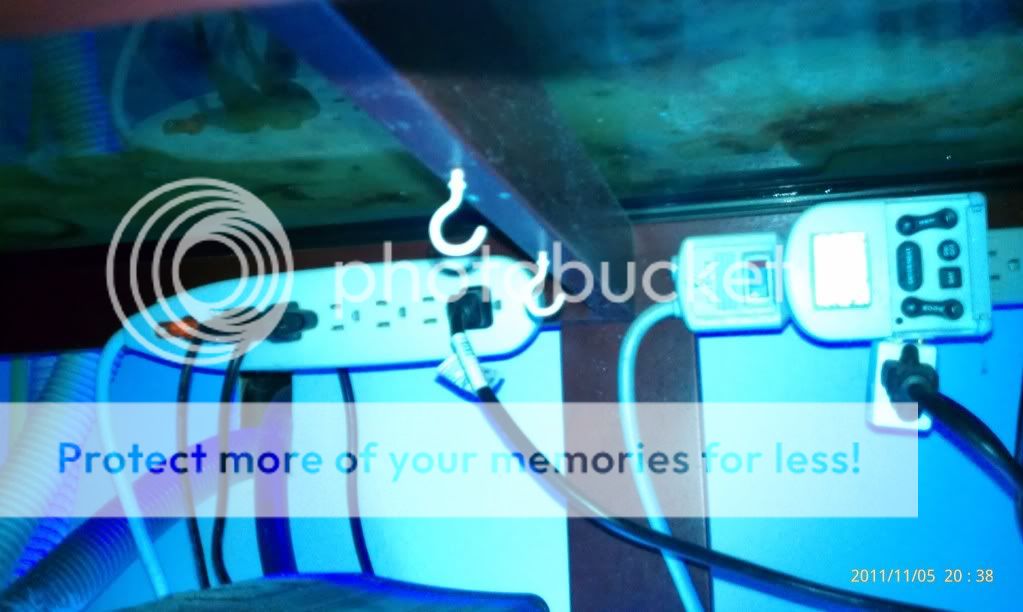
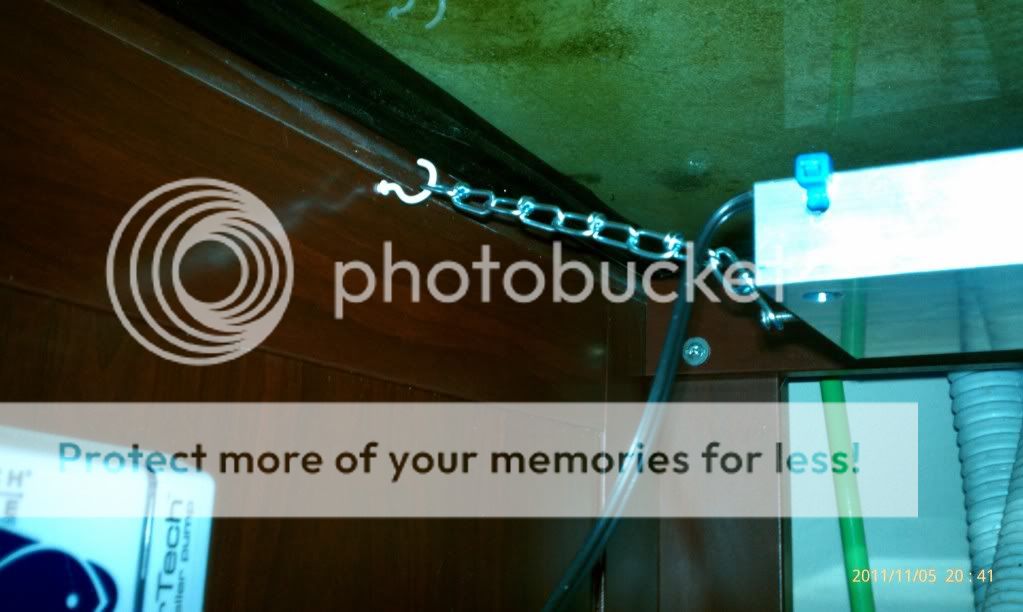
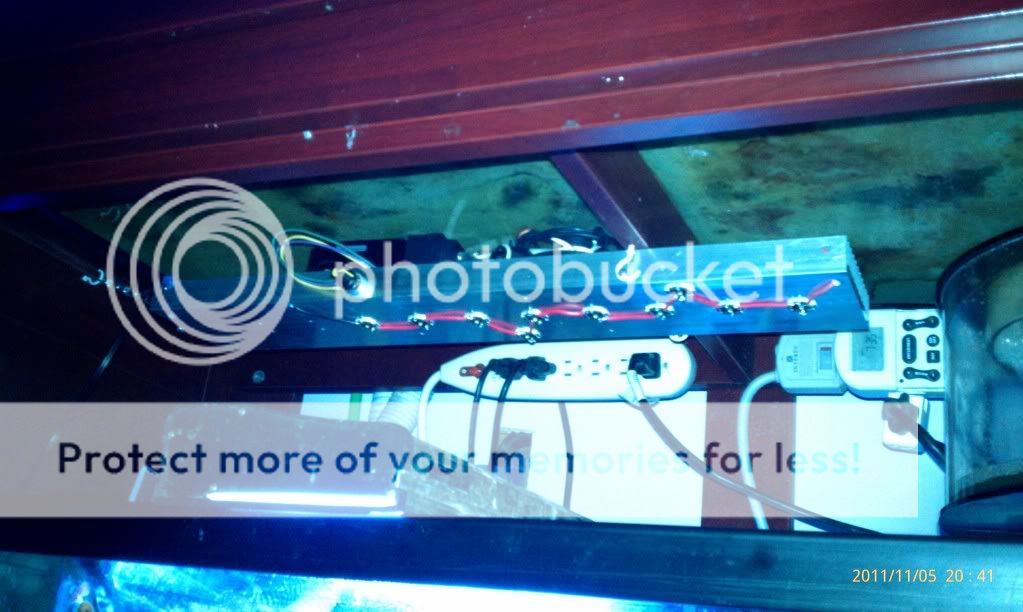
Now to hanging. I drilled and tapped (3) 6-32 holes into the side of the heat sink. I made sure they went into the bottom material. You will see them shortly. Here, I measured the inside of the sump area and screwed these eyelets in.
refug15.jpg

These are about 5" apart. So the heat sink goes between them in this set up.
refug16.jpg

Now a couple of pics with it installed and I think you will get the idea. I used 1" 6-32 screw so I had some room left to right.
refug17.jpg

refug18.jpg

Mounted in place.
refug19.jpg

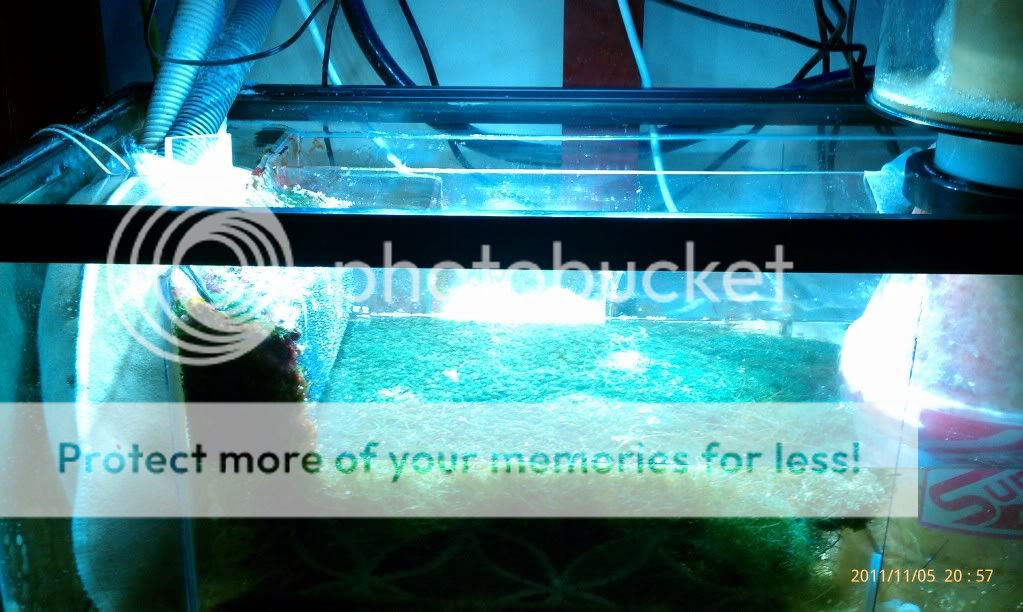
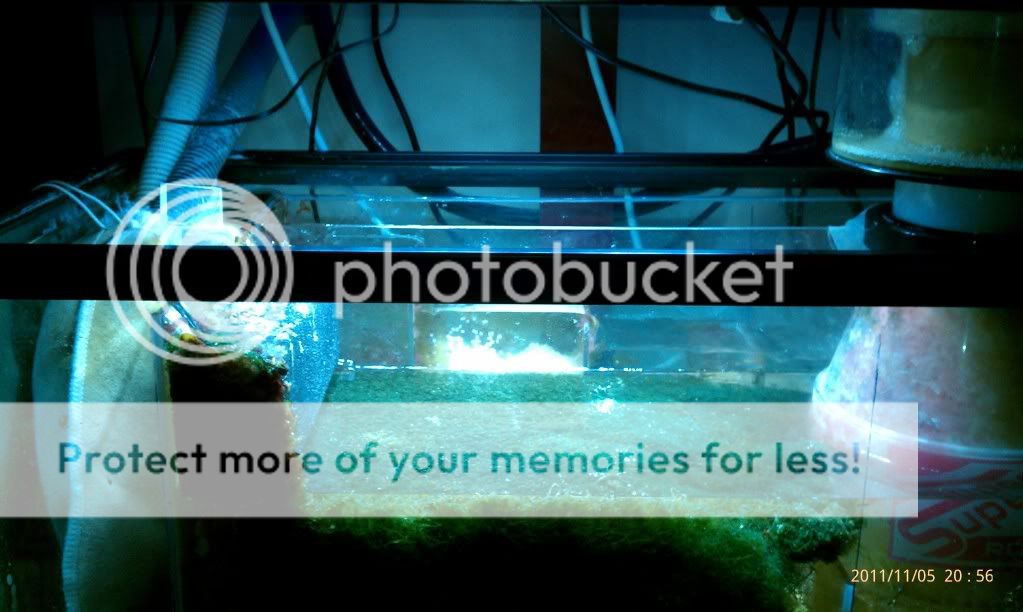
Now to the important stuff..... is it enough light...
Here is the before pic with the 96 watt fixture...
refug20.jpg

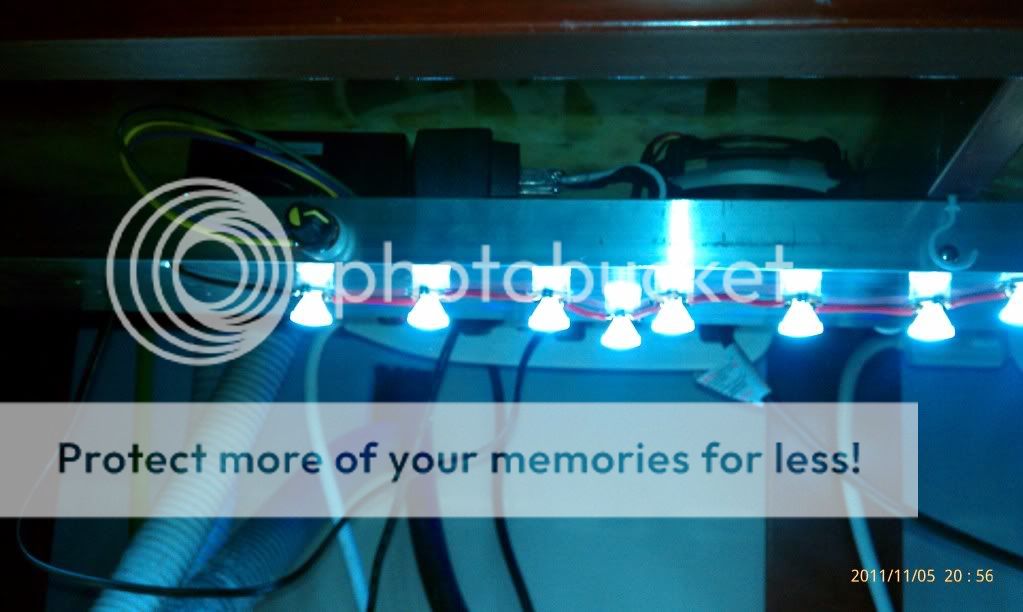
Here is a pic of the LED Fixture...
refug21.jpg

And a pic of the LEDs turned all the way down....
refug22.jpg

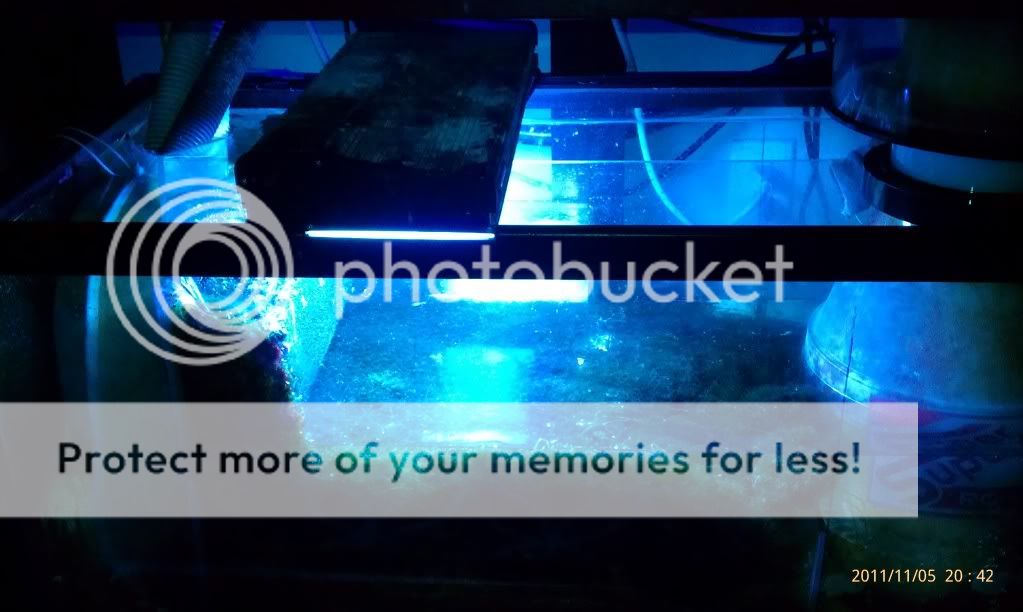
One last pic of the fixture on and in place....
refug23.jpg

So it looks like there is a much improvement in light with the leds turned all the way up. If I had used a 700mah driver, it might have been around the same. If your looking for the cheapest way, a non-dim 700mah driver pushing the 10 Crees would be just fine for a sump/refugium. It will be interesting to get the killawatt and measure the energy difference. I'll get that tomorrow...... Any questions up to this point? Enough Pics?
 
Joined
Jul 12, 2006
Messages
2,333
Reaction score
370
Location
Porter, TX
Nice. One point of advice. For your display make sure you include some UV, green, red, cyan along with your whites and blues. That way your not limiting the spectrum your providing your corals. The only people I have seen with kick ********* coral colors using LED were the custom made ones using the additional ones stated above.
 
OP
OP
T

thereefranch

Guest
Joined
Mar 3, 2007
Messages
23
Reaction score
0
Location
Cypress
Thanks for the advice.....already have them for each fixture. Not a lot, but a few for each. (non for the fuge, just cool whites)

(full spectrum) Seems to be the popular talk right now as there are some who say no and some who say yes. So for me, with so many Leds in the project, it was a no brainer to add a few from the aspect that it can't hurt.

Started the Frag Tank light this morning. Will have pics up later. This one will have a Carbon Fiber Enclosure made for it......can't wait to get it going.
 
OP
OP
T

thereefranch

Guest
Joined
Mar 3, 2007
Messages
23
Reaction score
0
Location
Cypress
I can work from cad.

This project won't require cad, but if you have something drawn up, let me know.
 

gabe_j

Guest
Joined
Aug 14, 2010
Messages
1,389
Reaction score
0
Location
clear lake
Ok ill start modeling tomorrow. I prefer inventor, but I'll bring it back to 2D for laying it out. whats the average cost for fiber work?
 
OP
OP
T

thereefranch

Guest
Joined
Mar 3, 2007
Messages
23
Reaction score
0
Location
Cypress
I have been working hard in the evenings on the fixtures. I have the Frag Tank light done...... as well as 2 of the 5 for the main tank. Darn, its a lot of leds.

Hanging the Frag Tank fixture today..... Next step after that will be the enclosure. :wink:

Will post pics of the work I have done tonight.
 
OP
OP
T

thereefranch

Guest
Joined
Mar 3, 2007
Messages
23
Reaction score
0
Location
Cypress
OK......, the 4am nights have taken their toll on me. I have a lot of pics of the fixtures and mounting. We are working on getting the canopy back on the tank this afternoon and will post pics later.

Mike
 
OP
OP
T

thereefranch

Guest
Joined
Mar 3, 2007
Messages
23
Reaction score
0
Location
Cypress
Here is some information on the Frag Tank Light:

45 - Crees 15-CW, 24-RB, 2-B, 2-R, 2-G, all at 700mah
3 - Inventronics 700mah dimmable drivers
2 - Arctic Cooling F8 PRO TC Fans
1 - 5.88" x 33" Heat Sink

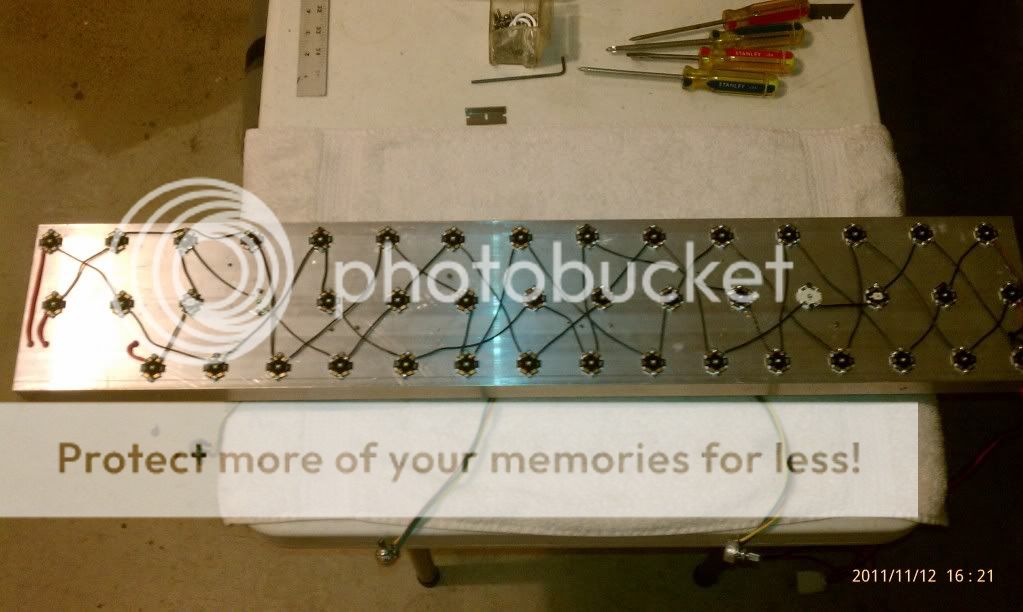
Drilled and Tapped the heat sink. I have an overflow box, so one row of crees was shortened. I decided to put more of a full spectrum with the green and red. (glad I did). I have potentiometers on each driver. One for all the White, one for all Royal Blue, and one with the rest of the RB, the green, the blue, and the red (we'll call that the 'mixed' string). This will give me the control to mix the colors that looks pleasing. Over the years I tend to like a bluer look closer to 20K. The roughly 3 blue to 1 white should be close.

IMAG0725.jpg

Cree Lay-Out
IMAG0727.jpg

Close up of the 12V Adaptor/Bus Bar:
IMAG0723-1.jpg


This is going above a 40-45 gallon Frag tank. I'm looking for the hanging hardware now and will update the thread with that info later. I need to get it hung in place before I start the enclosure. The wife has A Lot to say about the looks of what I do, so i'm looking for a particular mount. Shouldn't be too long.

I'll show 3 of the 5 main tank lights next. They are done and installed. Look awesome! Give me a few to upload the pics. This is 204 of the 300 crees!!
 
Top