• Welcome back Guest!

    MARSH is a private reefing group. Comments and suggestions are encouraged, but please keep them positive and constructive. Negative threads, posts, or attacks will be removed from view and reviewed by the staff. Continually disruptive, argumentative, or flagrant rule breakers may be suspended or banned.

Jason's 120 tank build. (1 Viewer)

Users who are viewing this thread

OP
OP
B

bdblkta1

Guest
Joined
Mar 29, 2008
Messages
193
Reaction score
0
Location
richmond and beltway
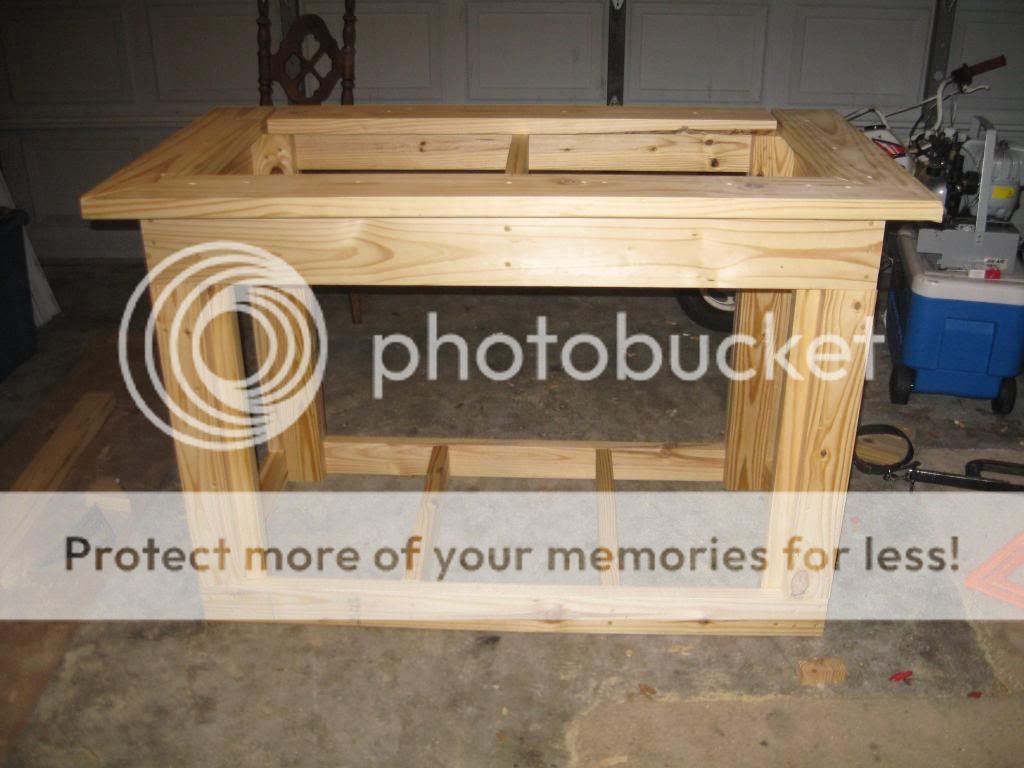
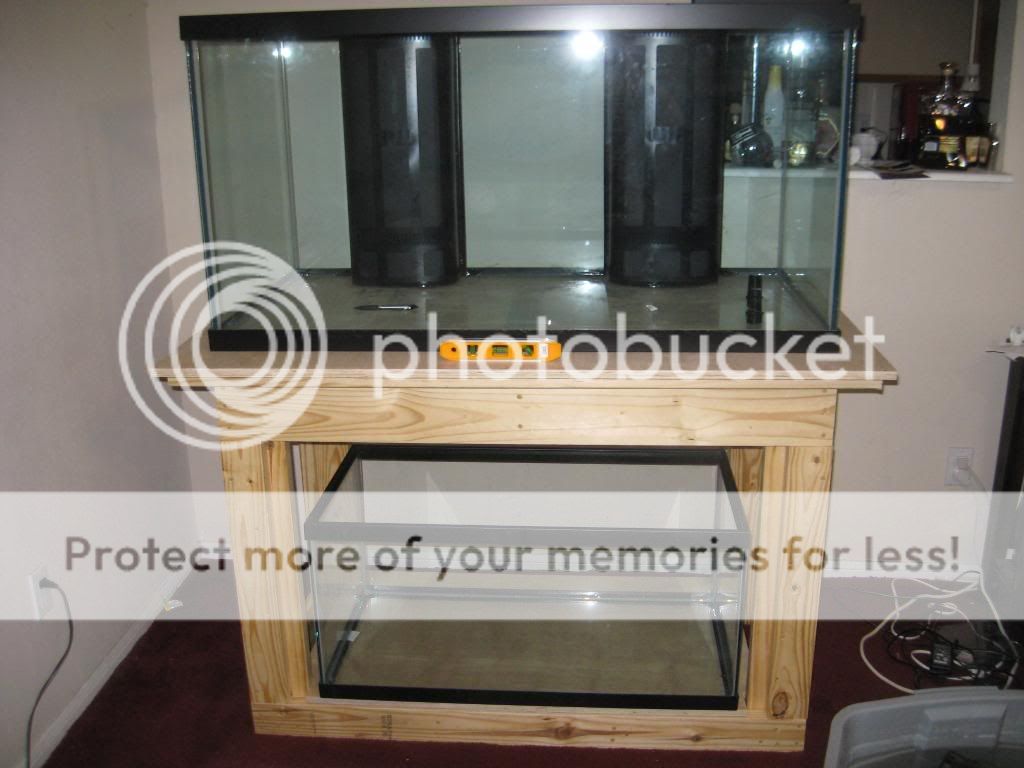
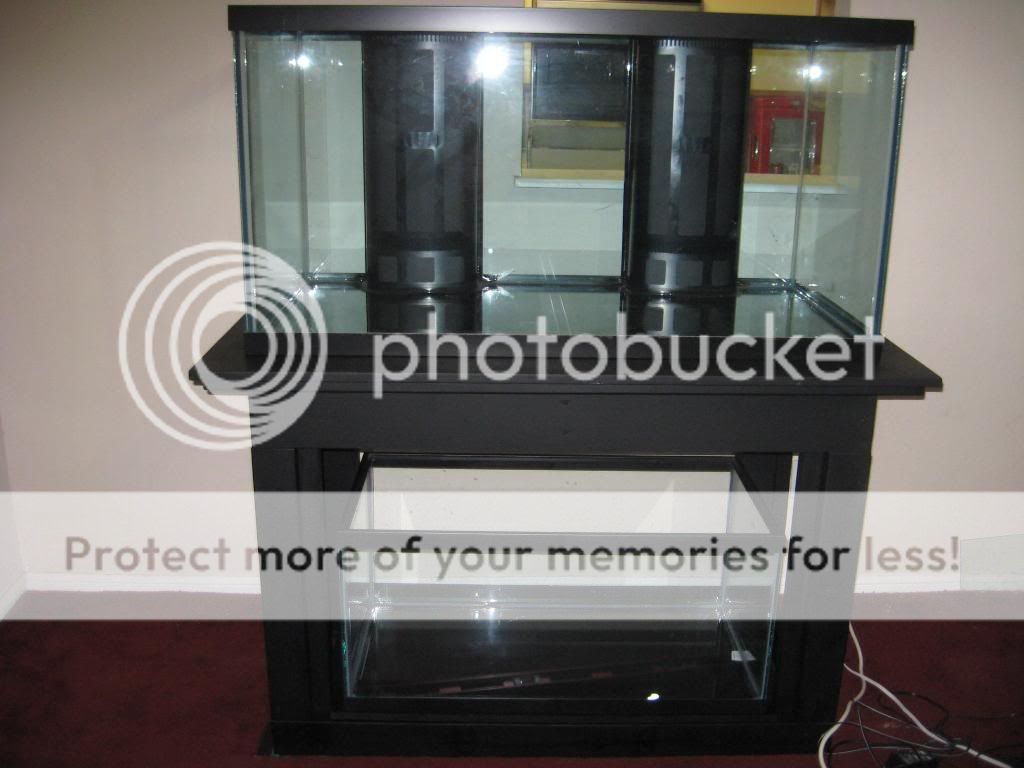
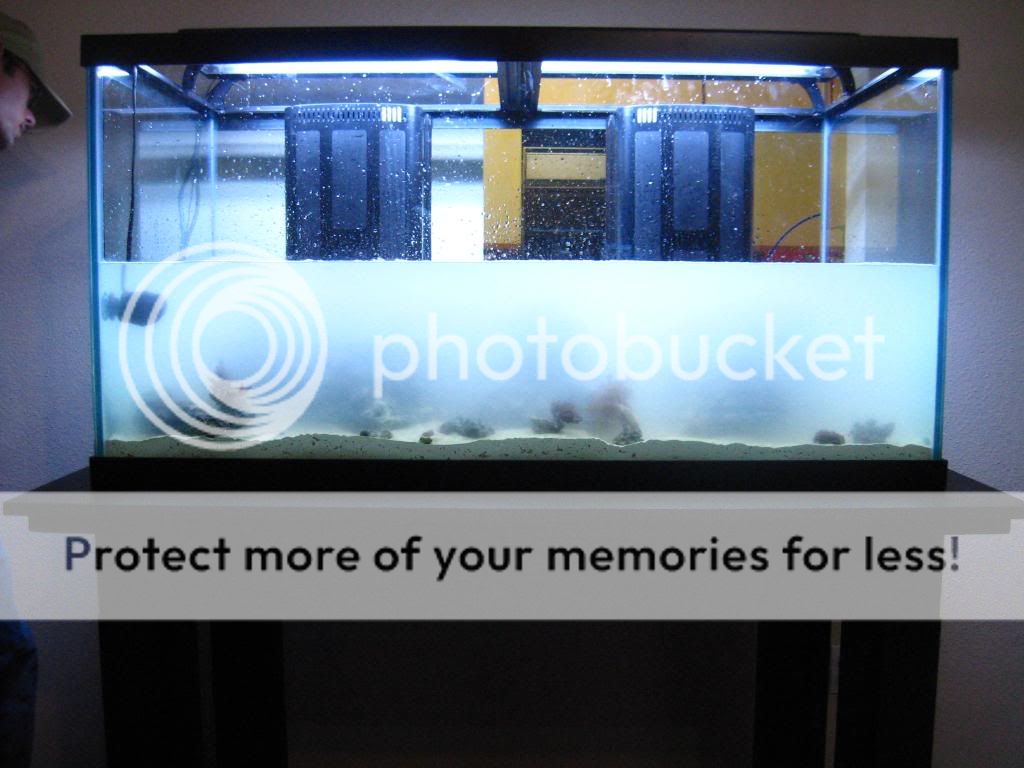
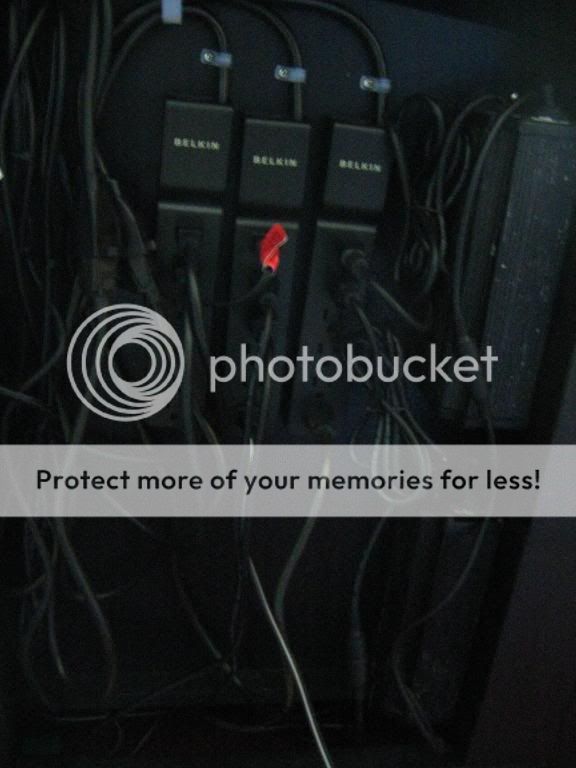
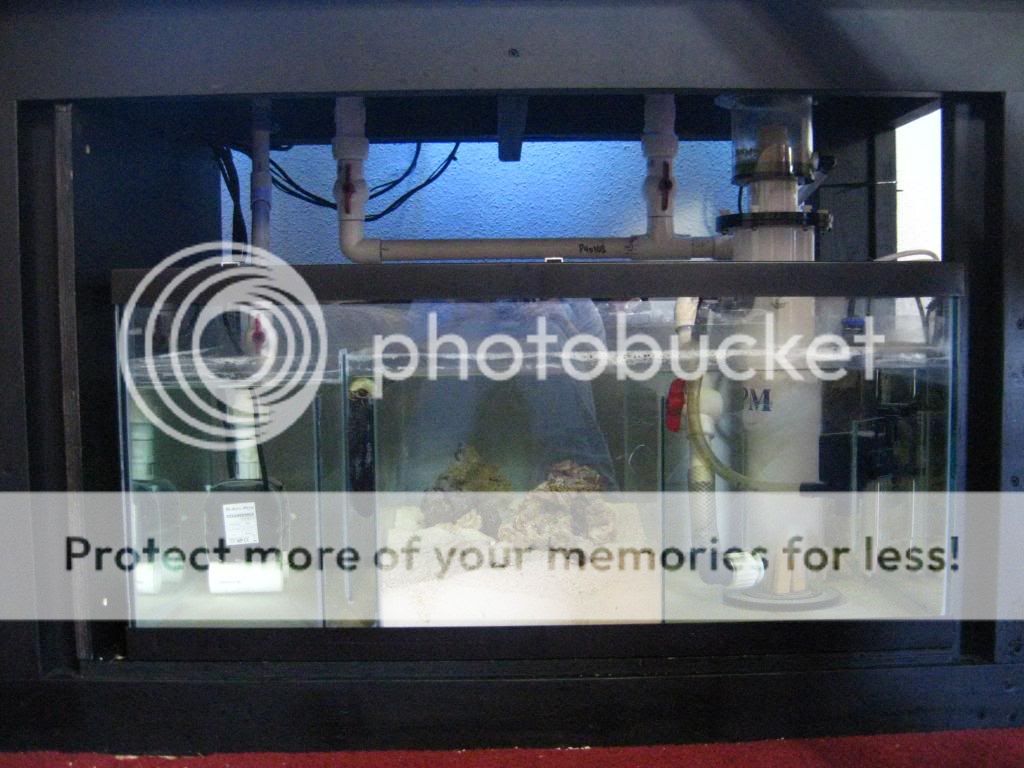
So to begin the new build here are a few pictures of our work area and equipment. Do note the fancy saw horse/table saw salt buckets with precision ryobi skill saw. We managed the build with the above stated, a few triangle squares, a power drill, two clamps, about seven bic pens(we couldnt find any pencils) and a few choice words.
 
OP
OP
B

bdblkta1

Guest
Joined
Mar 29, 2008
Messages
193
Reaction score
0
Location
richmond and beltway
We were so into the actual build we did not take pictures of much along the way. Most of the stand was constructed to the stand build specs posted here http://reefcentral.com/forums/showthread.php?s=&threadid=1567110 with a few minor changes. One being that we layed 2x6's along the top before screwing the plywood top on. It seems i have reached my upload quota so i will have to figure out a way to get more pics loaded but as of now we have the stand completed with the exception of it being painted and skinned. We are not positive how we are finishing as we were not expecting to be doing a build right now. It will probably be skinned and then painted flat black. The equipment will be:

120gal. Aqueon display
40gal. Aqueon refugium
2 150w mh coralife clamp ons
not sure what supplemental lights yet t5's or pc's
1 vortech mp40w
a few korilias
ocean runner 2500 return

I have to figure out how to get some more pics posted so i can show the progress but we will keep up with this. Please let us know what you think
 
OP
OP
B

bdblkta1

Guest
Joined
Mar 29, 2008
Messages
193
Reaction score
0
Location
richmond and beltway
I now have a photobucket account that works so i can post a few more pictures to share. The first is of the stand before we did the top, the next is of the top added, then one that speaks for itself, after that is the one where we added the tank and the last will be of the completed stand with bottom installed with refugium for test.

IMG_1022.jpg


IMG_1027.jpg


IMG_1026.jpg


IMG_1029.jpg


IMG_1037-1.jpg
 
OP
OP
B

bdblkta1

Guest
Joined
Mar 29, 2008
Messages
193
Reaction score
0
Location
richmond and beltway
Everything is now being painted flat black for the time being just for the purpose of sealing. I believe it will be finished with a nice stained wood at some point. I think leaving it black is out of the question now. The stand ended up being 35 3/4" to the top so it should provide for a nice viewing height. We figured either way it went you would have to be on a ladder to get to the bottom so might as well put it at a good height. I believe we ended up with about a four inch area around the perimeter of the tank which as you can see makes for a good place to stand. will post more as soon as we have something new to show.
 
OP
OP
B

bdblkta1

Guest
Joined
Mar 29, 2008
Messages
193
Reaction score
0
Location
richmond and beltway
We have some of the plumbing thought out but yes it is going to be a little dificult to get to some of it. There is quite a bit of room between the top of the fuge and the bottom of the tank it is just hard to see from that picture. I believe its about 18 inches in there. not alot but we will make it fit.
 
OP
OP
B

bdblkta1

Guest
Joined
Mar 29, 2008
Messages
193
Reaction score
0
Location
richmond and beltway
few more pictures of the build. first being the standpipes and the other is the stand painted with tank in it's final location.

IMG_1047.jpg


IMG_1046.jpg


also picked up a 48" nova extreme 4x54w t5ho setup.
 
OP
OP
B

bdblkta1

Guest
Joined
Mar 29, 2008
Messages
193
Reaction score
0
Location
richmond and beltway
I see Quite a few views but only one response. feel free to chime in.

the sand goes in.

IMG_1050.jpg


a little rock work.

IMG_1053.jpg


and some water going in.

IMG_1058.jpg


Well this will be all for tonight. will post more pics as the tank clears up.
 

snookfish

Guest
Joined
Jul 26, 2006
Messages
220
Reaction score
0
Location
Katy
How have you planned the sump? just 3 compartments (2 baffles) or are you going to go crazy on it? I've "retrofitted" a few tanks now into sumps and I never repeat the same design.

I like your stand, it looks like support should not be an issue. I really want to see what type of wood you skin it with and what stain you use.
 
OP
OP
B

bdblkta1

Guest
Joined
Mar 29, 2008
Messages
193
Reaction score
0
Location
richmond and beltway
Thank you for the compliments. The sump is still uncertain. I think it will end up being somewhat of a display refugium. I believe there will be a cutout in the stand for a viewing window into the tank. Thinking of doing a seahorse/pipefish tank. The stand was built to hold a car..lol.. Water is being made and slowly going in. will get pics once everyone is back in their home. And am now thinking of just going flat black instead of staining. very uncertain at this point. :D
 

snookfish

Guest
Joined
Jul 26, 2006
Messages
220
Reaction score
0
Location
Katy
for what it's worth (my 2 cents). I painted my stand black to match the black trim on my tank, but I think that when I move in a year or two, before I set the tank up again I'm going to strip the paint and put a real dark stain/polyurathane finishing coat on. even pine stained correctly looks better than the flat black I put on mine. and the cost and time is a very minimal increase compared to paint. again, for what it's worth.

but I think the idea of a display sump is nice, for me it's all about hiding the equipment.
 
OP
OP
B

bdblkta1

Guest
Joined
Mar 29, 2008
Messages
193
Reaction score
0
Location
richmond and beltway
Thank you for your thoughts, all are welcome. Thats why i posted. So I could here others opinions. Still not to sure about how to finish. really like the stained stuff but the black is pretty nice too. I have been using the flat black spray and have gotten some pretty nice results. Everything goes on smooth and you can still see the wood grain which i do like. as for the display fuge. all equipment will be hidden in the baffled areas. The opening will only be cut to show the display area. But since you brought that up might look into painting the baffles with some krylon or something, hadnt really thought of that. Again thanks for commenting and please do continue to contribute
 
OP
OP
B

bdblkta1

Guest
Joined
Mar 29, 2008
Messages
193
Reaction score
0
Location
richmond and beltway
Everyone is in the new tank now. Please remember this is an emergency move and everything is coming from an established tank. We are expecting a small diatom bloom from moving the sand but might not even get that much as the sand was only about a month old in the 100gal. We are also still in the build process. The plumbing needs to be done, the refugium still needs baffles, and the mh lights need to be put on. We are pretty far from being done but as of now everyone seems to be happy and enjoying their new home. Well here is the recent pic it is cloudy since it was taken after everyone was added but we will get a few new pics tomorrow.

IMG_1059.jpg
 
OP
OP
B

bdblkta1

Guest
Joined
Mar 29, 2008
Messages
193
Reaction score
0
Location
richmond and beltway
New updates. So everyone had been acclimating to the new surroundings while the baffles were installed in the new refugium/sump and the plumbing was completed. Earlier I had mentioned purchasing the 4x54w t-5's, turns out that fixture had some issues and was not working very well so it was taken back and upgraded to the Tek 6x54w fixture. Also added were two korilia nano's for a little directed flow in the back corners to prevent dead spots the vortech doesnt get to. Enough on the details here are a few pics. Please feel free to critique we would like to hear your thoughts.

power center

IMG_1127.jpg


refugium/sump

IMG_1126.jpg


cloudy fts

IMG_1125.jpg


full setup

IMG_1133.jpg


left side

IMG_1128.jpg


left front

IMG_1129.jpg


right front

IMG_1130.jpg


right side

IMG_1131.jpg


Please excuse the quality these were taken with a sony Cannon powershot a560 and this is the best i can do with it. Thanks for looking.
 
OP
OP
B

bdblkta1

Guest
Joined
Mar 29, 2008
Messages
193
Reaction score
0
Location
richmond and beltway
Thank you. We are quite happy with how things are turning out. Cant wait for it to grow out for a year or so and see how things are looking then. Most of the larger colonies were started as frags from various lfs. The kenya tree was about an inch long when we got it, the monti caps started as 1"x1" squares and the orange digitata was a 2" long piece with one branch. Will try to get some closeups when the tank clears a little more.
 
OP
OP
B

bdblkta1

Guest
Joined
Mar 29, 2008
Messages
193
Reaction score
0
Location
richmond and beltway
some inhabitants and a few shots from different angles.

The clown pair with their mushroom

IMG_1147.jpg


the arc eye

IMG_1148.jpg


some duncans

IMG_1135.jpg


cool angle showing trench

IMG_1142.jpg


orange shoulder and another angle

IMG_1145.jpg
 
Top