


patricklong
Guest
Yup 100......liters. LOL.
As some of you know, I have been around for a few months asking questions, researching and just general information gathering. I have been purposefully taking a slow road as this is my first build ever, and wanted to make sure I am comfortable moving forward.
I have a couple threads out there about my sump so I will not go over everything in full detail, but I want to try and keep a steady log progression of at least recaps.
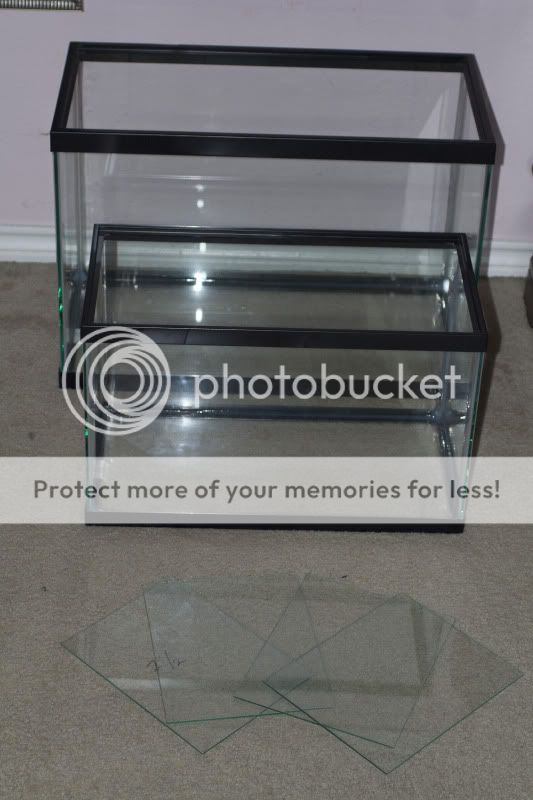
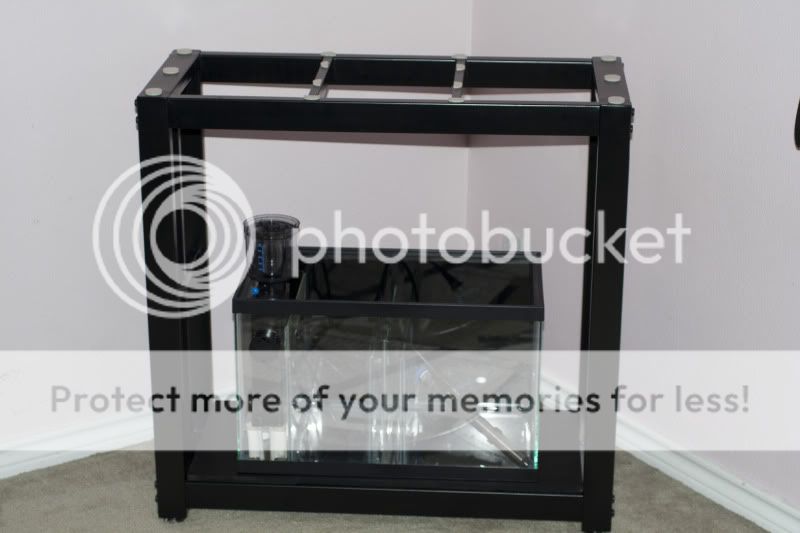
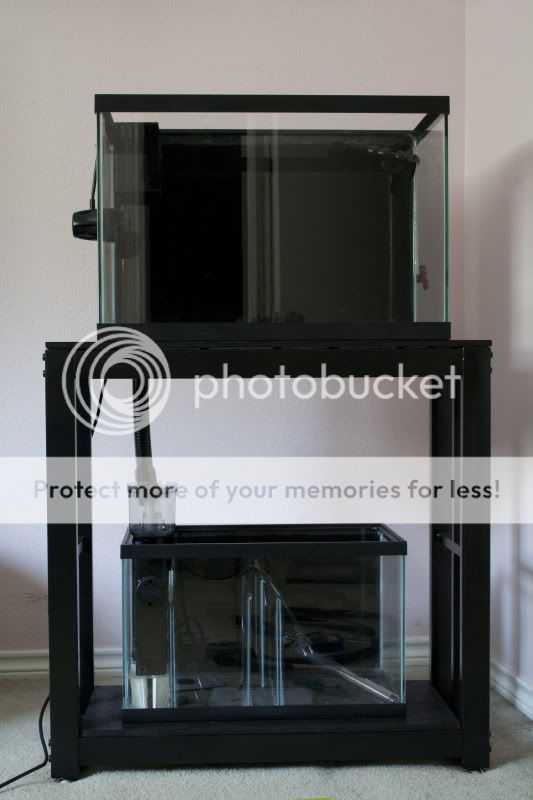
It all started with this, a 20h for display and 10g for sump.
I wanted to keep it very simple tank wise, and didnt want to go over the top with my first time drilling and modifying. These two tanks quickly became the beginnings of a decent Nano setup (at least in my eyes)

While all this was going on, I was waiting on pieces of equipment to show up. I really didnt want to cheap out on this part seeing as all of this is the lifeline of a great reef. The Mp10 was a no brainer for me. All the hype about these units must not just be a gimmick, there is too many of them in use LOL. I debated a while on the skimmer for 2 reasons. 1, I wanted to keep the section of the sump as small as possible, and 2 wanted to have something that is reliable.

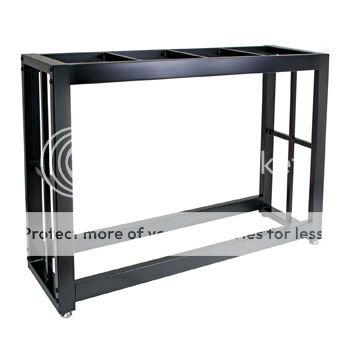
I was having an issue finding a stand that would work with the 20h while having enough room underneath for the 10g. I debated building my own, but talked myself out of all the woodwork. I ended up going with this stand for a 29 gallon from the place that pets go.
(not my pic)
I needed to cut plywood to cover the bottom shelf and to fit on top to make my mind at ease about weight distribution.
If you notice the felt pads on top of the stand, I noticed a slight maybe 1/8th difference of height when the plywood was set in place.
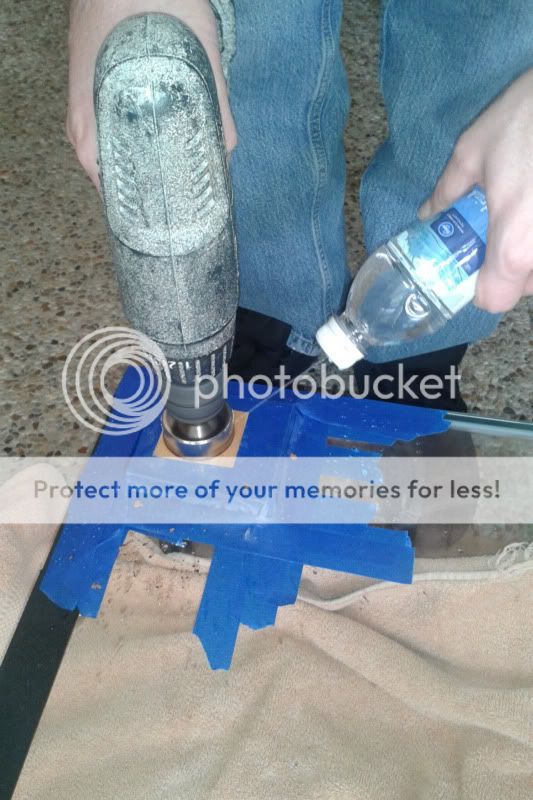
(sorry for crap cell pic)

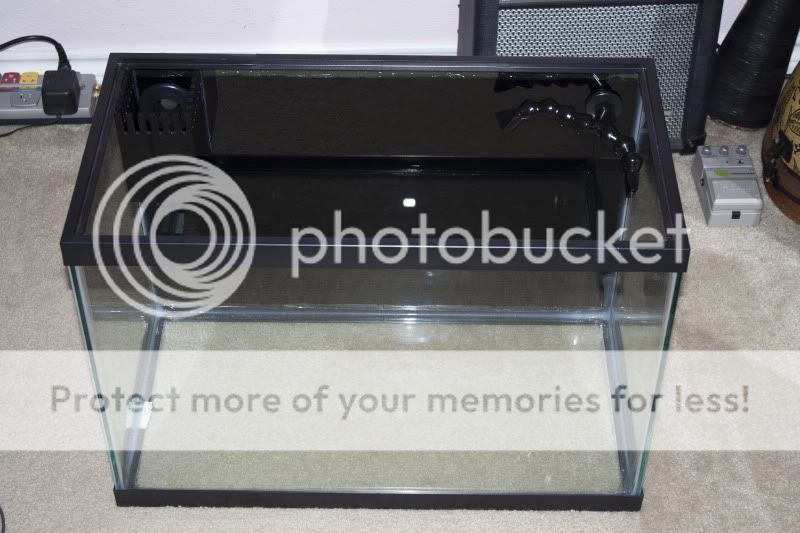
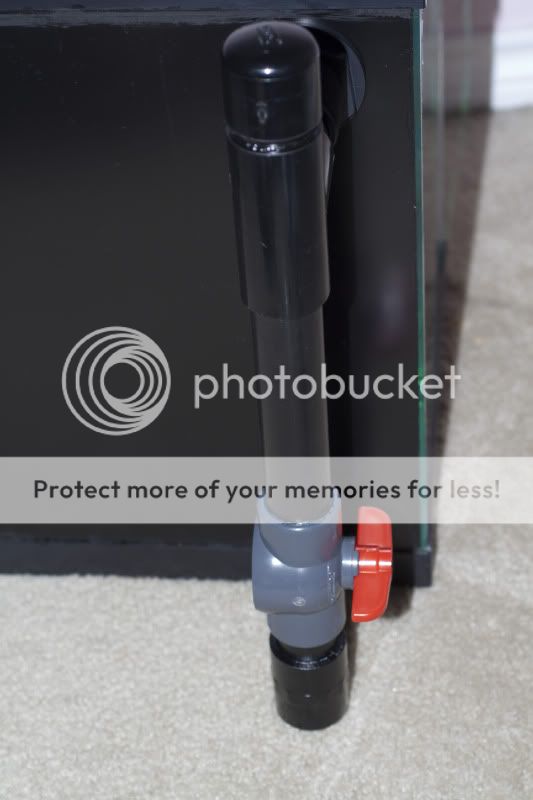
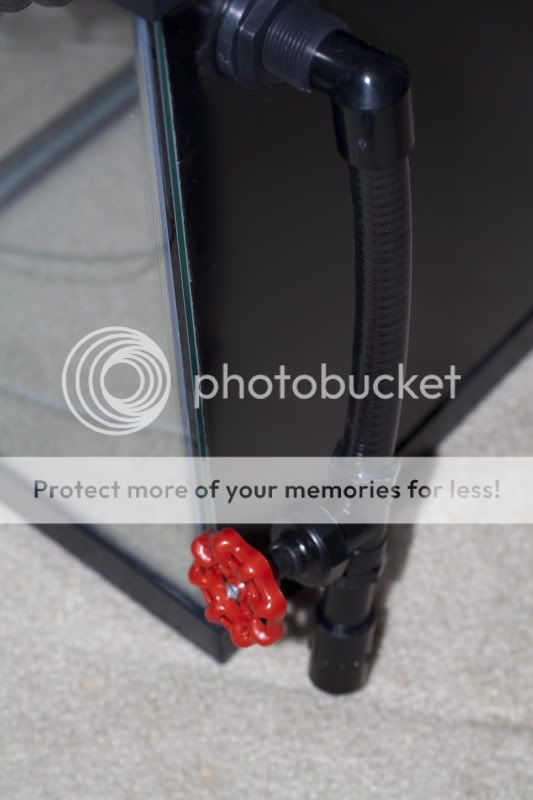
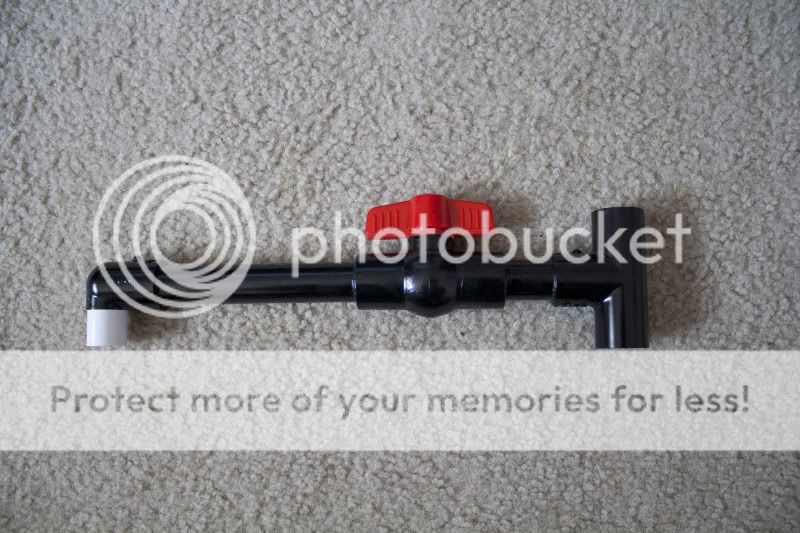
I wanted to keep my plumbing as straight forward as I can....but Im sure its still terrible and will need to be changed after I post this thread LOL!
I split the return with Locline, I felt that this would help me keep deadspots out of the corners, especially with that Mp10 on the other side.

My drain is fitted with a simple ball valve for sump maintenance and emergency shut off.
The return has a gate valve so that I can regulate the flow back into the DT
I am now debating on a return pump. The only issue I have with my return pump choice is size of the actual pump. The way that I designed my sump, space is everything. Im debating on the mag3 because I think that it will be powerful enough for me to run this T and another ball valve to recirculate some water back into the refugium section.
I have mock setup the mp10 and set everything on the stand, and I think I actually like it.
Thank you everyone who has answered my silliness, and put up with bupkes I will update this more as more happens with the return plumbing, and DIY led build. If anyone has questions comments, or things that need to be said, say them please......especially if its some flaw you see that my newb eyes do not.
As some of you know, I have been around for a few months asking questions, researching and just general information gathering. I have been purposefully taking a slow road as this is my first build ever, and wanted to make sure I am comfortable moving forward.
I have a couple threads out there about my sump so I will not go over everything in full detail, but I want to try and keep a steady log progression of at least recaps.
It all started with this, a 20h for display and 10g for sump.
I wanted to keep it very simple tank wise, and didnt want to go over the top with my first time drilling and modifying. These two tanks quickly became the beginnings of a decent Nano setup (at least in my eyes)
While all this was going on, I was waiting on pieces of equipment to show up. I really didnt want to cheap out on this part seeing as all of this is the lifeline of a great reef. The Mp10 was a no brainer for me. All the hype about these units must not just be a gimmick, there is too many of them in use LOL. I debated a while on the skimmer for 2 reasons. 1, I wanted to keep the section of the sump as small as possible, and 2 wanted to have something that is reliable.
I was having an issue finding a stand that would work with the 20h while having enough room underneath for the 10g. I debated building my own, but talked myself out of all the woodwork. I ended up going with this stand for a 29 gallon from the place that pets go.
(not my pic)
I needed to cut plywood to cover the bottom shelf and to fit on top to make my mind at ease about weight distribution.
If you notice the felt pads on top of the stand, I noticed a slight maybe 1/8th difference of height when the plywood was set in place.
(sorry for crap cell pic)
I wanted to keep my plumbing as straight forward as I can....but Im sure its still terrible and will need to be changed after I post this thread LOL!
I split the return with Locline, I felt that this would help me keep deadspots out of the corners, especially with that Mp10 on the other side.
My drain is fitted with a simple ball valve for sump maintenance and emergency shut off.
The return has a gate valve so that I can regulate the flow back into the DT
I am now debating on a return pump. The only issue I have with my return pump choice is size of the actual pump. The way that I designed my sump, space is everything. Im debating on the mag3 because I think that it will be powerful enough for me to run this T and another ball valve to recirculate some water back into the refugium section.
I have mock setup the mp10 and set everything on the stand, and I think I actually like it.
Thank you everyone who has answered my silliness, and put up with bupkes I will update this more as more happens with the return plumbing, and DIY led build. If anyone has questions comments, or things that need to be said, say them please......especially if its some flaw you see that my newb eyes do not.


