• Welcome back Guest!

    MARSH is a private reefing group. Comments and suggestions are encouraged, but please keep them positive and constructive. Negative threads, posts, or attacks will be removed from view and reviewed by the staff. Continually disruptive, argumentative, or flagrant rule breakers may be suspended or banned.

So I'm Building Stuff Again. 150g Plus Fish Room. (3 Viewers)

Users who are viewing this thread

OP
OP
Cody

Cody

Vice President
Staff member
Administrator
Moderator
Content Moderator
Board Member
Supporting Member
Joined
Jul 23, 2014
Messages
7,310
Reaction score
4,252
Location
Spring, TX
Paint tent ready to go. Feeling a little like Dexter. I just used wood clamps to hold the tarp to the garage door. Quick set up qnd break down. I planned on using my dad's Wagner airless machine. Turns out, it's not working. Gotta take it to get repaired but the clock is ticking so I had to find another option.
iqjMCU9.jpg


Take two. I ran to harbor freight in Conroe to get an air sprayer for my compressor. $70. Not too bad.
8DvaPas.jpg


Time to rock and roll. I'm getting excited!
D1B1ymB.jpg


First coat of primer done. I sprayed really thin to prevent running. It says that I should wait 6-8 hours between coats. I'm gonna check back at 4 hours to see if it's dry. This will take forever otherwise.
xGQU4pw.jpg
 

Tstew32

Supporting Member
Joined
Feb 2, 2017
Messages
690
Reaction score
586
Location
Spring
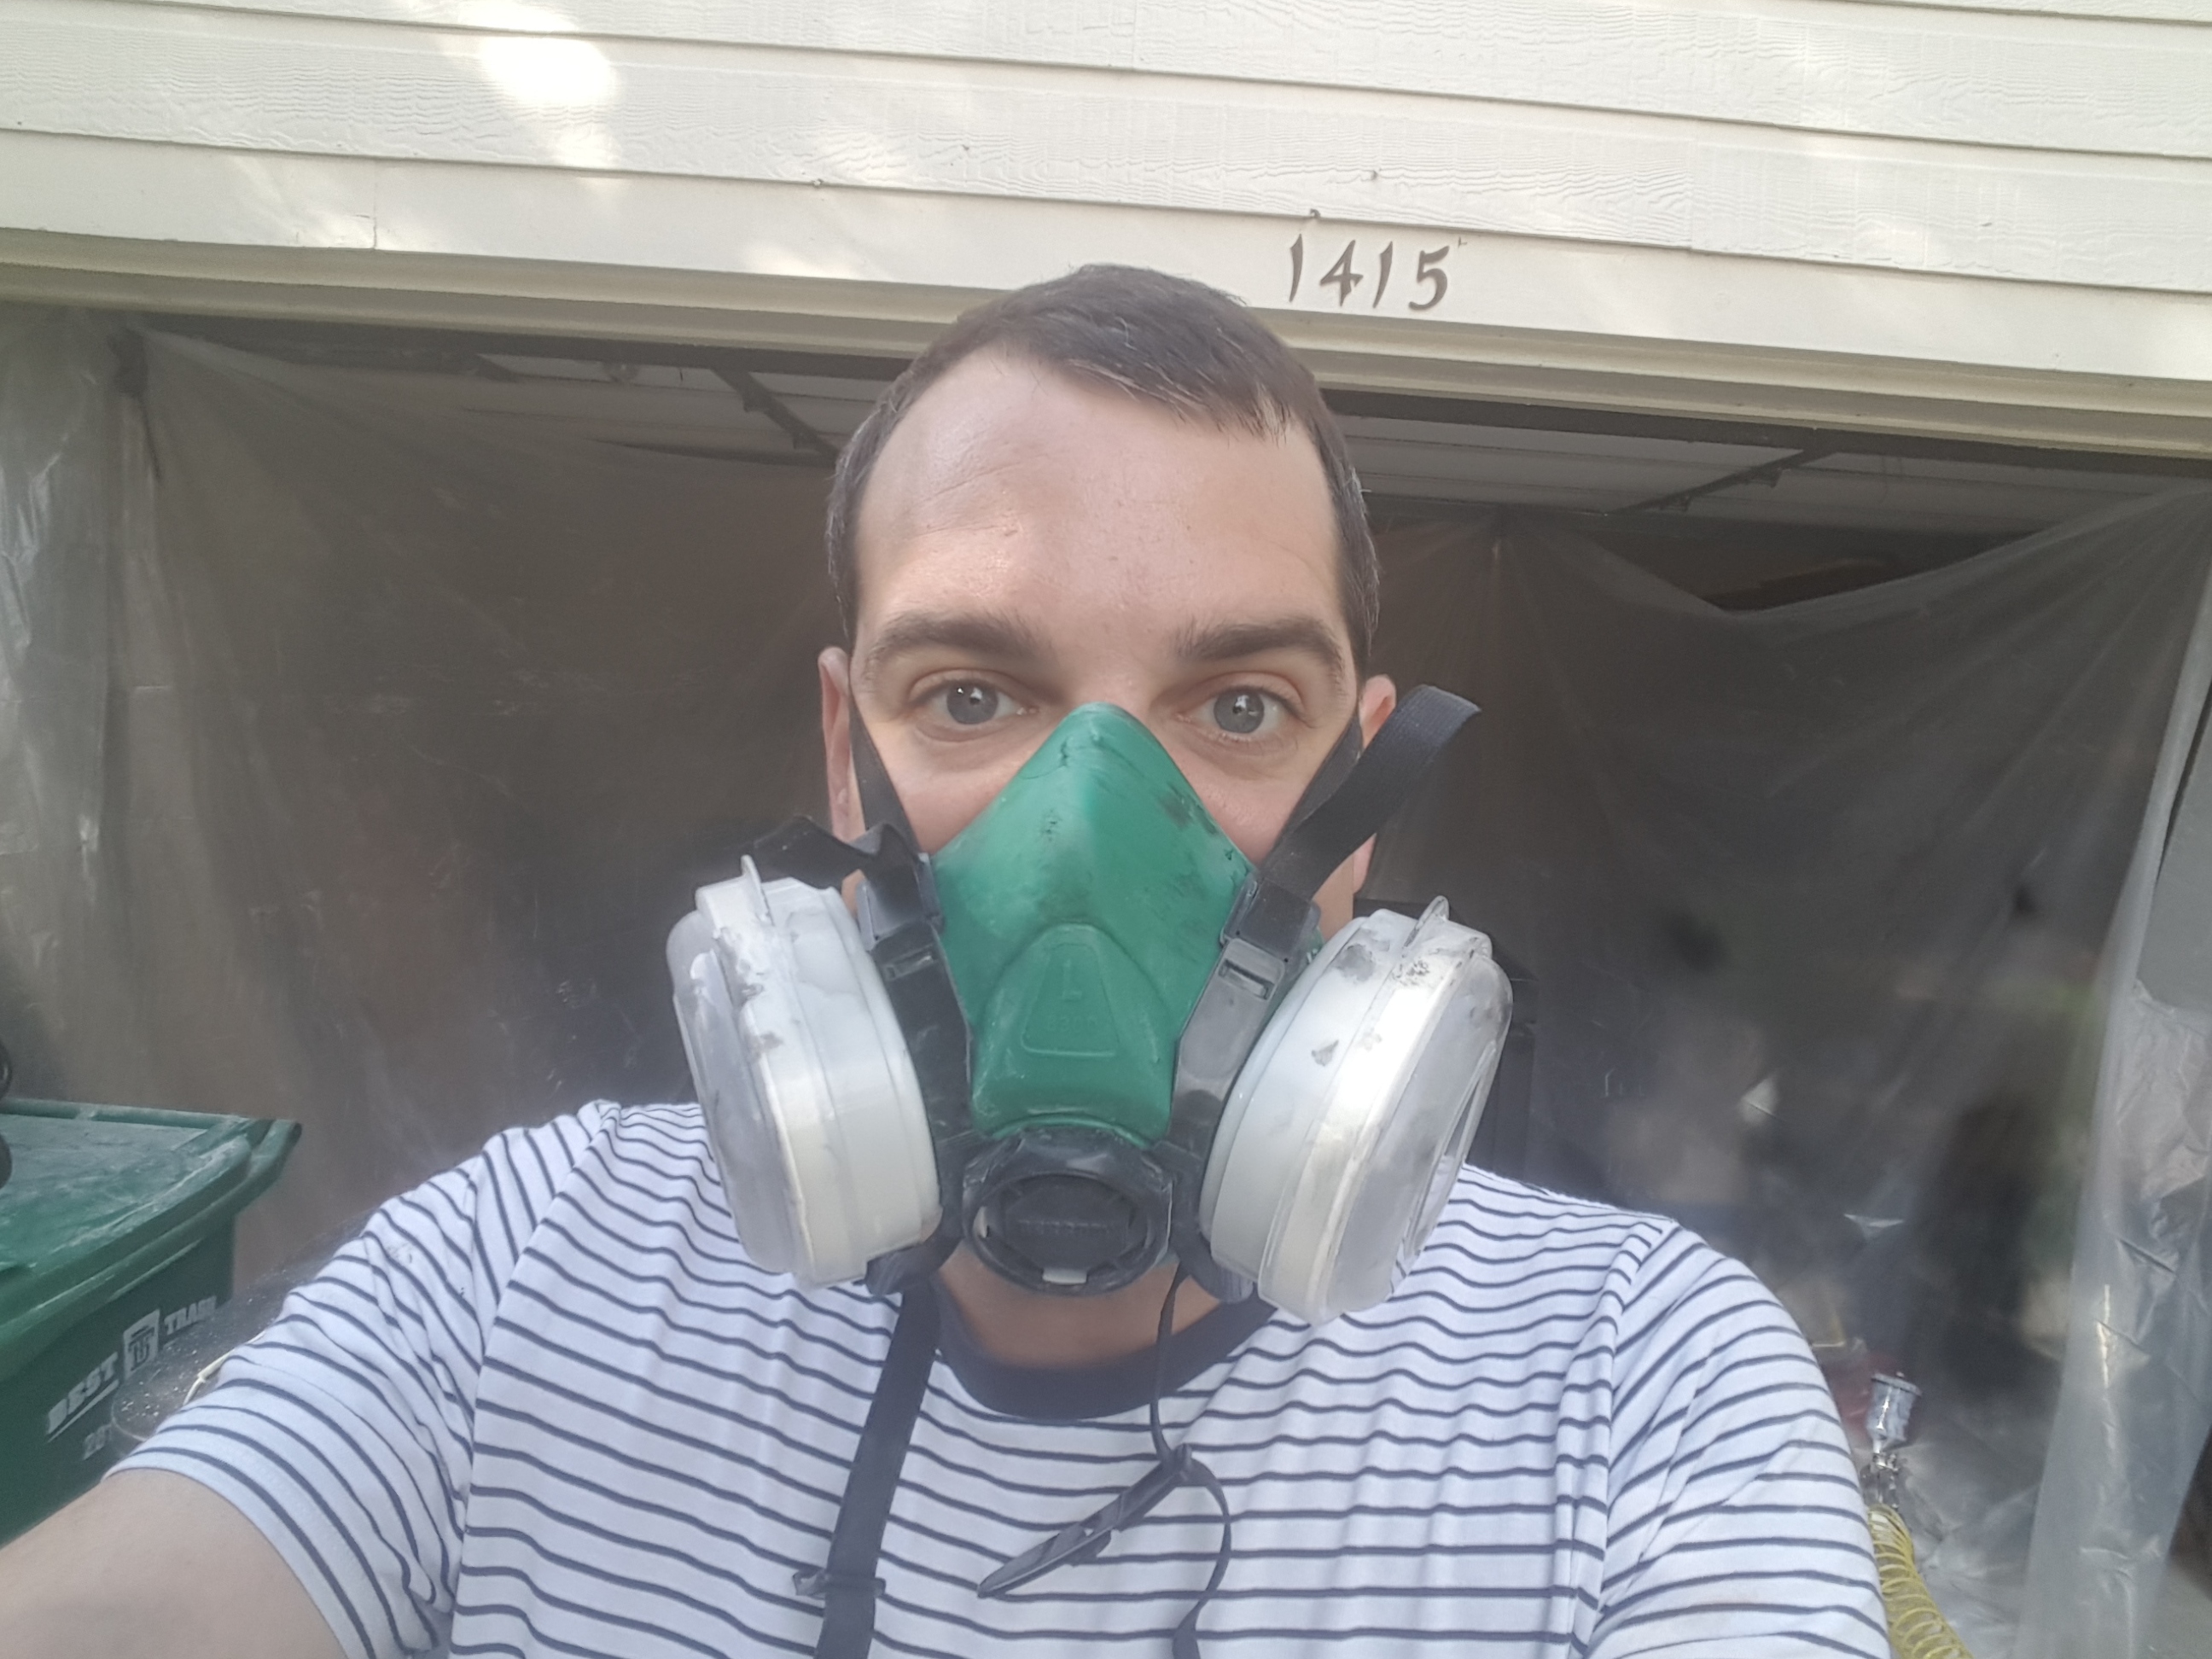
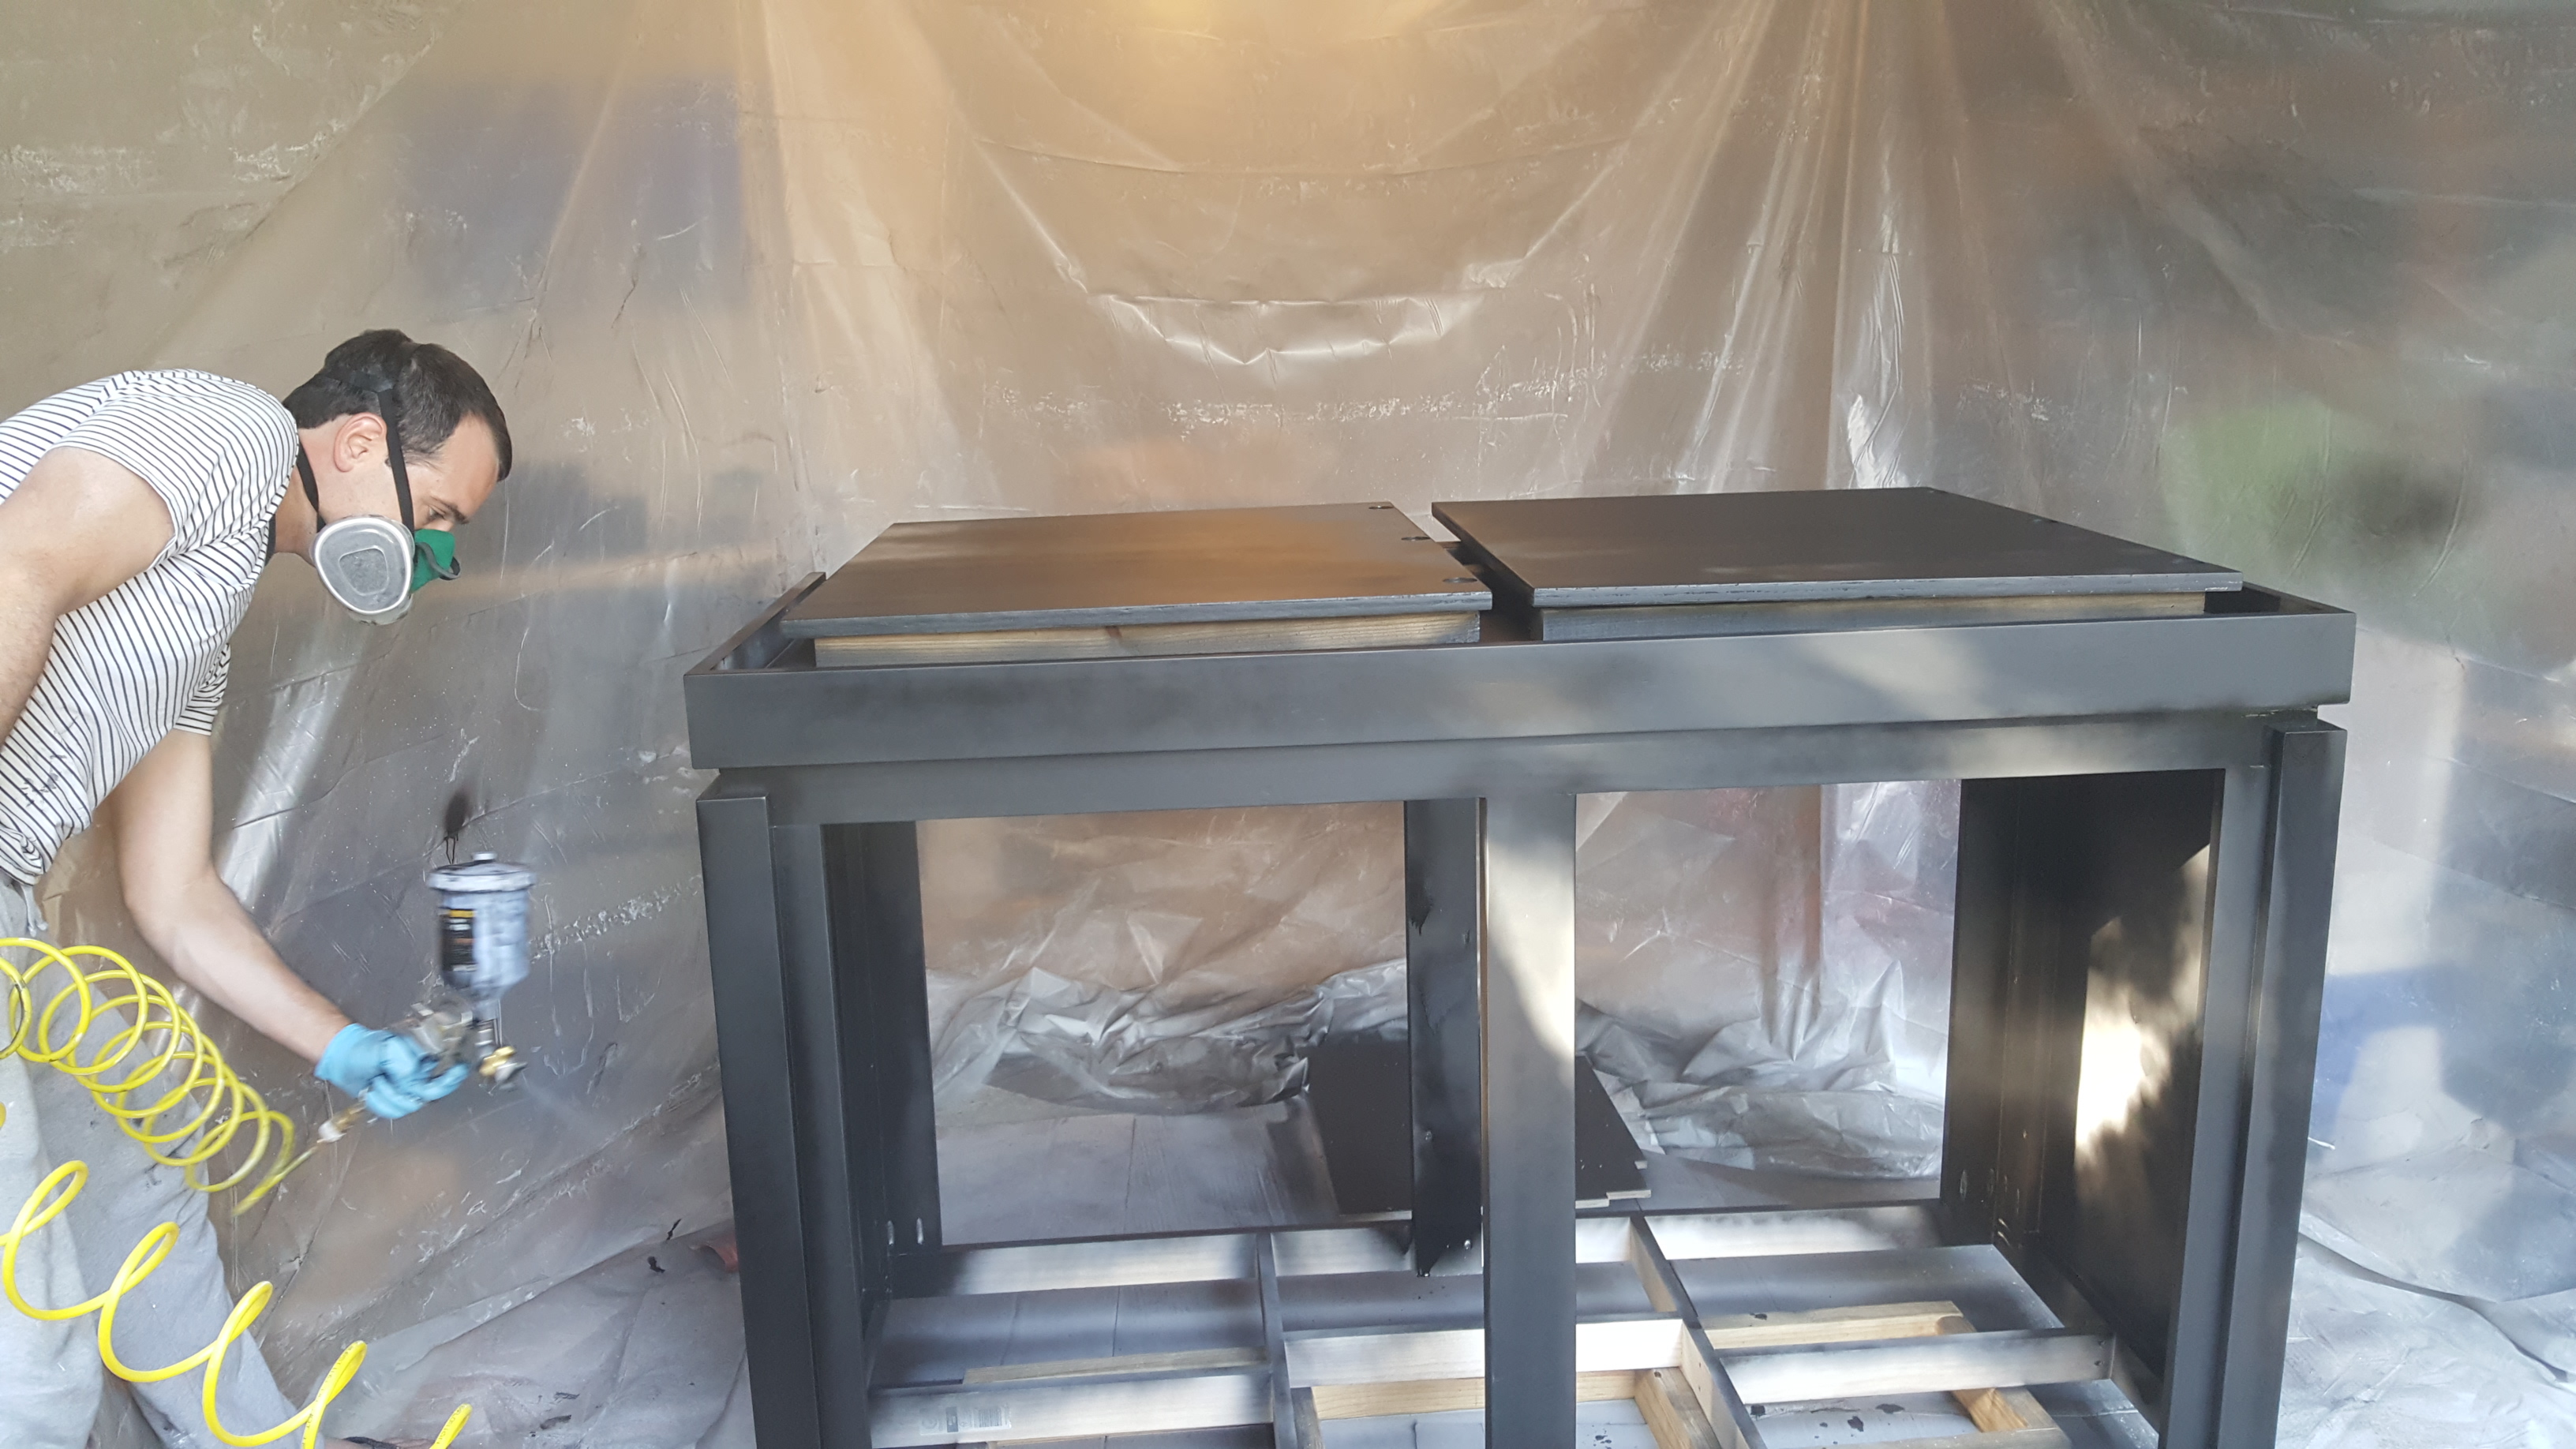
I’m going to call you Walter White


Sent from my iPhone using Tapatalk
 
OP
OP
Cody

Cody

Vice President
Staff member
Administrator
Moderator
Content Moderator
Board Member
Supporting Member
Joined
Jul 23, 2014
Messages
7,310
Reaction score
4,252
Location
Spring, TX
Last edited:
OP
OP
Cody

Cody

Vice President
Staff member
Administrator
Moderator
Content Moderator
Board Member
Supporting Member
Joined
Jul 23, 2014
Messages
7,310
Reaction score
4,252
Location
Spring, TX
I put on a few good layers of primer. I went a little heavy in a couple areas so the paint nade some runny parts. I'll have to sand those down tomorrow. With the mineral spirits, the paint dries very quickly. The rain isn't helping my efforts either. So much dang moisture out right now!
xVHl07L.jpg


The doors are on top. Wanted to give them a nice flat area to work on considering that they will be the broadest visible panels. They're coming along well.
PjS5kCq.jpg
 
Last edited:

Bigfishy

Supporting Member
Joined
Mar 7, 2014
Messages
586
Reaction score
131
I like your ideal for the paint booth. Can’t wait to see how this turns out.


Sent from my iPhone using Tapatalk
 
OP
OP
Cody

Cody

Vice President
Staff member
Administrator
Moderator
Content Moderator
Board Member
Supporting Member
Joined
Jul 23, 2014
Messages
7,310
Reaction score
4,252
Location
Spring, TX
My humidity in the room is getting up to 80% now that the AC doesn't kick on so much. The exhaust works on convection, so with no air pushing into the room, the air stagnates. Temperature is staying under 76, which is nice. I tried opening the window, which definitely helps, but the room is extremely air-tight, so the air doesn't move around so much. The solution I came up with is an in-line fan for the exhaust duct.
mQG83sd.jpg


It's controlled by a remote control outlet plug. I can turn the fan off and on via my phone, set a schedule for it, etc.
SeMpSgF.jpg


The program is pretty nice. I have played with these outlets for maybe a year, and I really like them.
cyBHGyg.png


I tried running the fan with the door and window shut, but it struggled to pull air into the room through the HVAC system. Like I said, I made that room extremely air-tight to help with temperature control. However, if I crack the window, it has no problem flushing out the room. It will work great in the winter months to keep the room cool.
 
OP
OP
Cody

Cody

Vice President
Staff member
Administrator
Moderator
Content Moderator
Board Member
Supporting Member
Joined
Jul 23, 2014
Messages
7,310
Reaction score
4,252
Location
Spring, TX
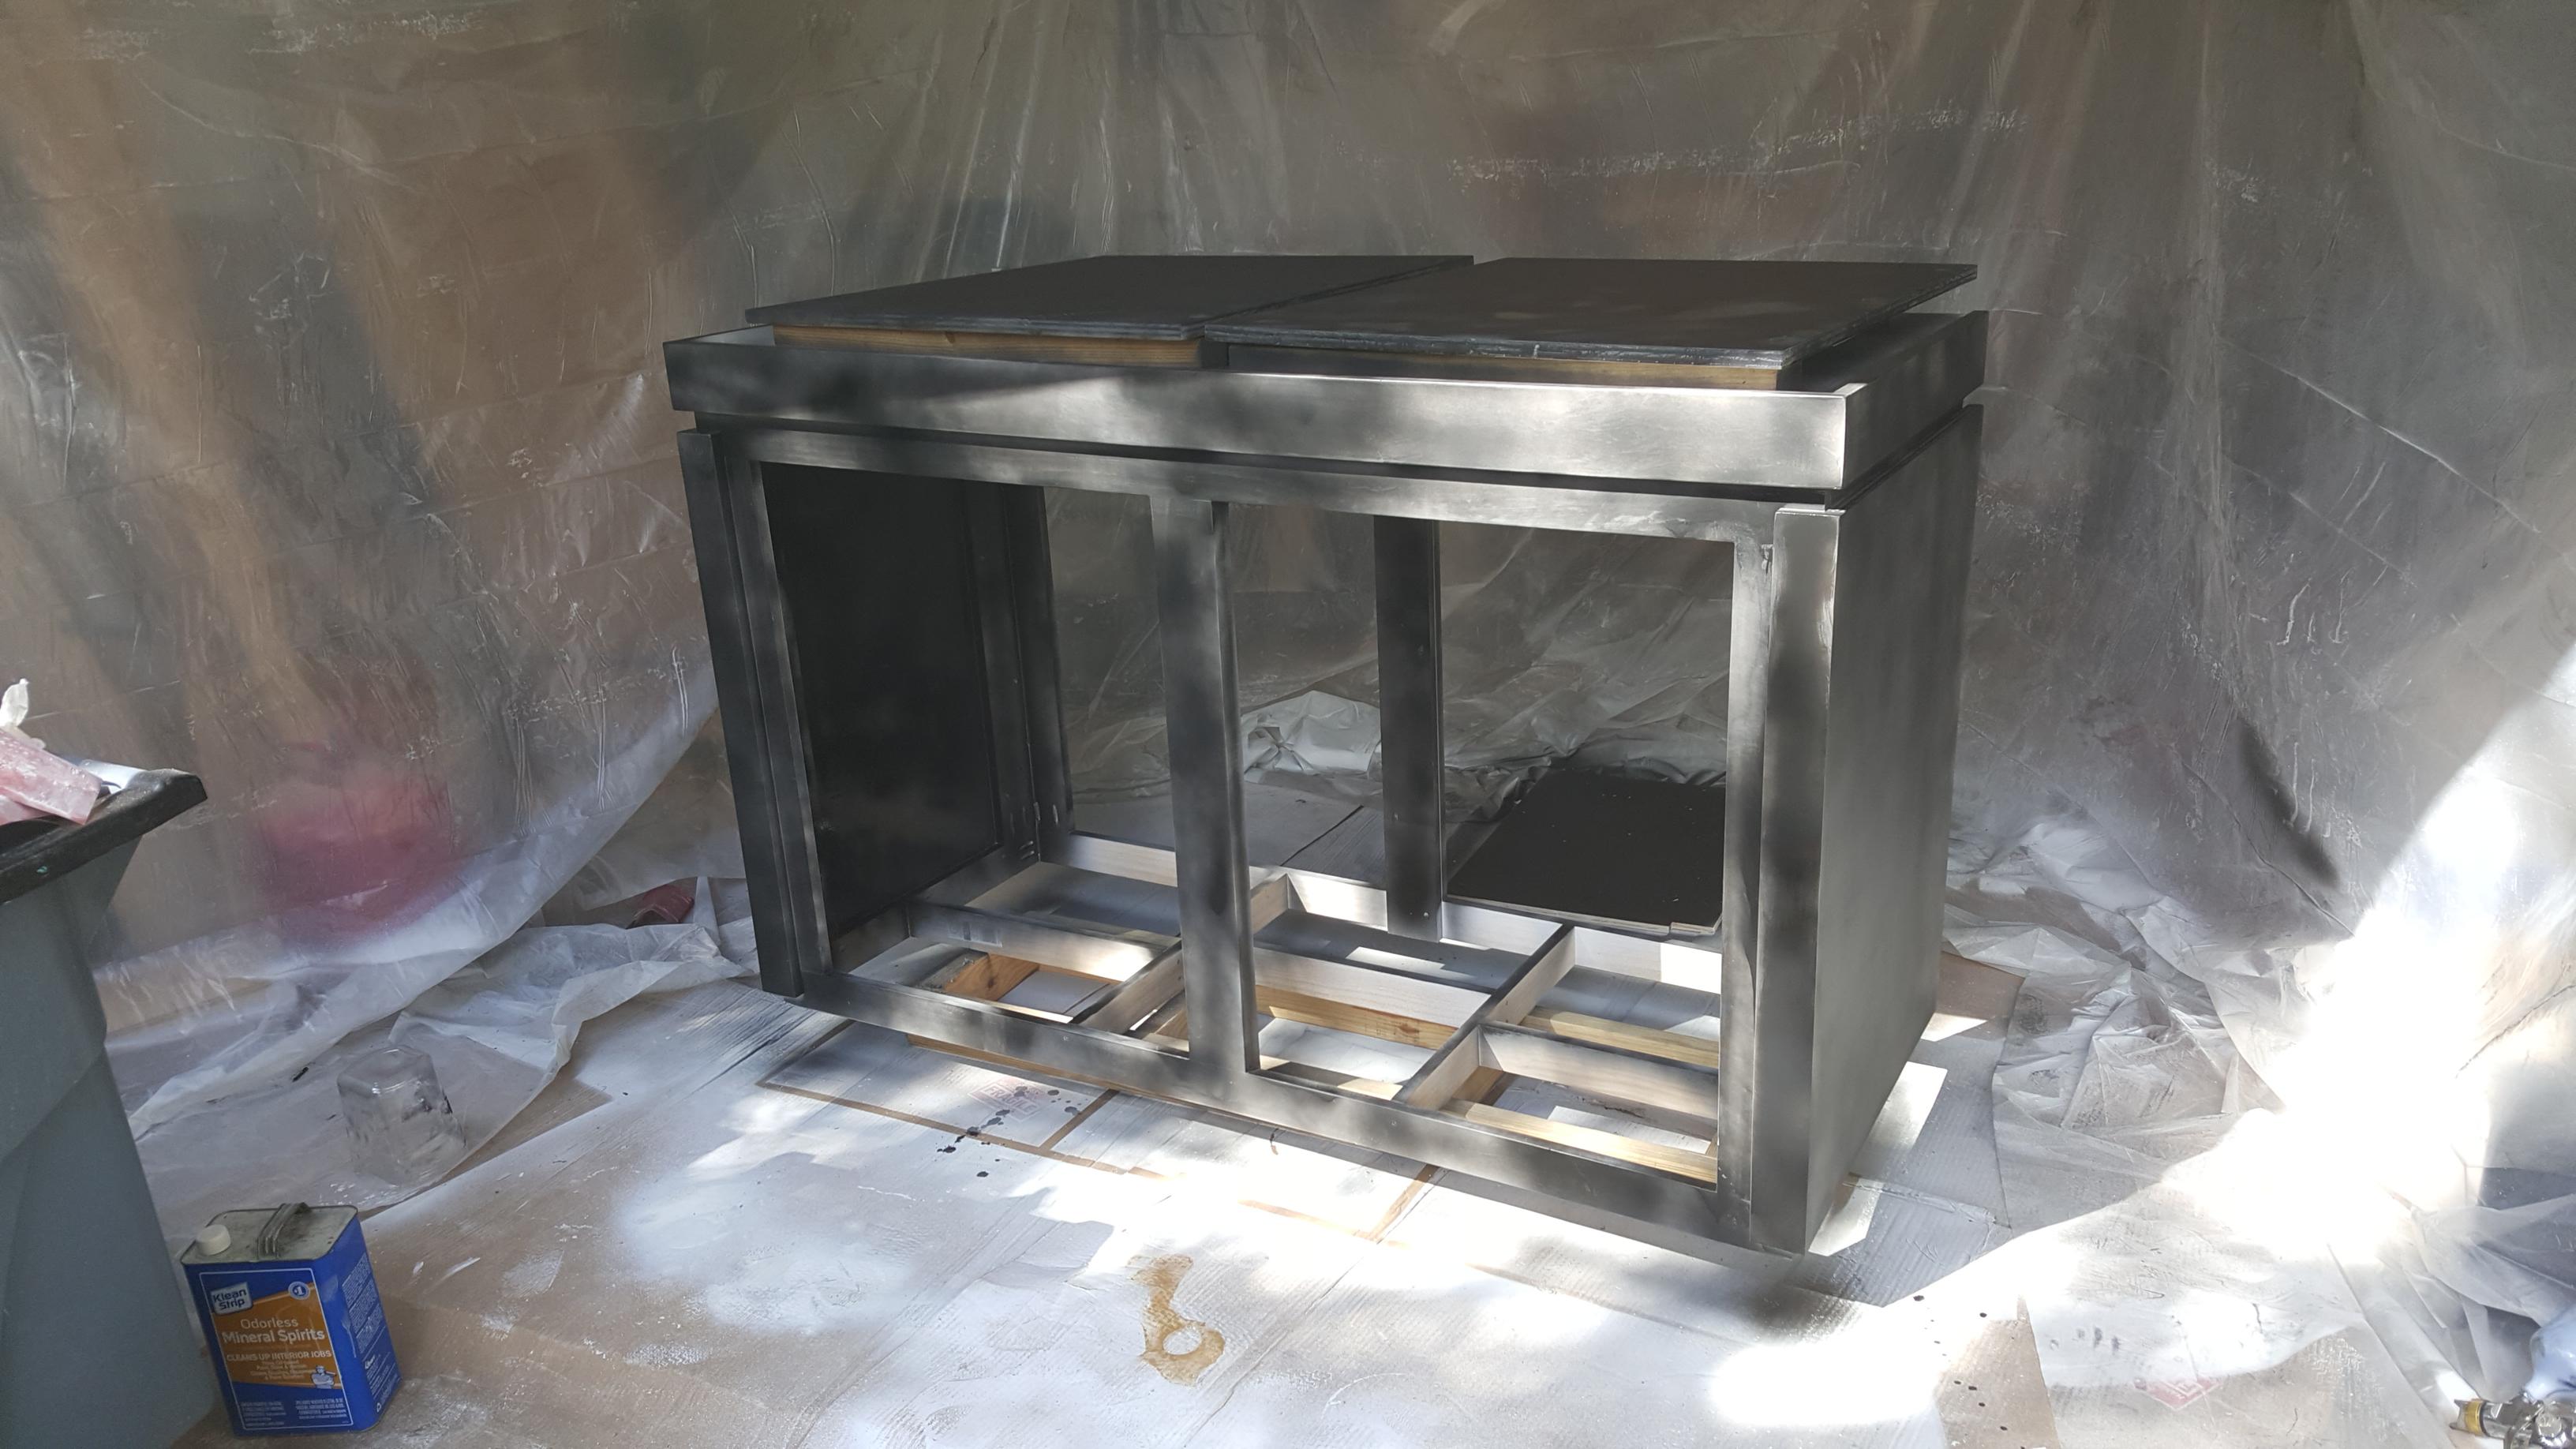
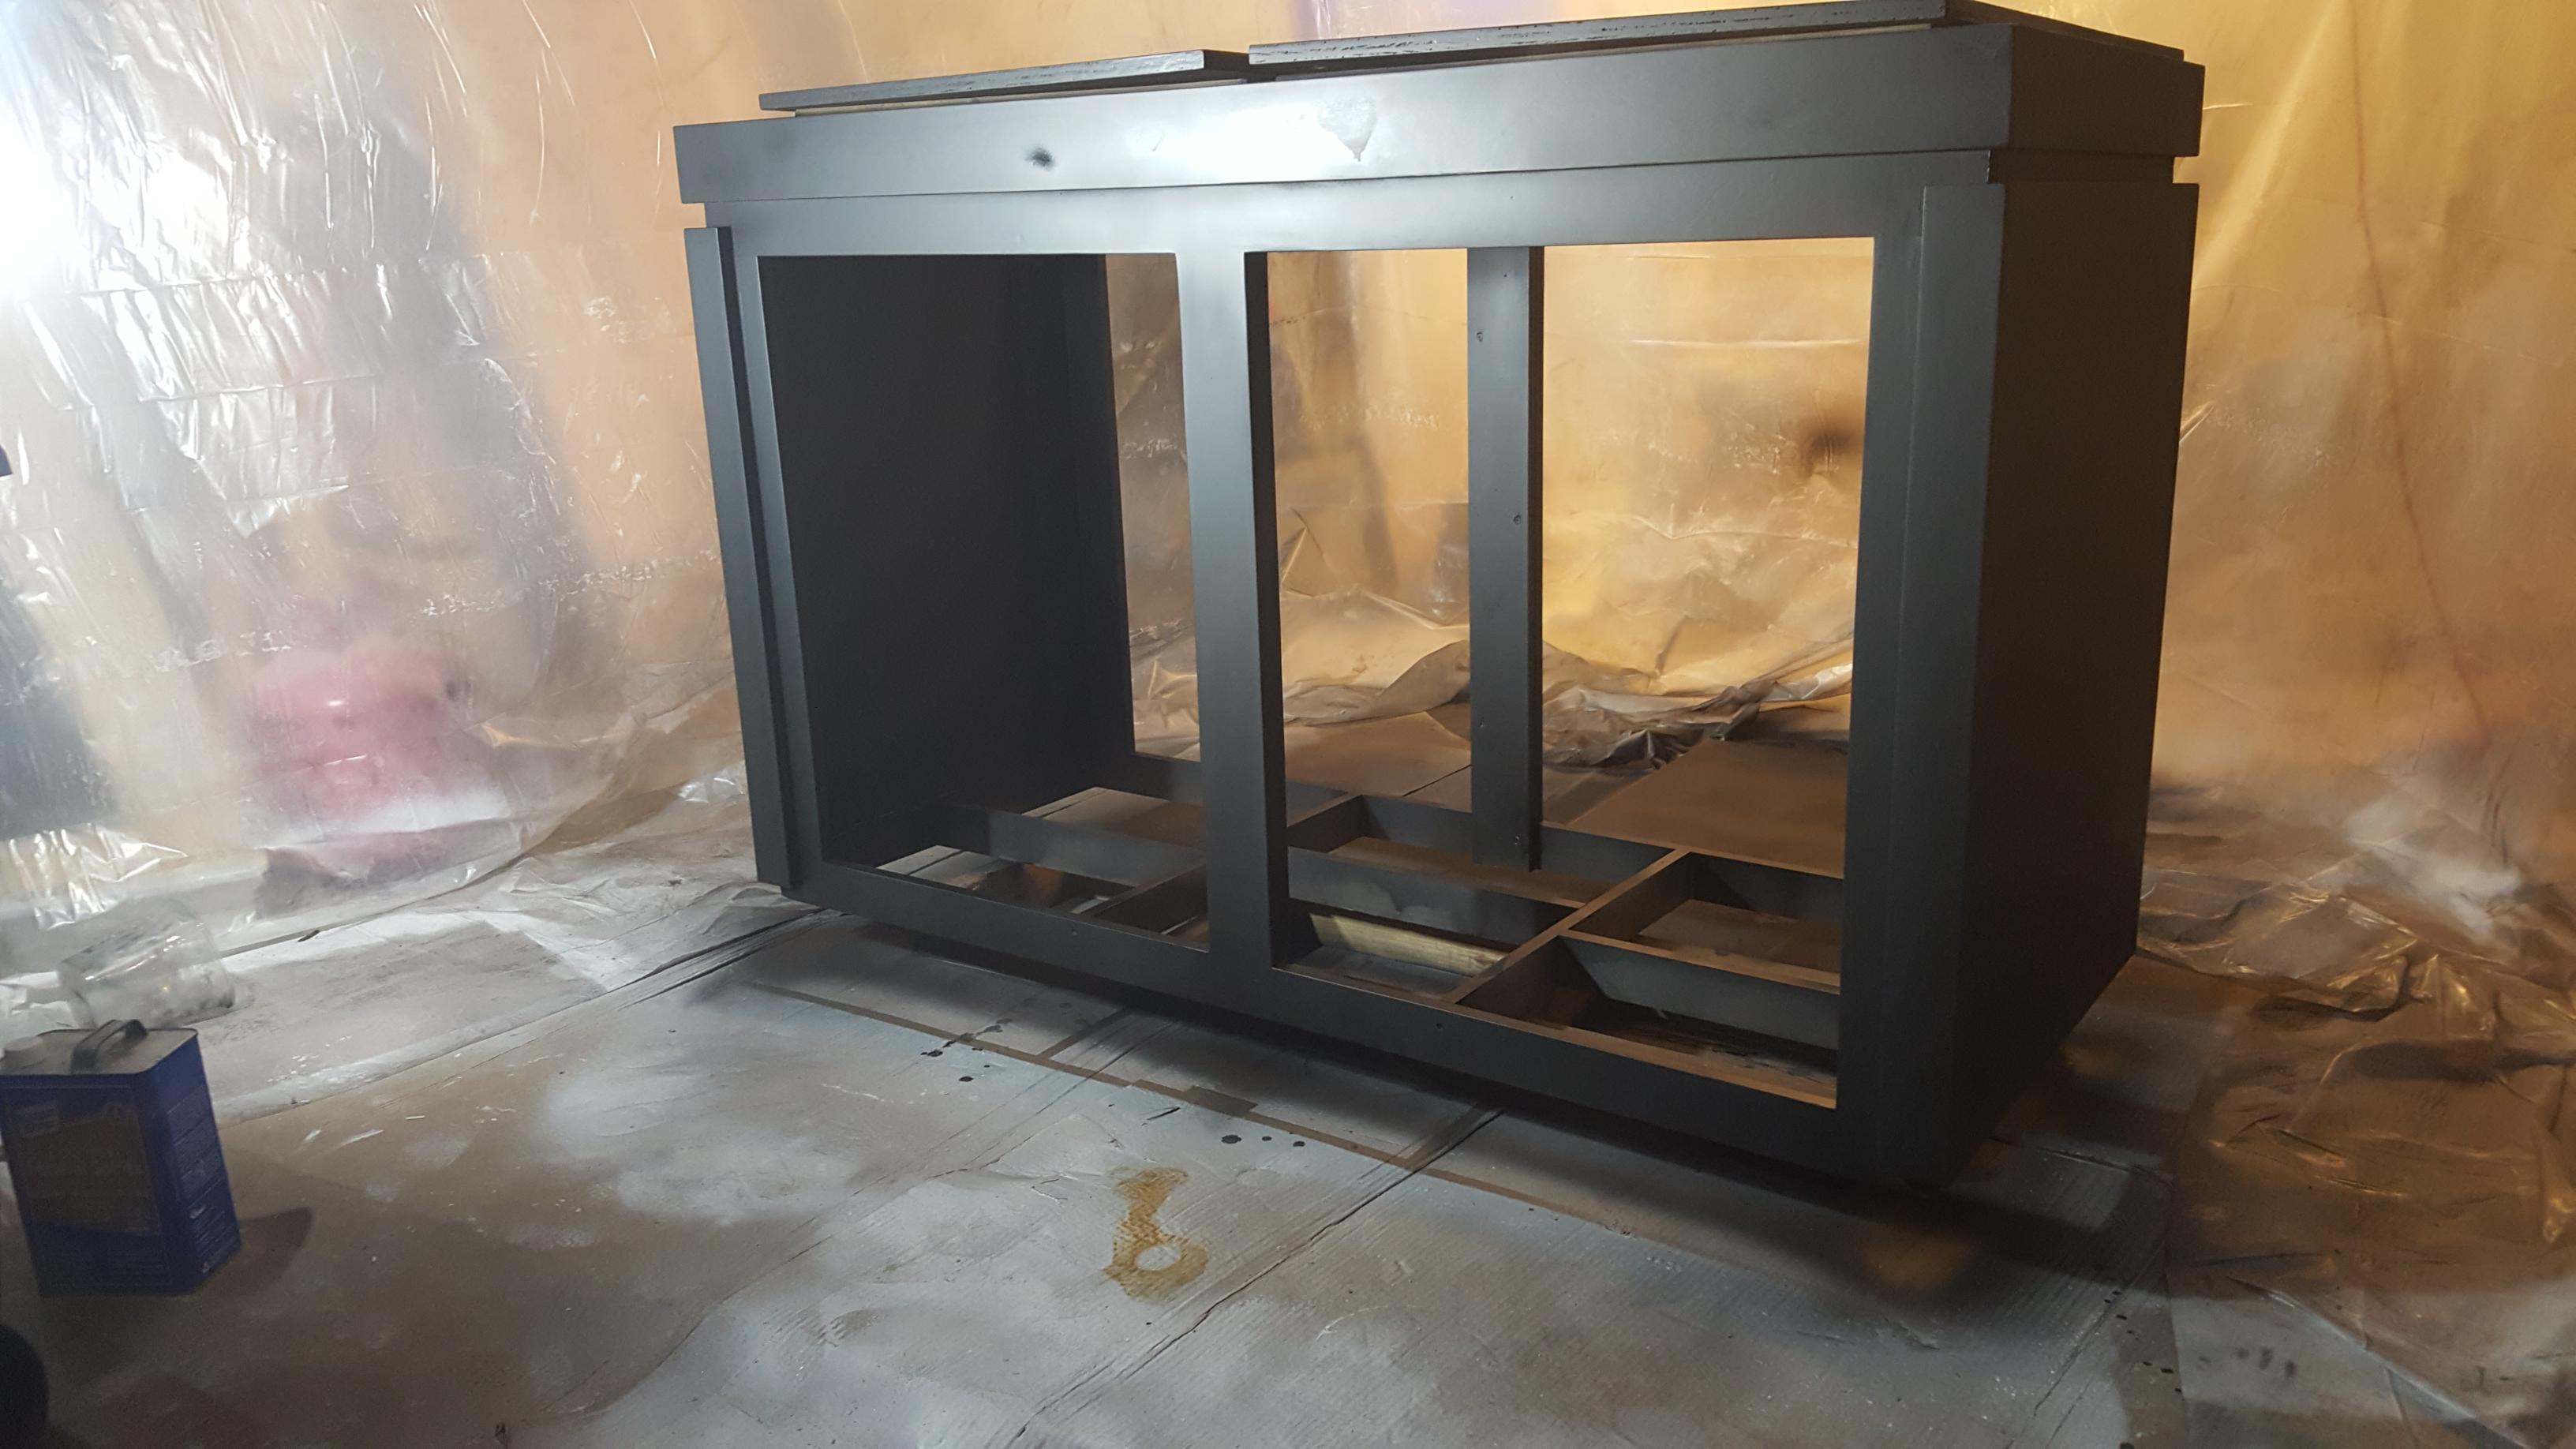
Looks good from here. If the paint runs...give it a light sanding. Be careful though, it can turn into a nightmare.

Just did that. Super easy to sand it down. I definitely recommend sanding even the smooth parts because little pieces of wood will bump up that you can't see but can feel. Done sanding and it's beyond smooth. Time to paint!
 
OP
OP
Cody

Cody

Vice President
Staff member
Administrator
Moderator
Content Moderator
Board Member
Supporting Member
Joined
Jul 23, 2014
Messages
7,310
Reaction score
4,252
Location
Spring, TX
I'm doing real quick, thin runs over the stand. That way, I can get a really pristine finish. I have thinned the oil based, enamel, satin finish paint basically in half with mineral spirits so it runs through the gun really well and only takes maybe ten minutes per run to dry.

Run 1
6XvWhyR.jpg


Run 2
qSgKxEU.jpg


About to hit it again!
 
OP
OP
Cody

Cody

Vice President
Staff member
Administrator
Moderator
Content Moderator
Board Member
Supporting Member
Joined
Jul 23, 2014
Messages
7,310
Reaction score
4,252
Location
Spring, TX
Run three. Coming along nicely.
nqgK14v.jpg


Respirator is a must
DabXZKA.jpg


Here's why. All that is just from two quick coats. That would be in your lungs otherwise. The pads were white when I started.
RiHdr2V.jpg
 
OP
OP
Cody

Cody

Vice President
Staff member
Administrator
Moderator
Content Moderator
Board Member
Supporting Member
Joined
Jul 23, 2014
Messages
7,310
Reaction score
4,252
Location
Spring, TX
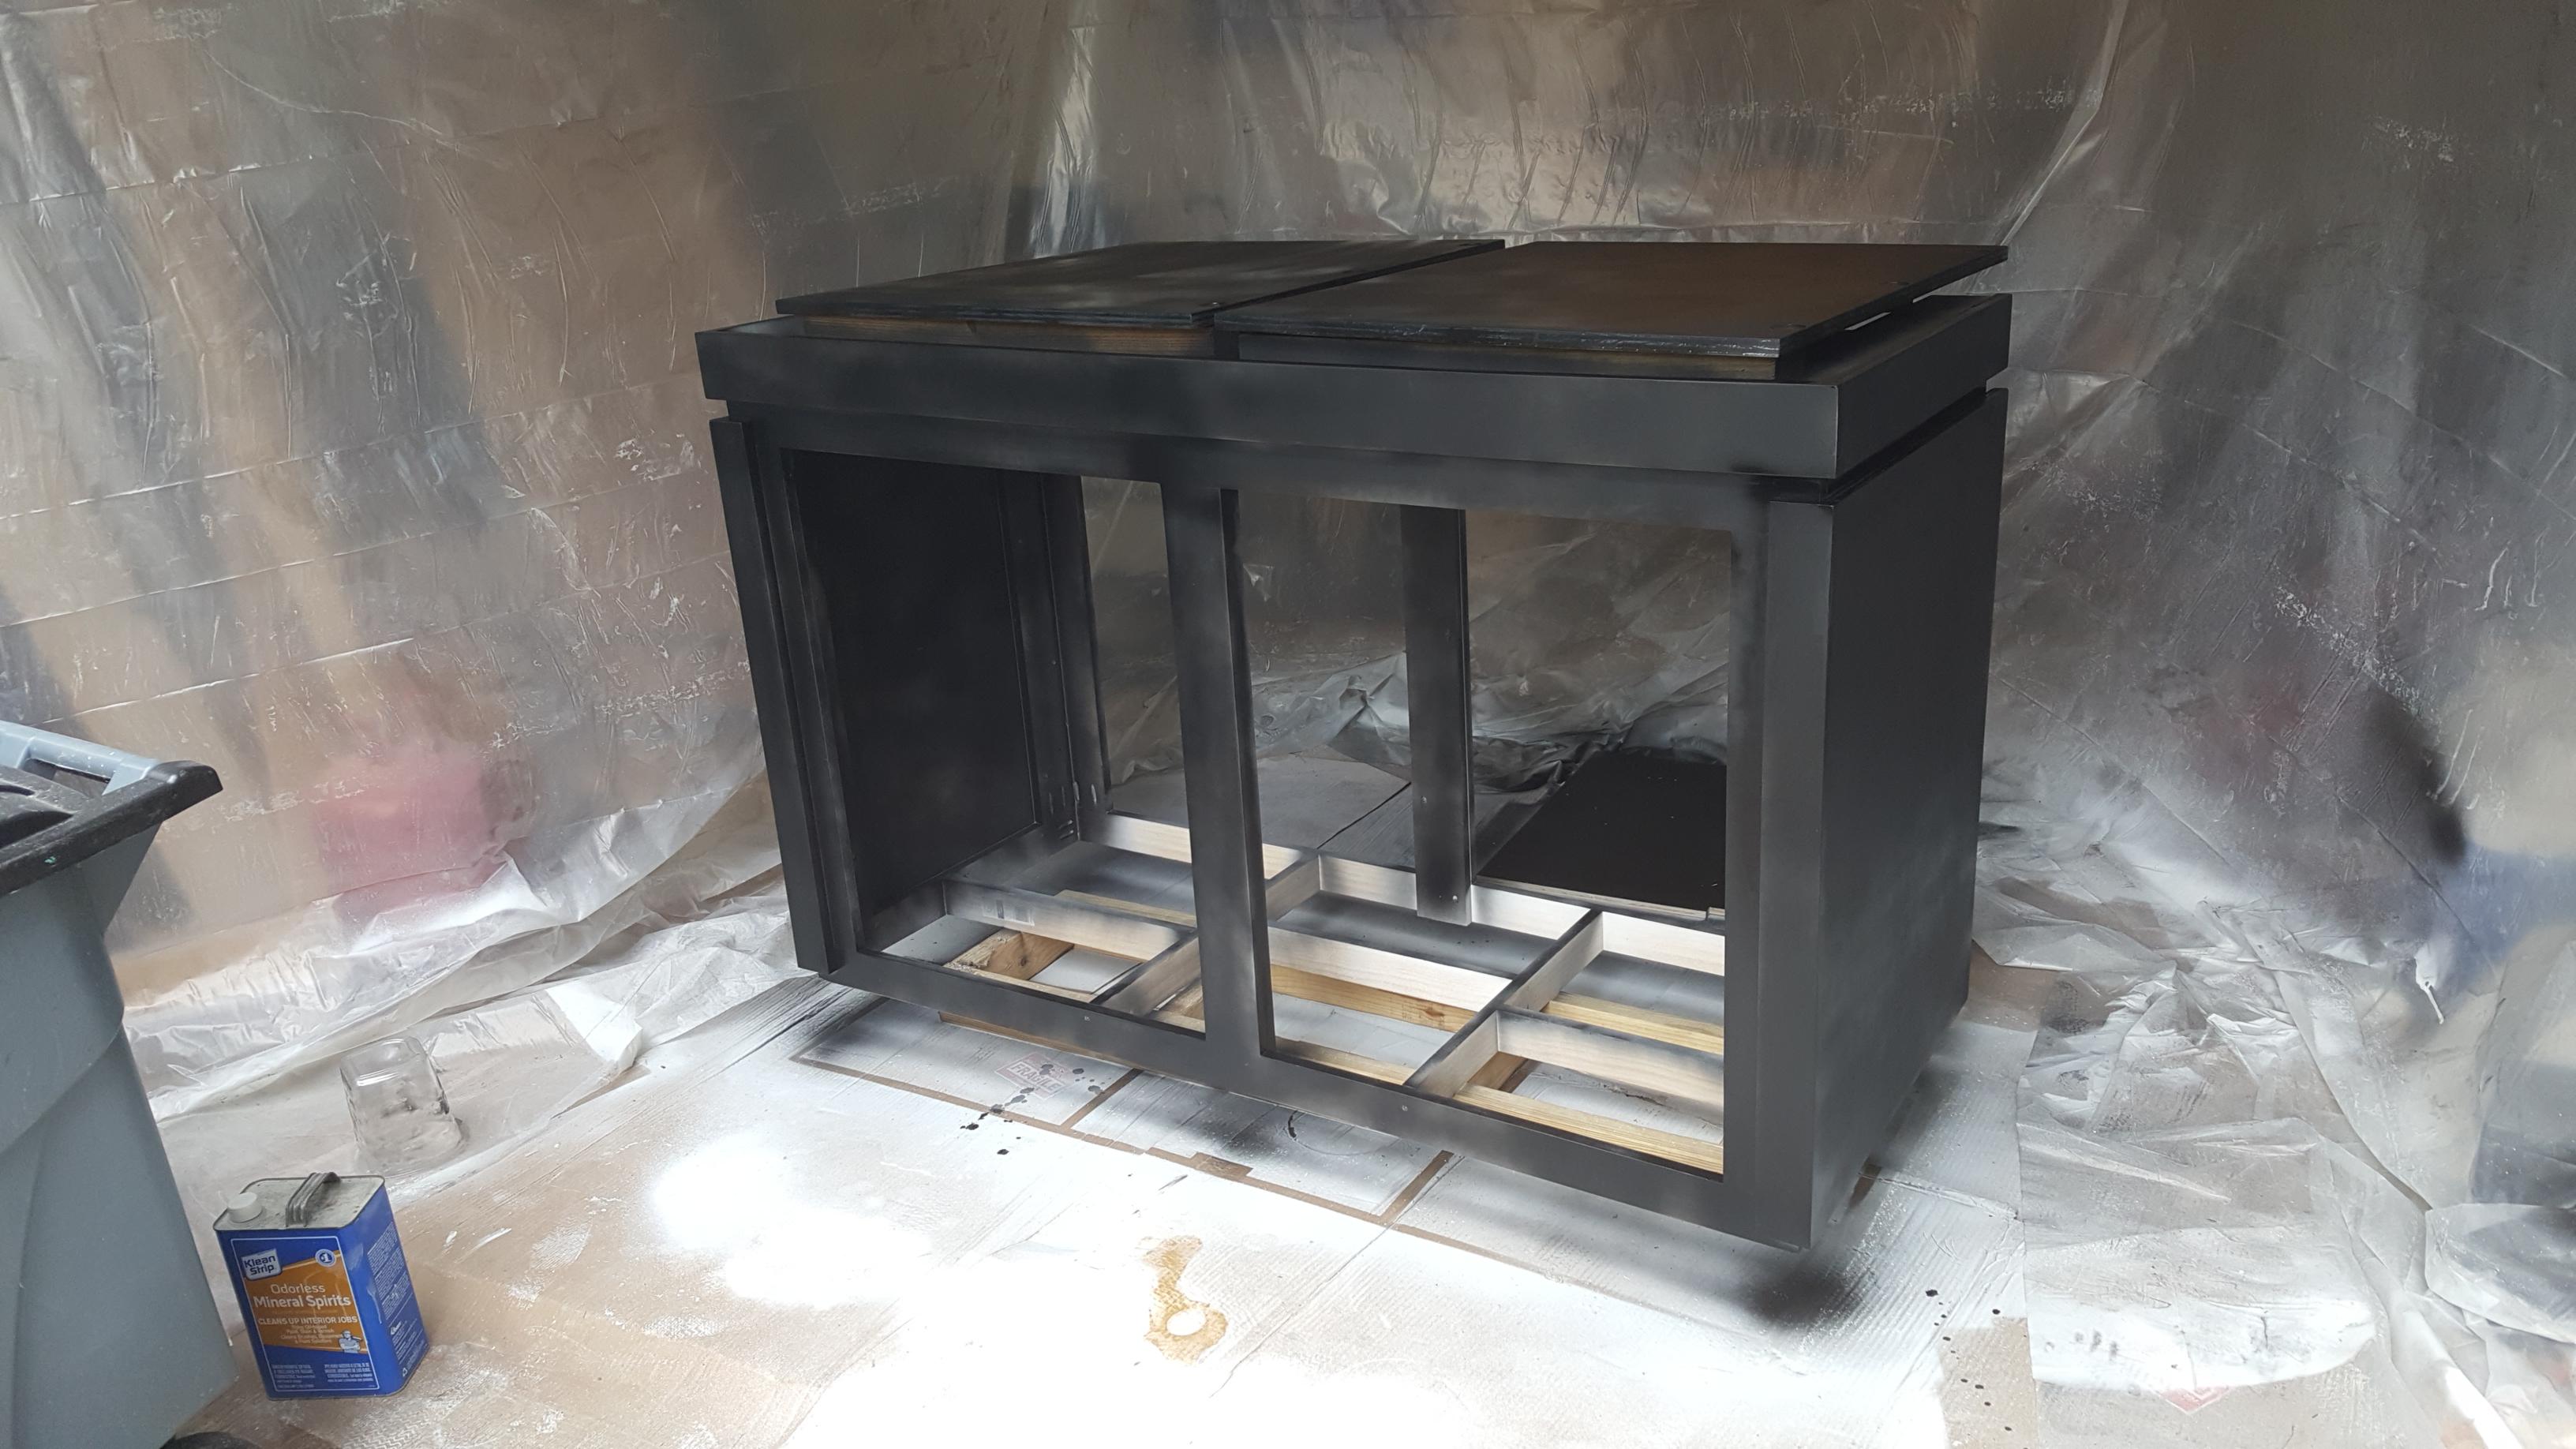
Hit it hit it hit it.....:turboink:

What will be the final color?!!

Black satin finish. The sump will be in the other room so I don't need the extra gloss protection. I prefer satin.
 
OP
OP
Cody

Cody

Vice President
Staff member
Administrator
Moderator
Content Moderator
Board Member
Supporting Member
Joined
Jul 23, 2014
Messages
7,310
Reaction score
4,252
Location
Spring, TX
Well, I'm figuring out how to use this gun more correctly. There are a few blemish areas that I will have to sand, but overall, it's smooth as butter. Just gotta let it dry for 24 hours, then smooth out the trouble areas. Might hit one last layer after that to make sure everything has a nice finish. I couldn't be more impressed with the smooth finish with this air spray gun.
 
OP
OP
Cody

Cody

Vice President
Staff member
Administrator
Moderator
Content Moderator
Board Member
Supporting Member
Joined
Jul 23, 2014
Messages
7,310
Reaction score
4,252
Location
Spring, TX
There's in of the two blemishes dead center at the top. Not the dark spot though. That's just wet paint. Look to the right. Easy to sand out though. Just gotta let it dry. Notice how smooth everything else is though.
b4EzWUf.jpg
 
OP
OP
Cody

Cody

Vice President
Staff member
Administrator
Moderator
Content Moderator
Board Member
Supporting Member
Joined
Jul 23, 2014
Messages
7,310
Reaction score
4,252
Location
Spring, TX
That finish. Keep in mind, this is satin, not gloss. The finish is just that smooth. I love It! Hopefully the system should be wet by this weekend!
NOpFhMG.jpg
 
OP
OP
Cody

Cody

Vice President
Staff member
Administrator
Moderator
Content Moderator
Board Member
Supporting Member
Joined
Jul 23, 2014
Messages
7,310
Reaction score
4,252
Location
Spring, TX
The wife caught me in action. It was a beautiful day outside so she was hanging out. She saw I didn't post a single picture that she took so she insisted on me posting a couple.

Me in action
LqPtYCB.jpg


My cat was hunting lizards and squirrels in the yard all day. Caught a lizard and deeply injured it. It was laying still, so she would tap it to make it move, then hunt it again. My sweet cat is evil.
IVmkiPd.jpg
 
OP
OP
Cody

Cody

Vice President
Staff member
Administrator
Moderator
Content Moderator
Board Member
Supporting Member
Joined
Jul 23, 2014
Messages
7,310
Reaction score
4,252
Location
Spring, TX
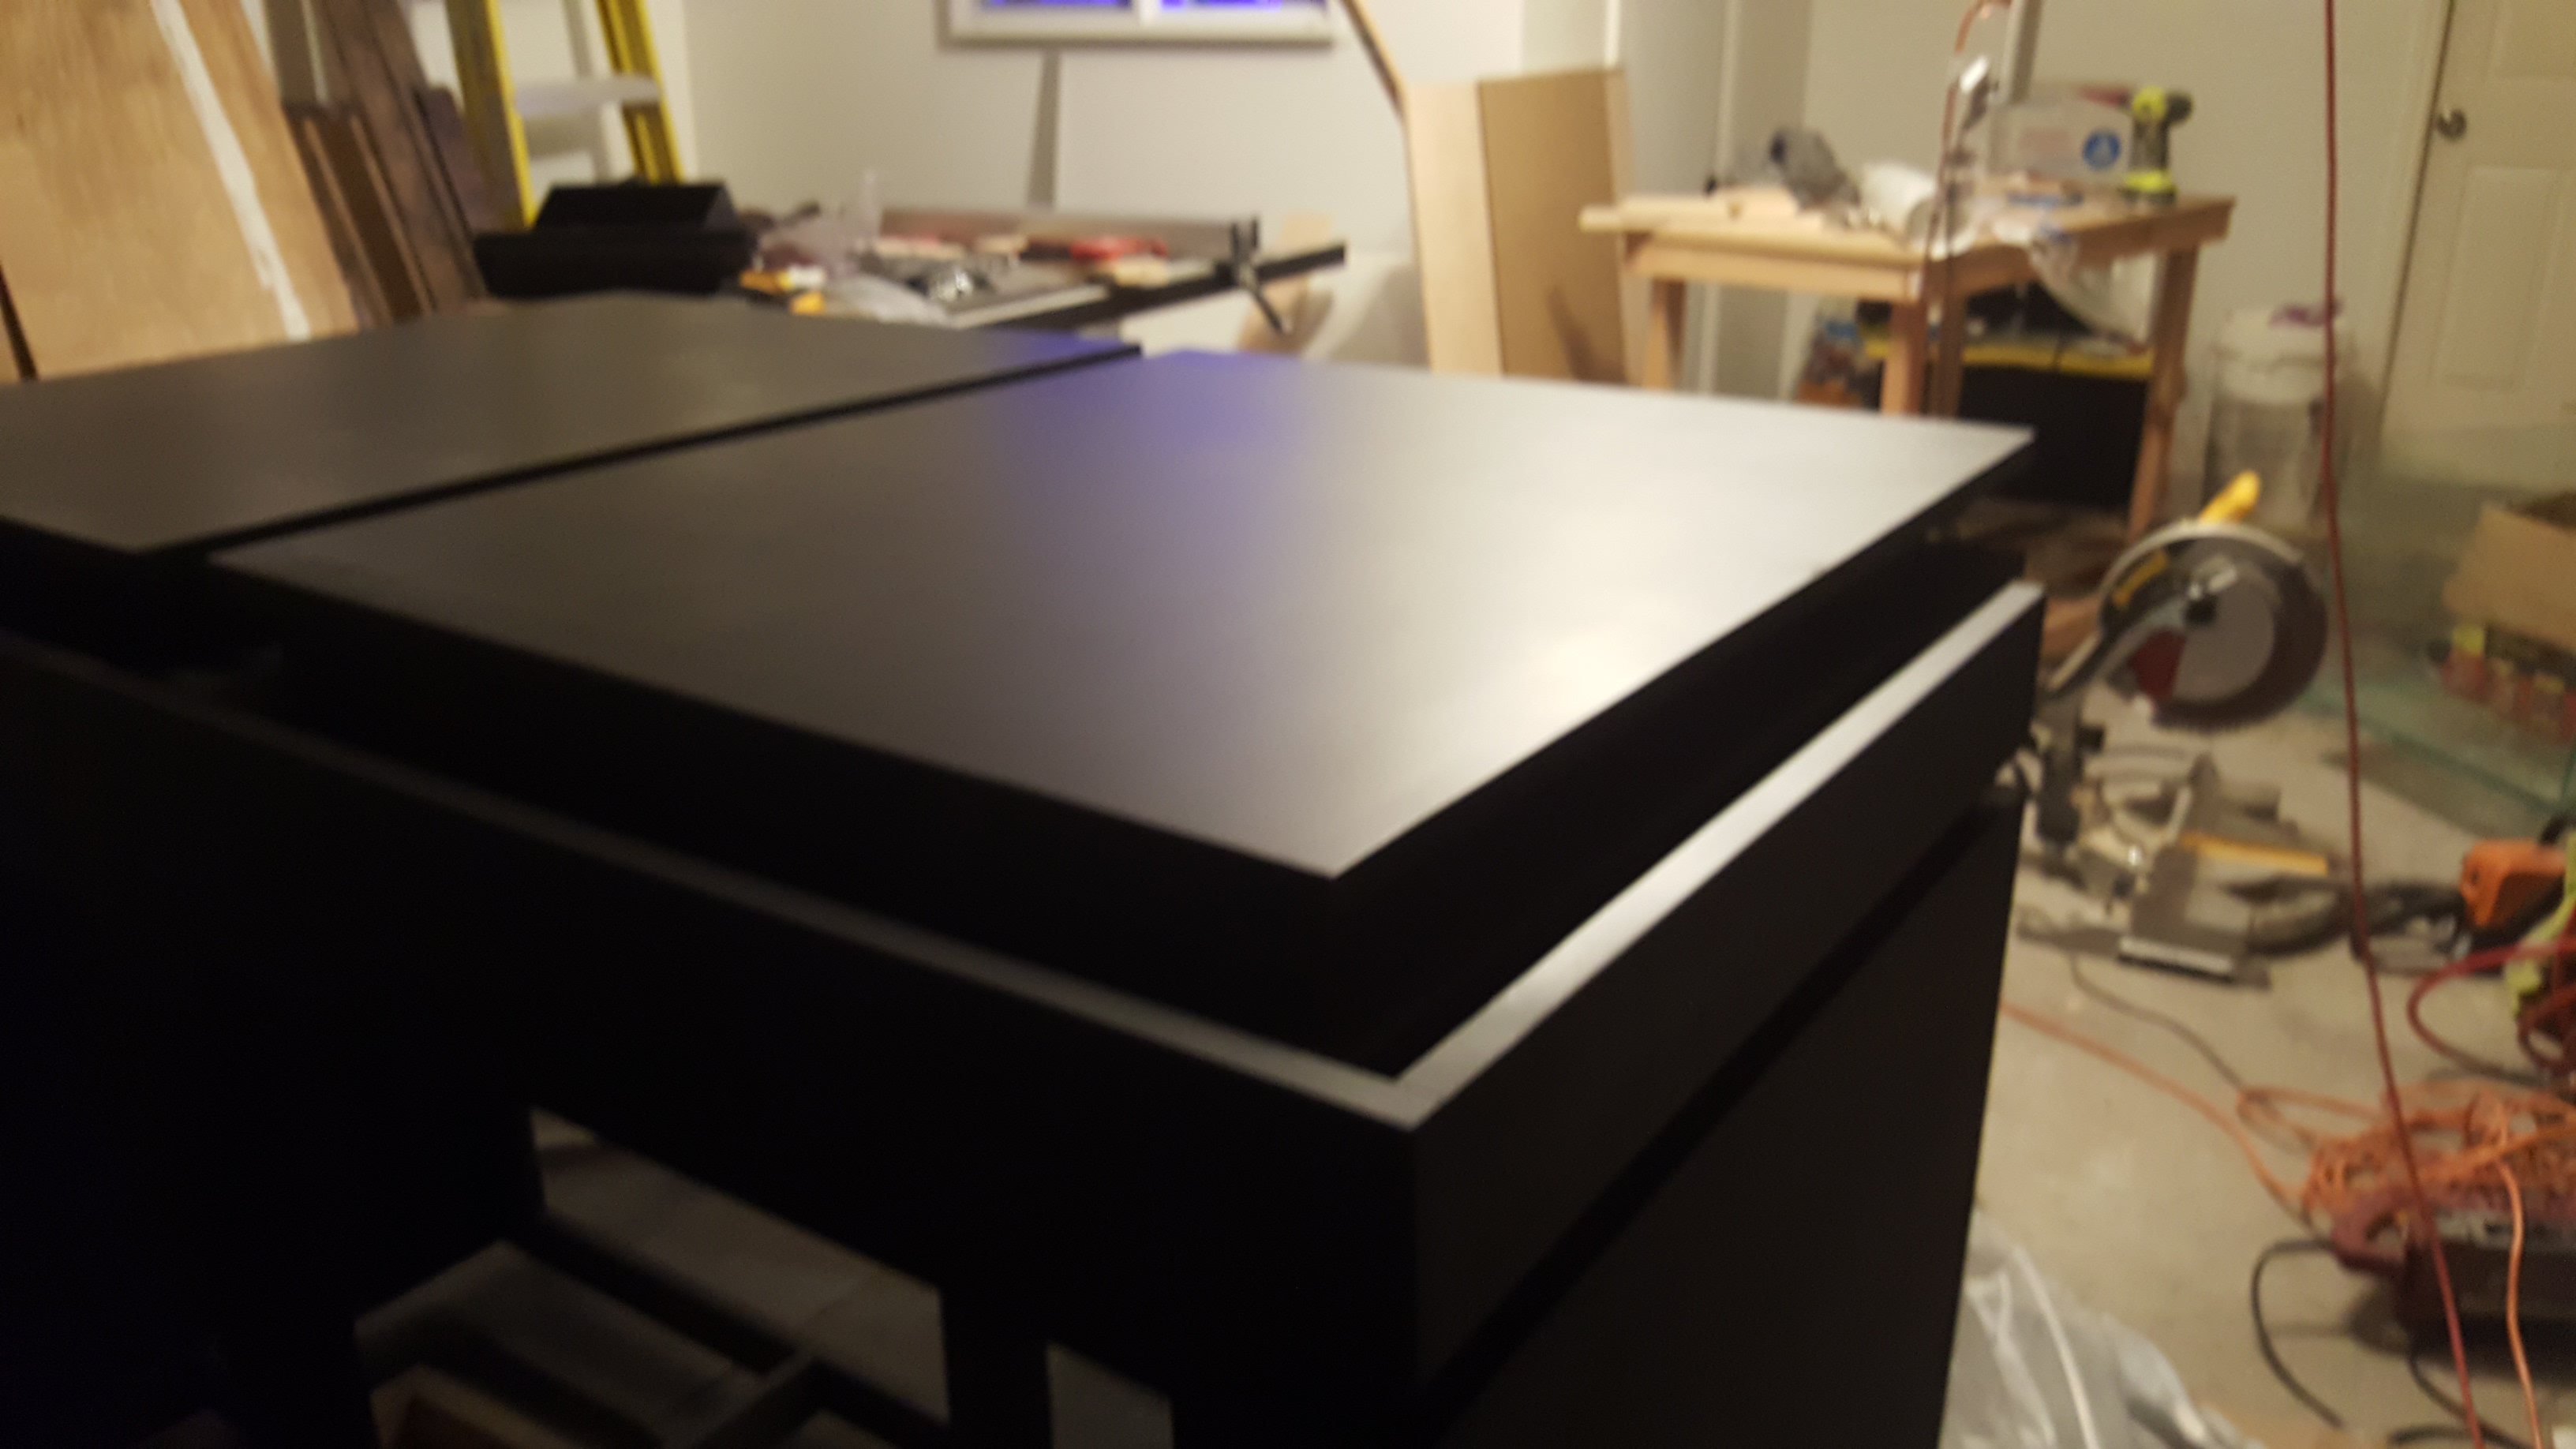
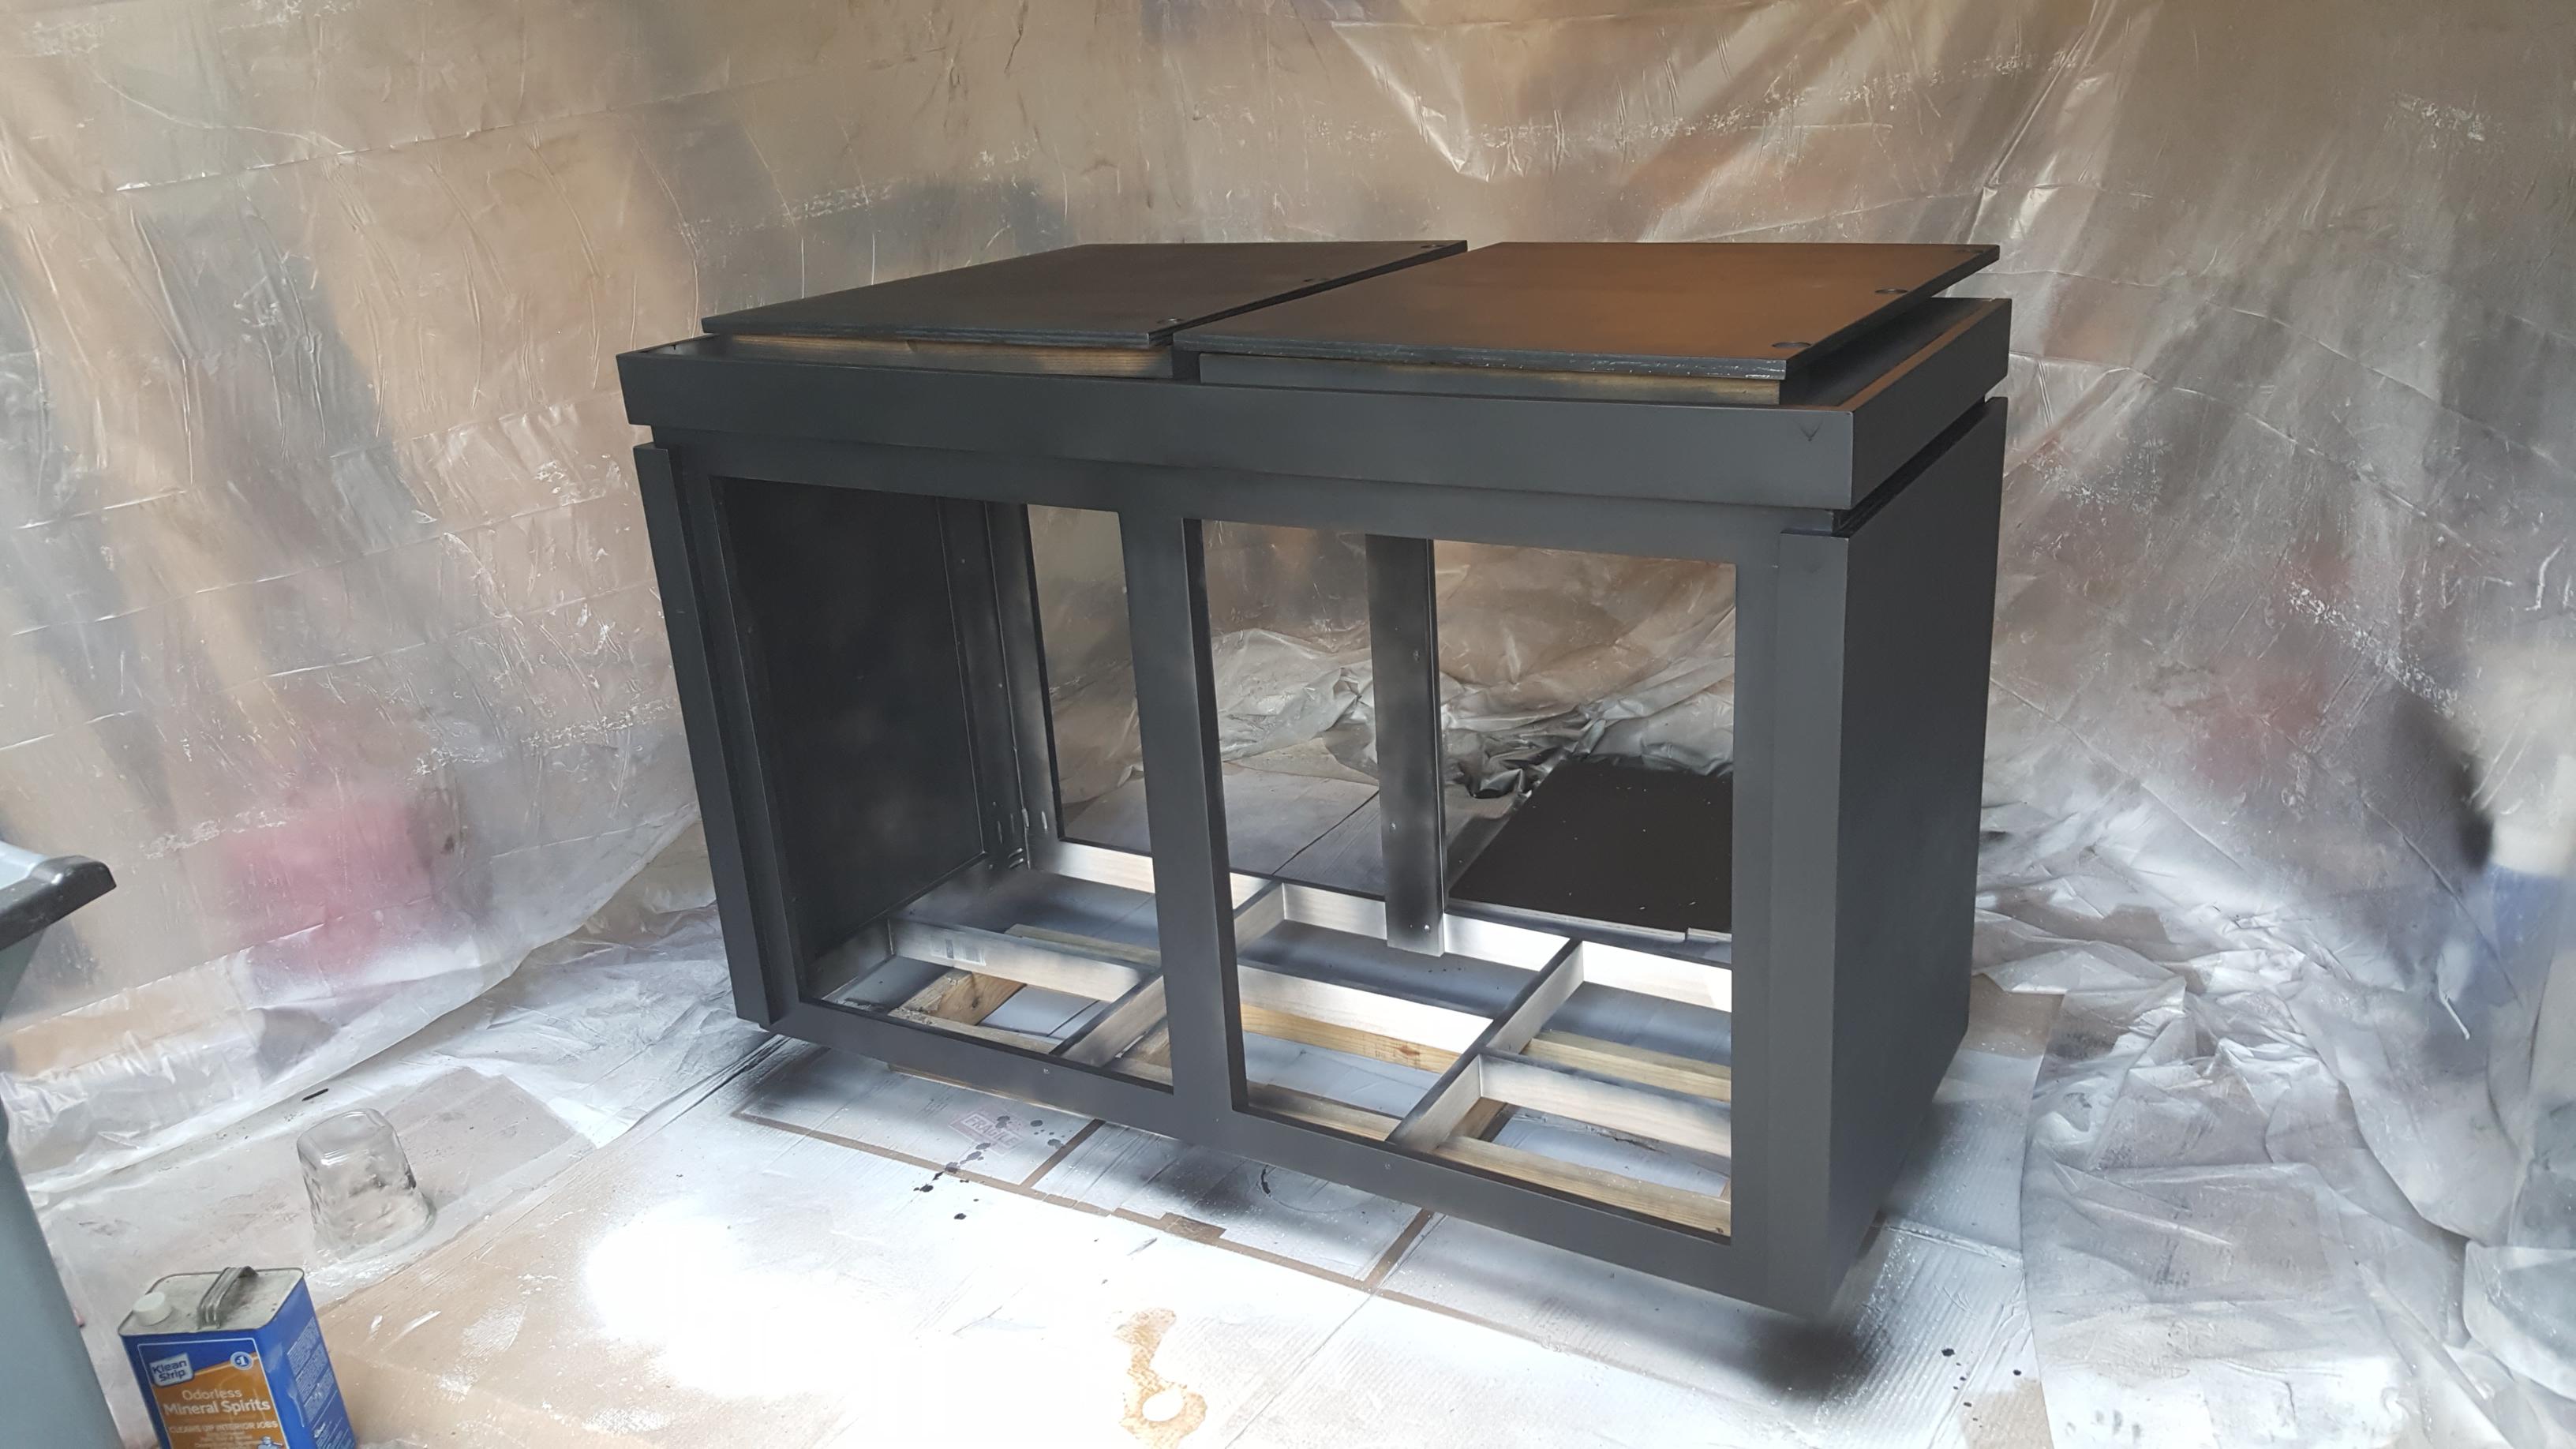
When you sand, lightly hit it with 220, and then 400.

Then spray it one last time. Should come out nice.

If the paint has the same consistency as the primer, then 220 should do it. It not, I have some 300 and 600 on hand that I use for acrylics. Either way, she gonna be pretty.

Just finished sanding up the edges of the sump to get it smooth to the touch. Gotta dissolve the calcification in it then throw in baffles. The baffles may or may not be covered up by some dosing containers that may or may not be up for raffle at the trick or treat tank tour.
5WbkLTZ.jpg


All 56" of my sump ready for the baffles. The blue masking tape marks the baffle for my refugium. Should hold exactly 40 gallons in that chamber.
UGoU590.jpg
 
Top