


FireEater
Guest
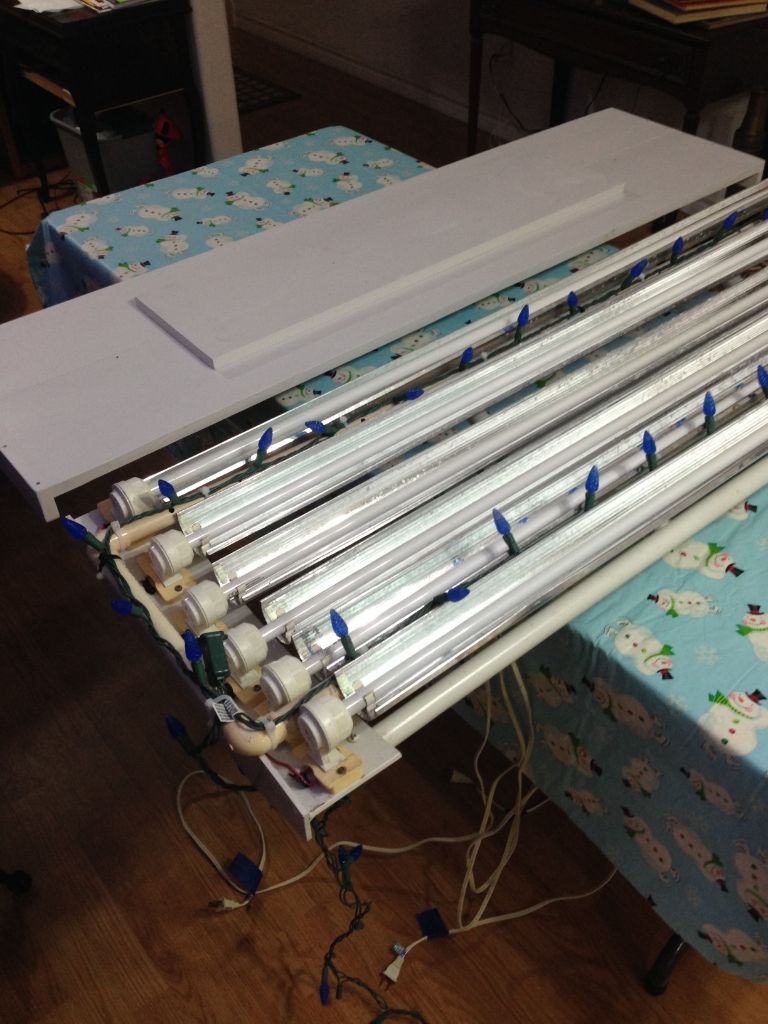
I built a new T 5 Light setup Thursday. The one I have been using has been in place since 2008. I built it also and you can see that build HERE
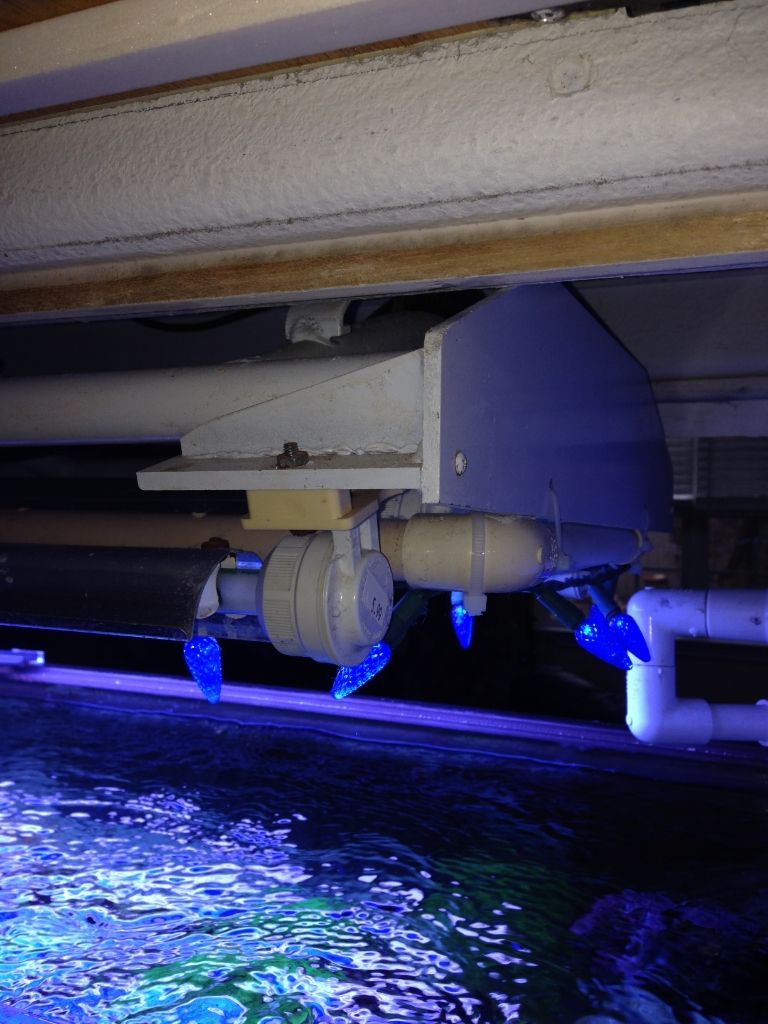
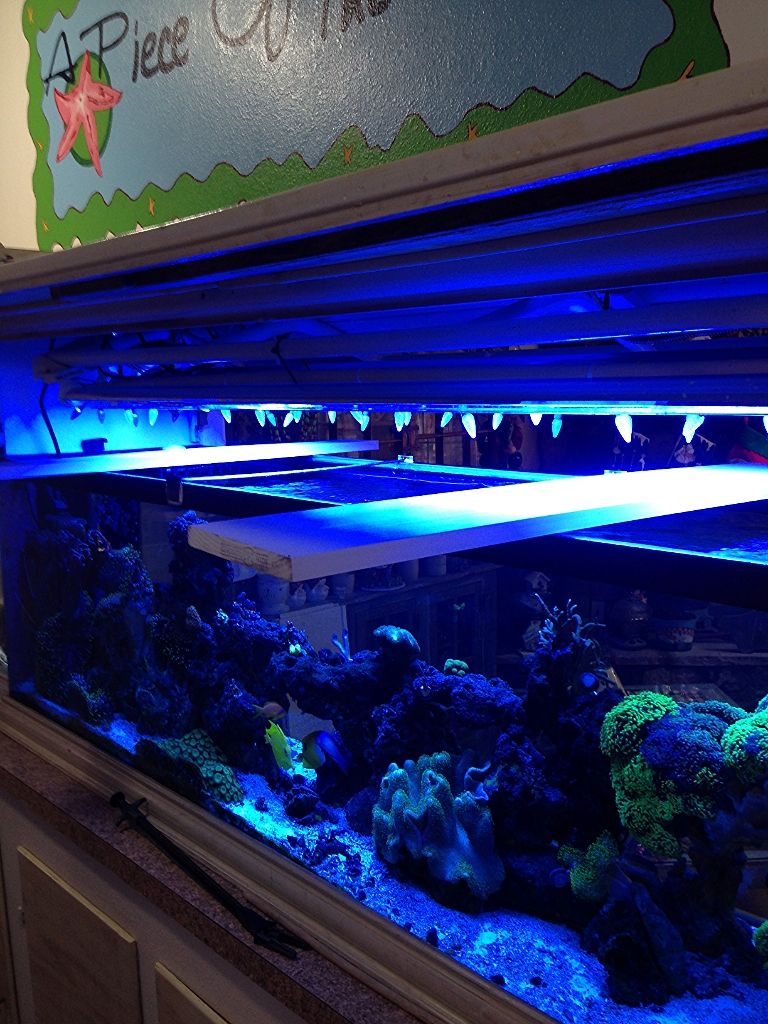
I wanted to go with something very simple. I had to completely remove the old light setup every time I had to replace a bulb. It was always in the way as it hung to low. When I worked on the tank, I had to prop up one side. Plus you can see the Moon Lights (LEDs) which were actually Christmas Lights. I went with new LEDs which are a lot better as you will see.
As I said, I wanted to go simple. The new light setup now is out of the way, I can change the bulbs while it is in place and it is just more user friendly.
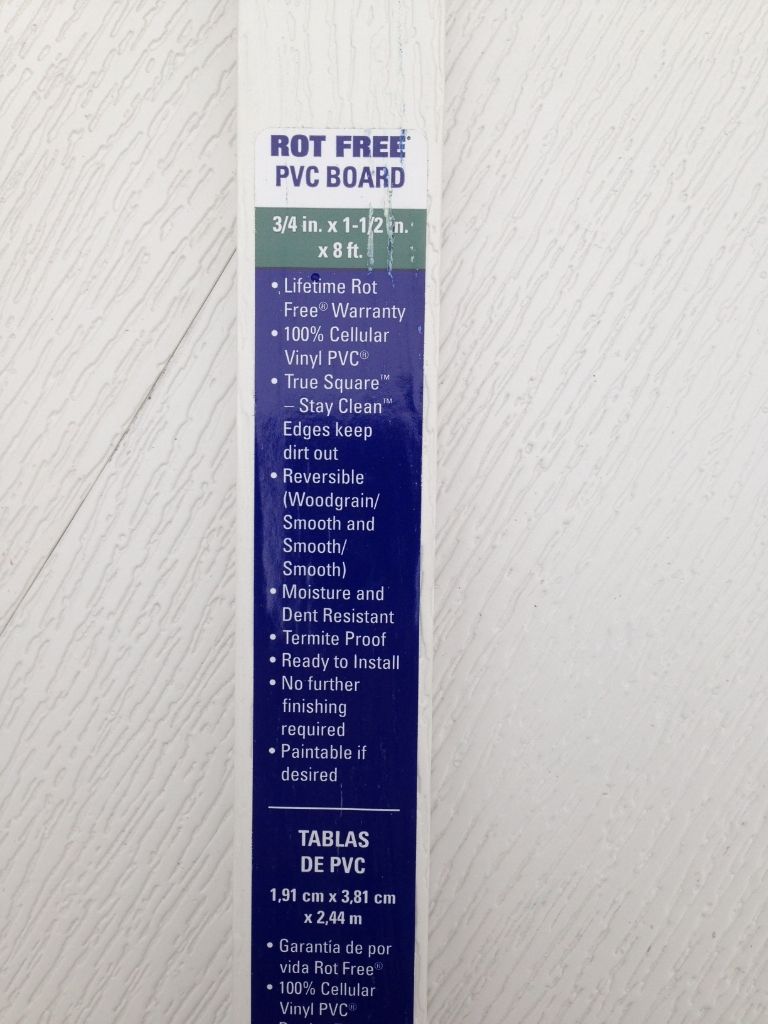
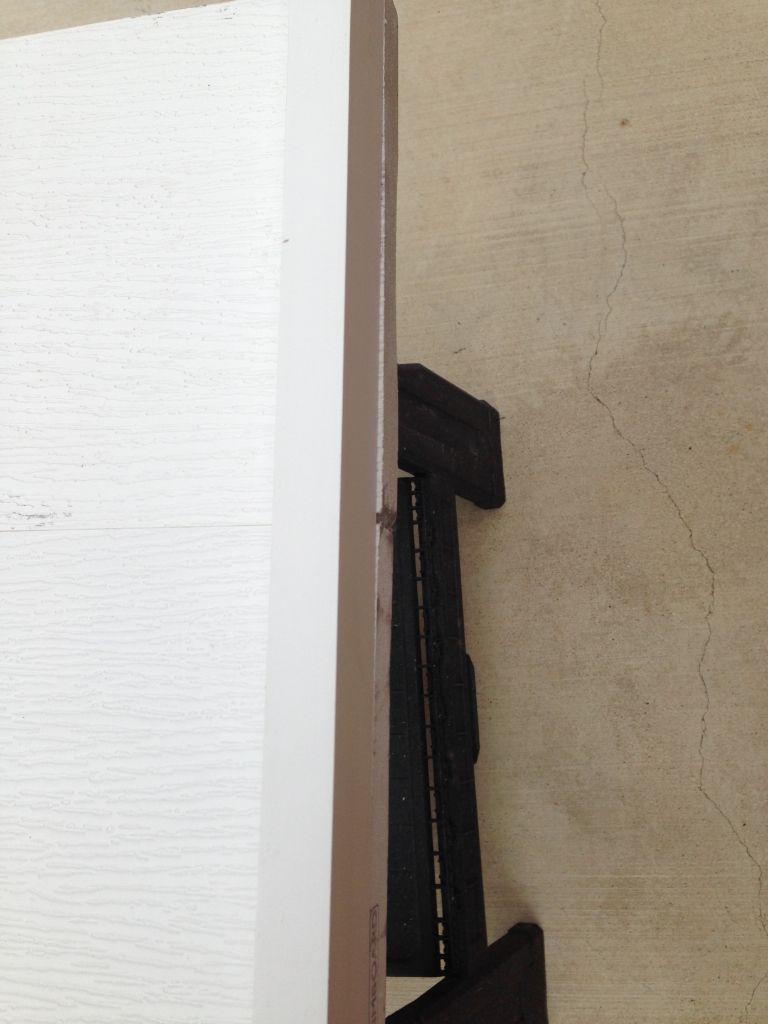
I used PVC board from Lowe's, which has a wood grain on it. The board comes in different sizes and lengths and is use for outside of houses as it never rots, termite proof, bug proof, and last forever. Our boat had a lot of teak on it and I used this stuff to replace it.
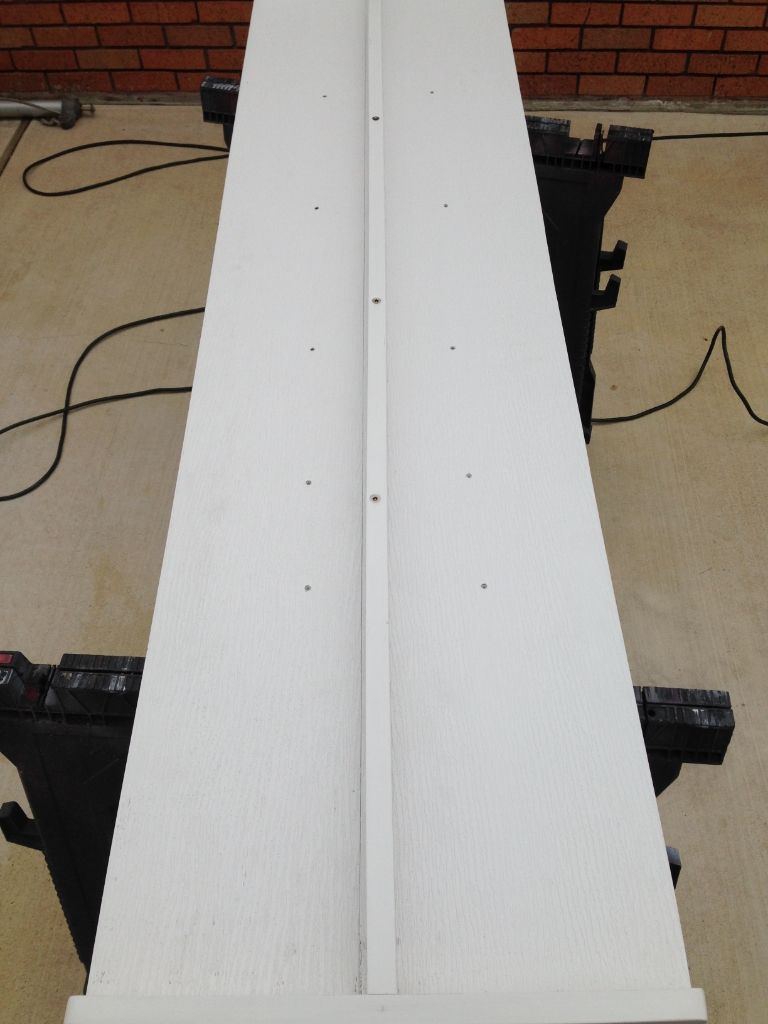
I used long clamps to hold two pieces side by side. Then screw them down to another piece on what will be the top. This piece is where the ballasts will go.
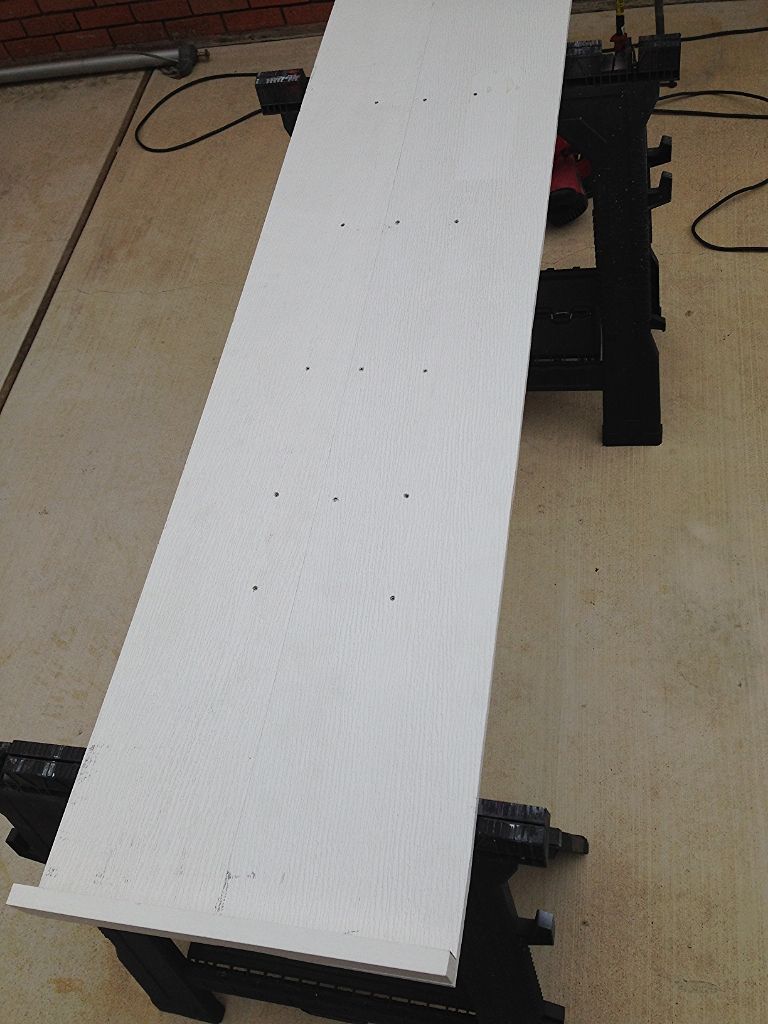
I screwed a 3/4" X 1 1/2" piece on each end.

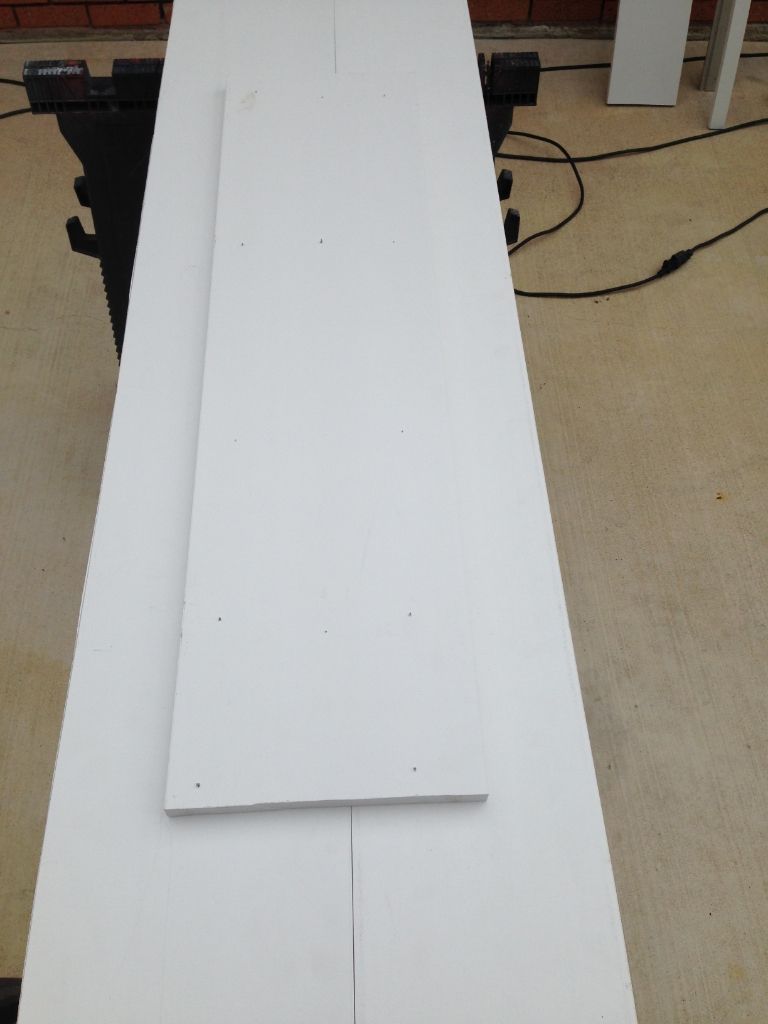
This is the piece where the ballasts will sit.
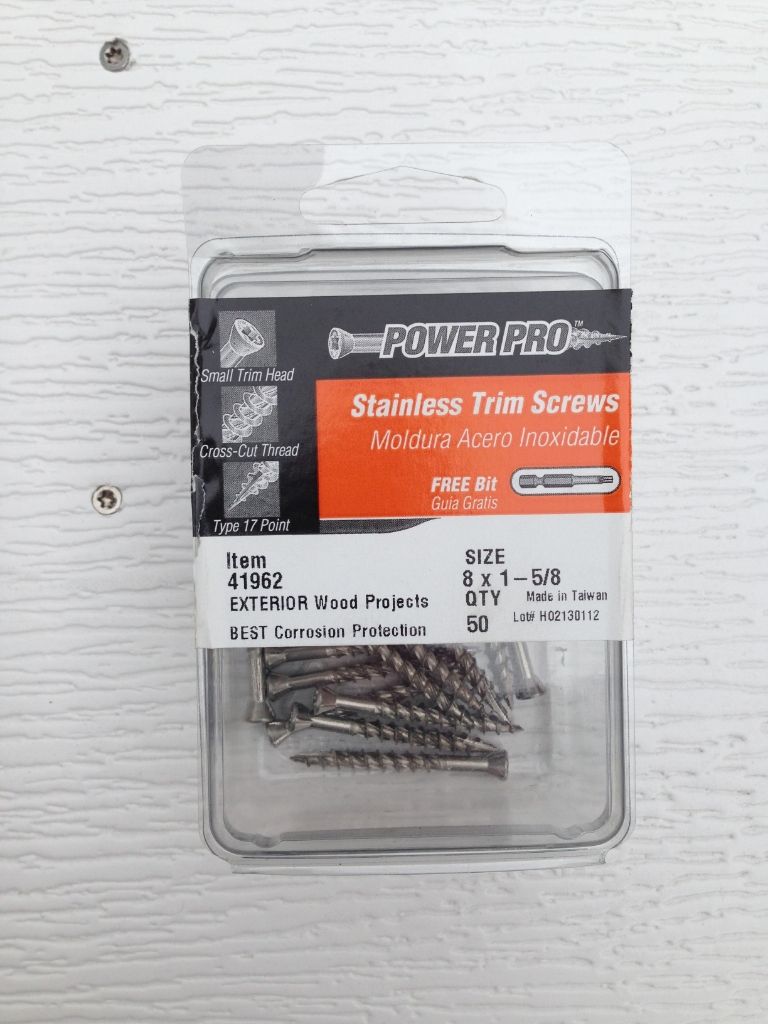
The stainless screws I used
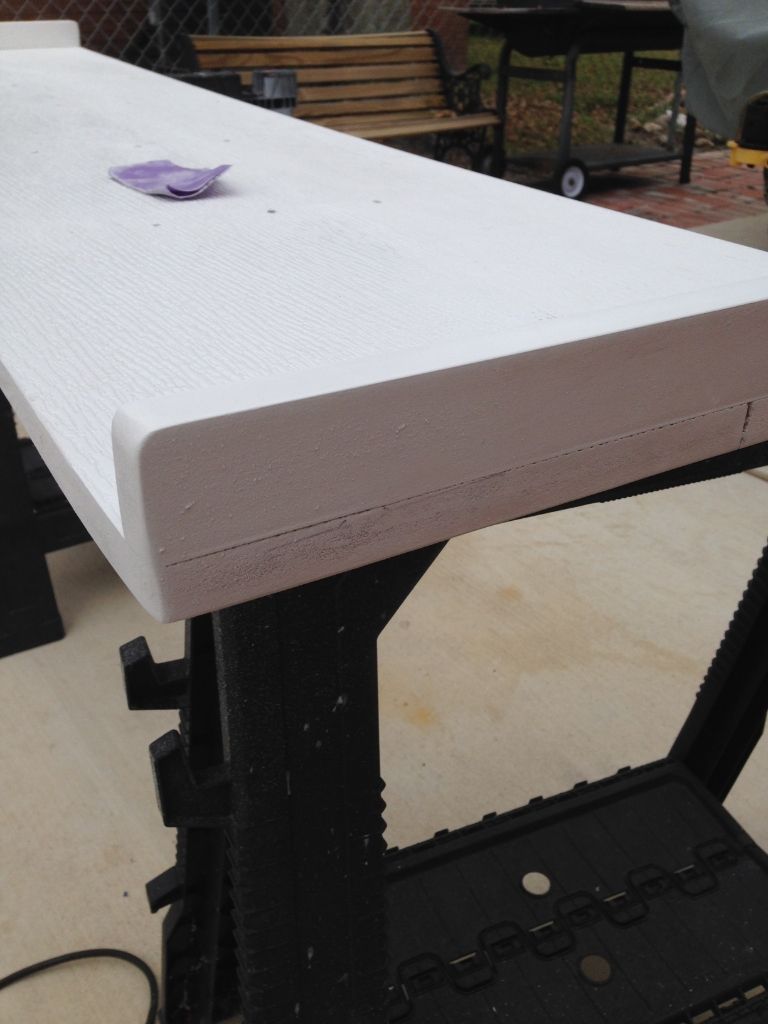
I sanded this rough edge down with my belt sander.
And rounded off the corners of this piece.
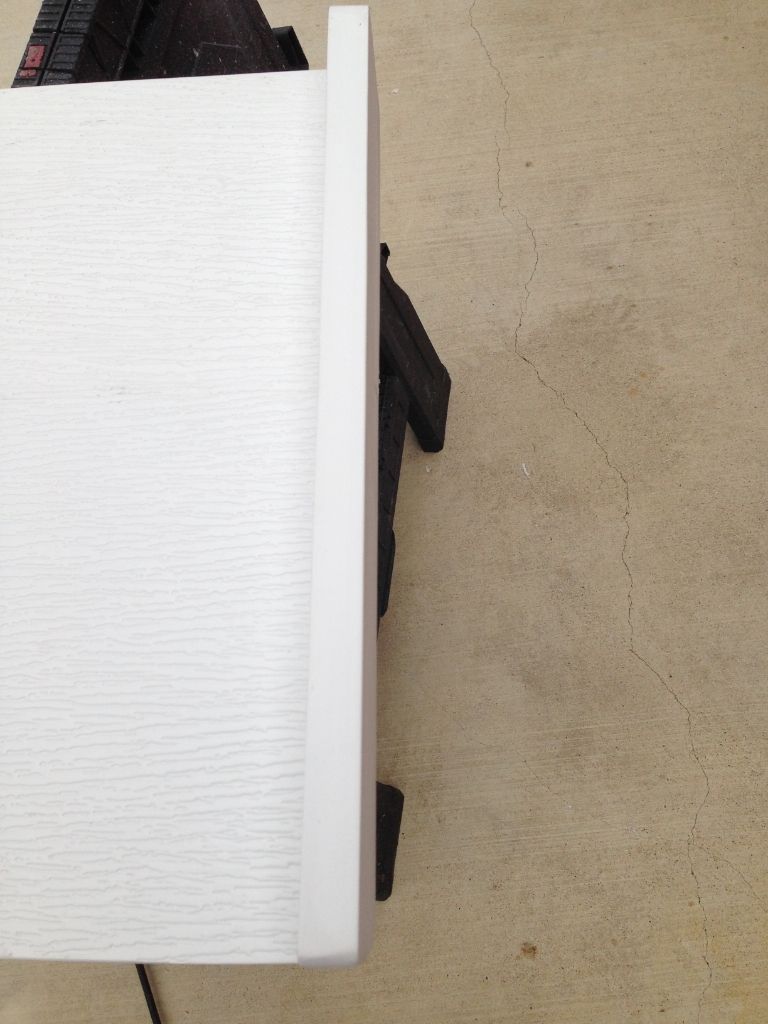
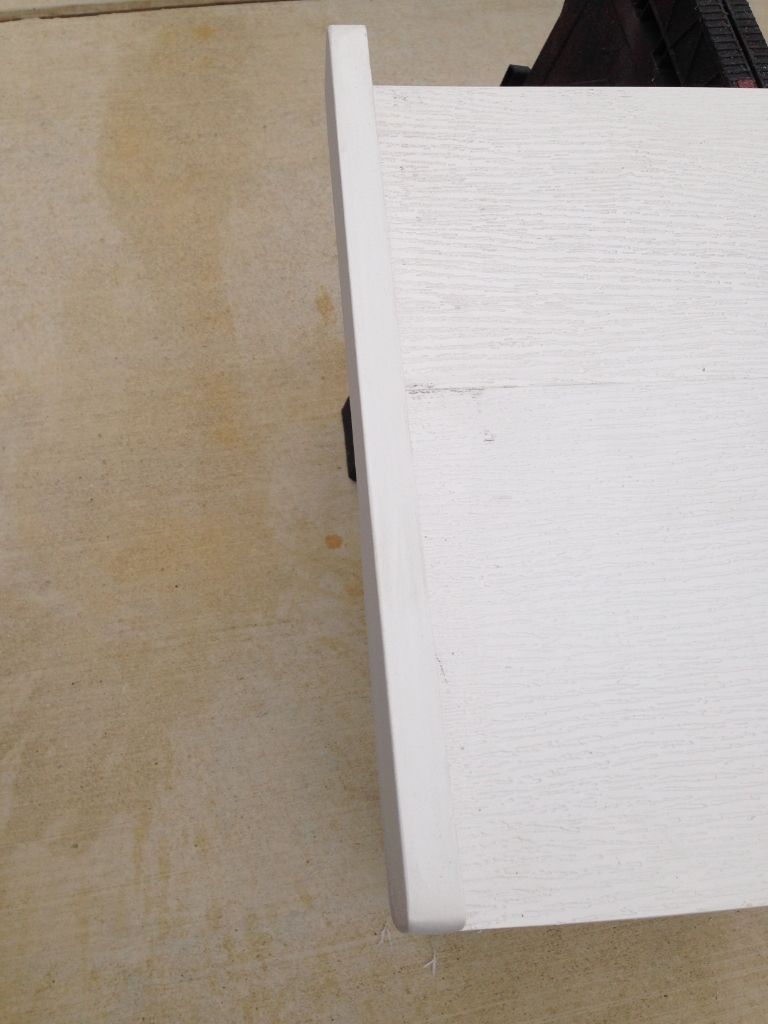
The other end
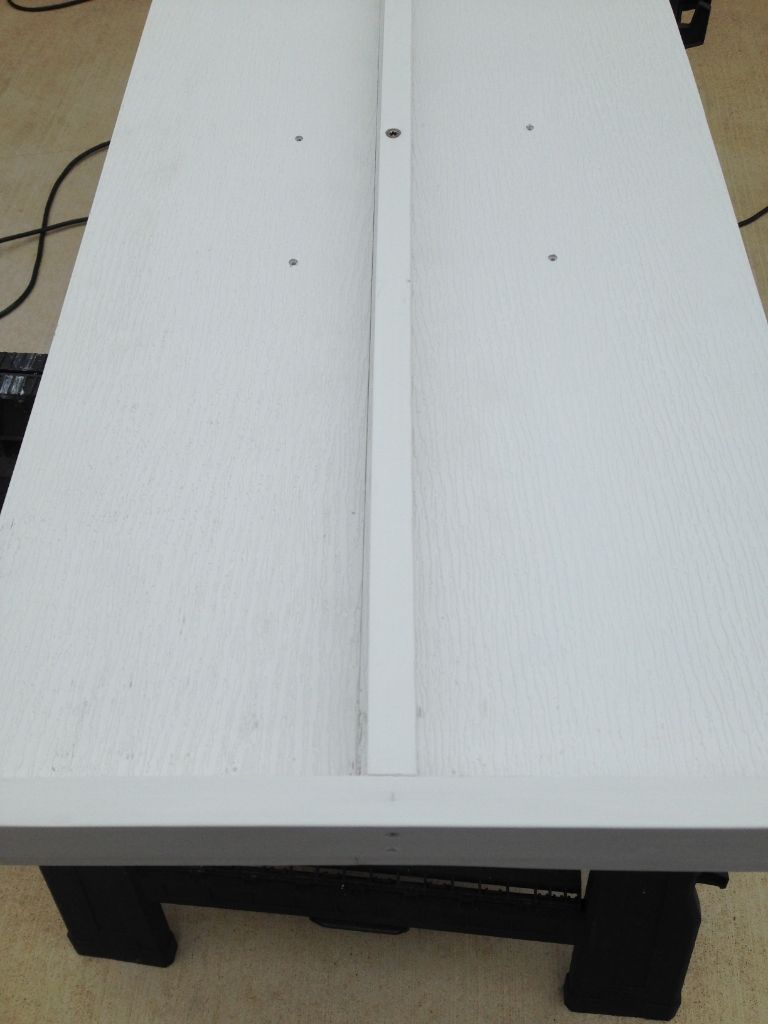
I then screwed down a center piece and this is where the new LEDs will go.

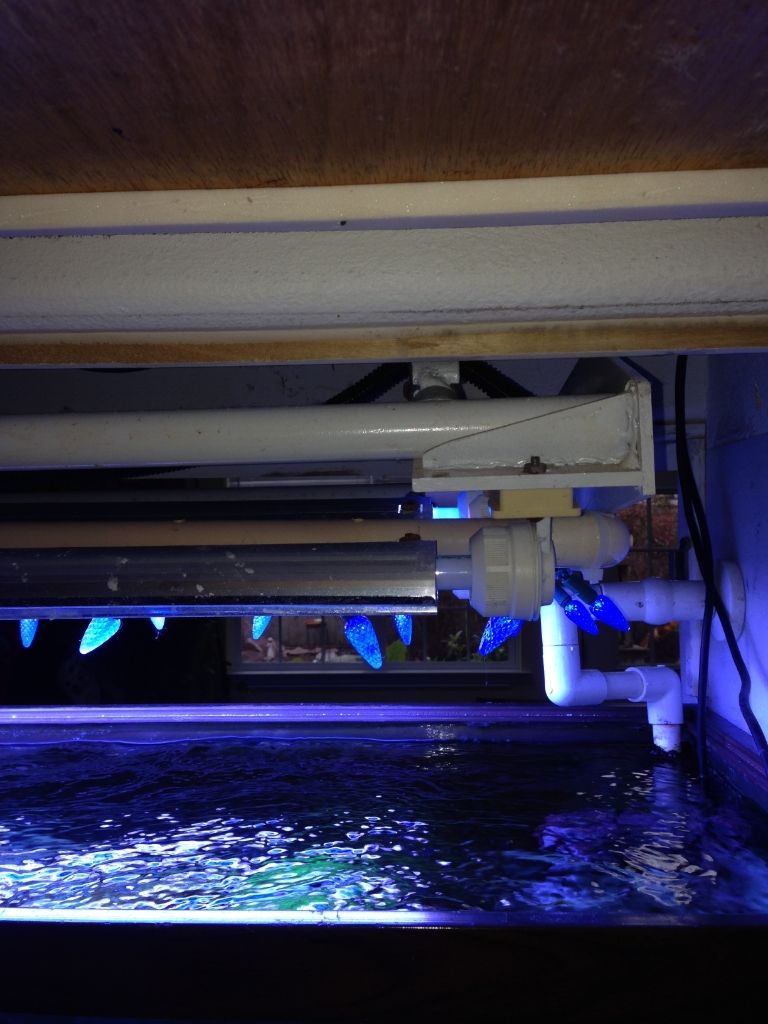
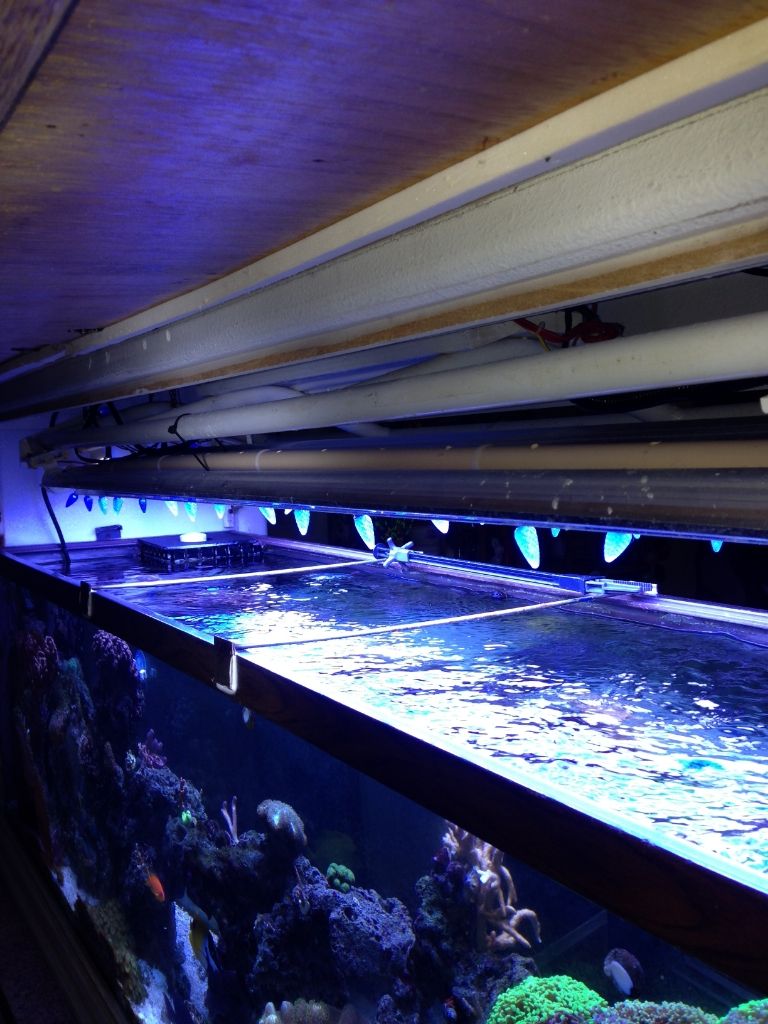
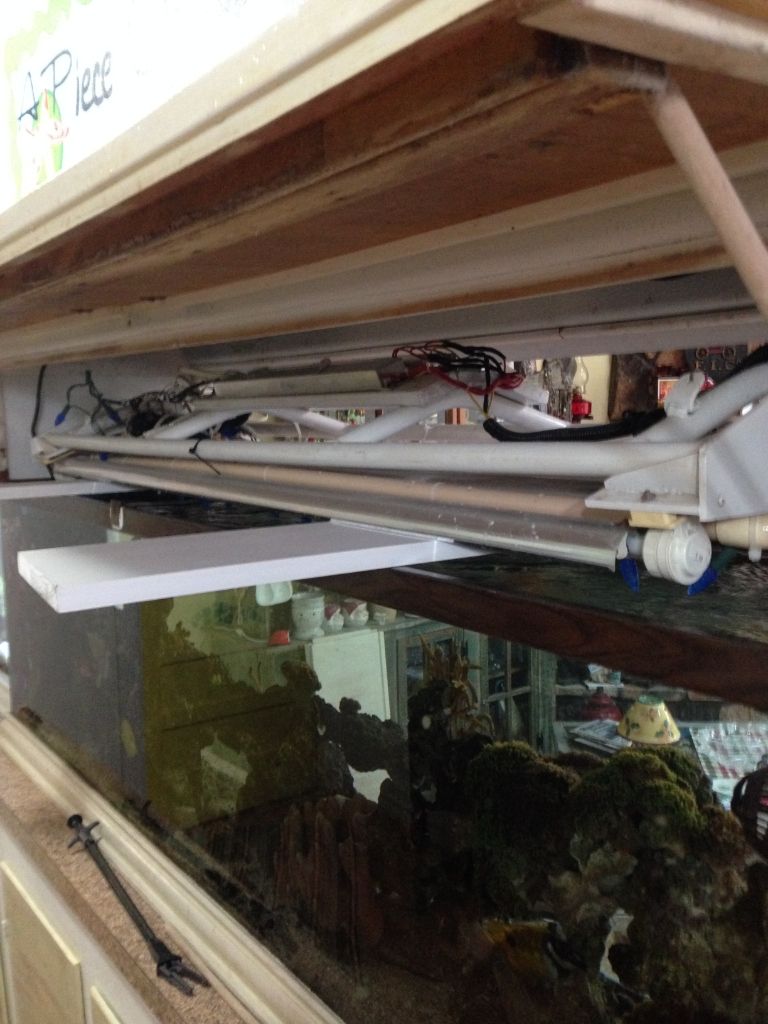
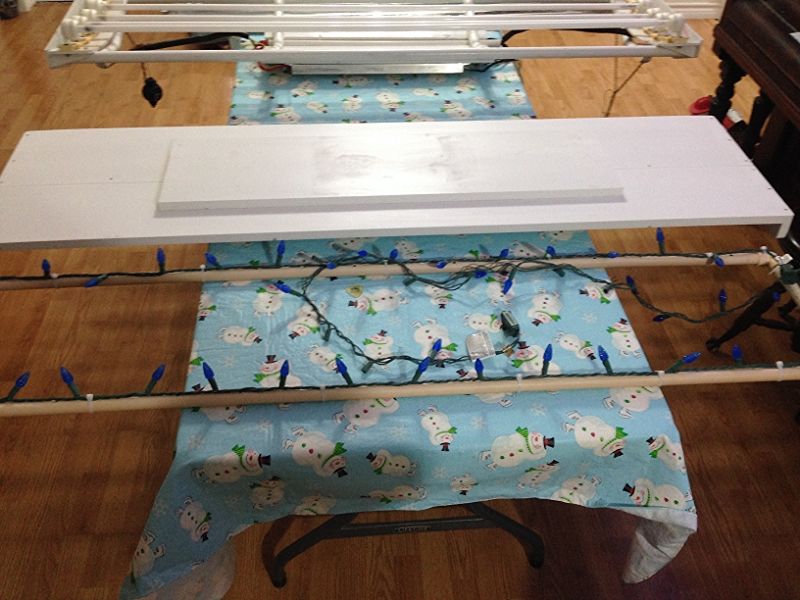
This is how the old light setup sits
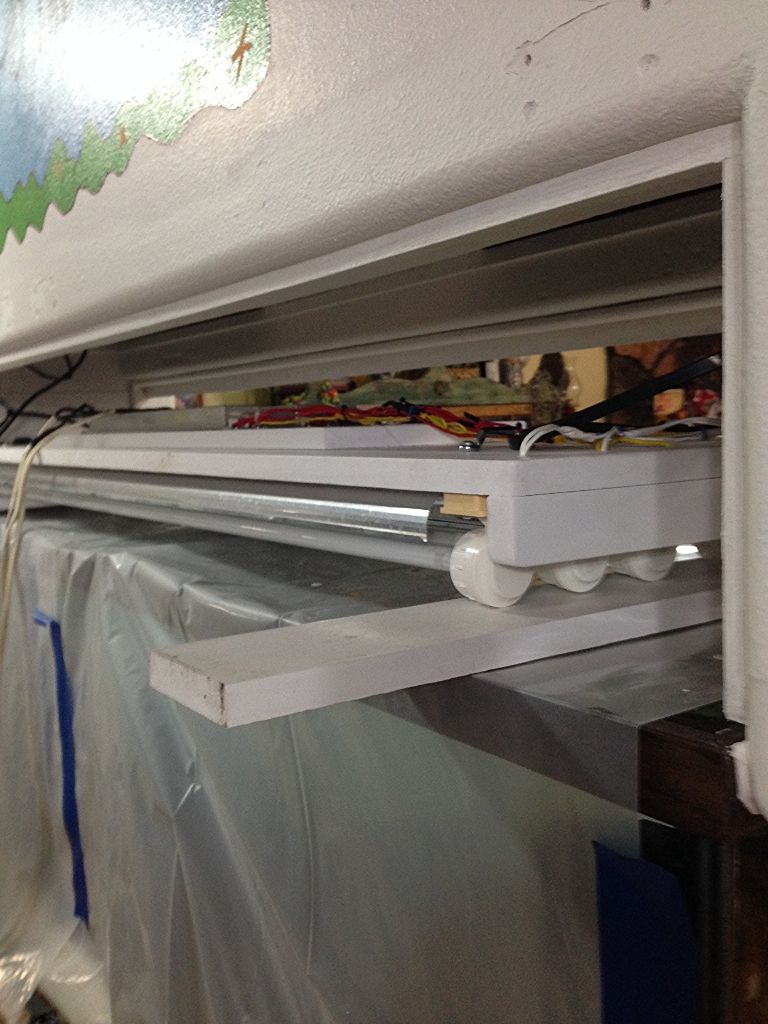
I placed these boards on the tank to lower the light setup.
Side by side
I wanted to get away from having the reflectors clip to the lights. They always seemed to have caused burnt spots on the bulbs.
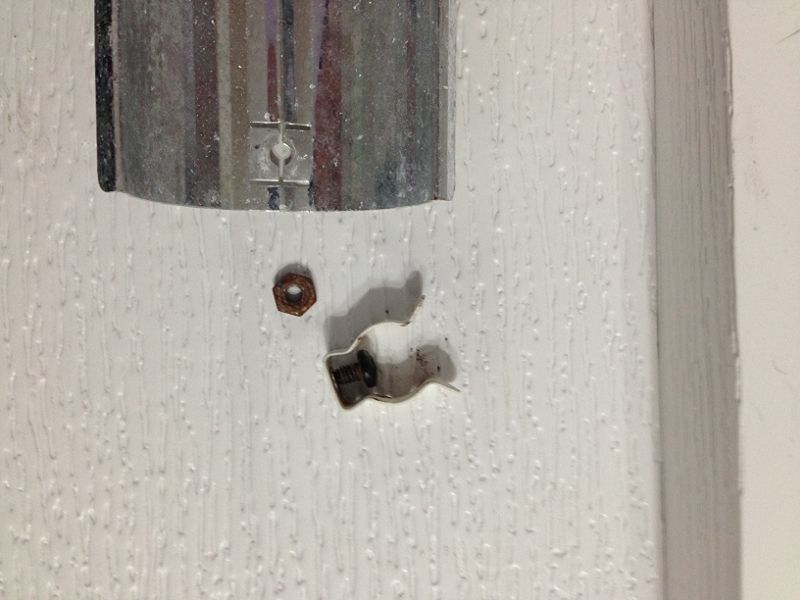
The clips had to also go because of rust.
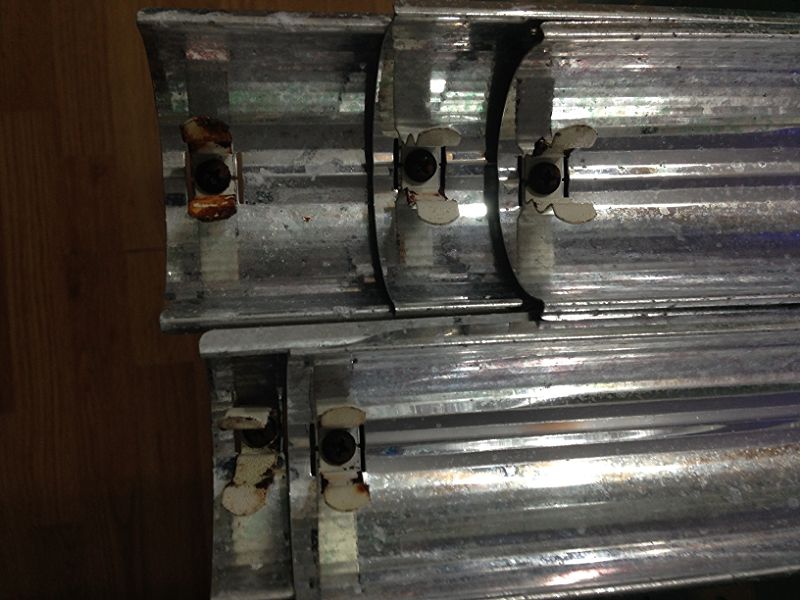
Burnt mark from clips
Reflectors removed
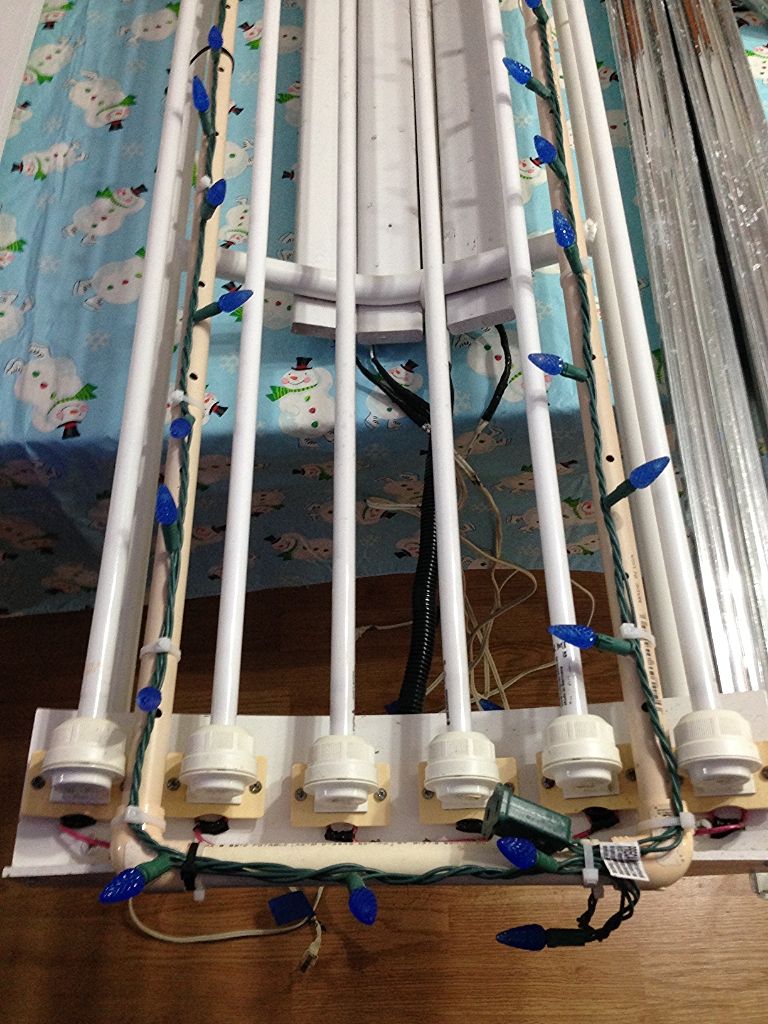
Crude LED holder removed
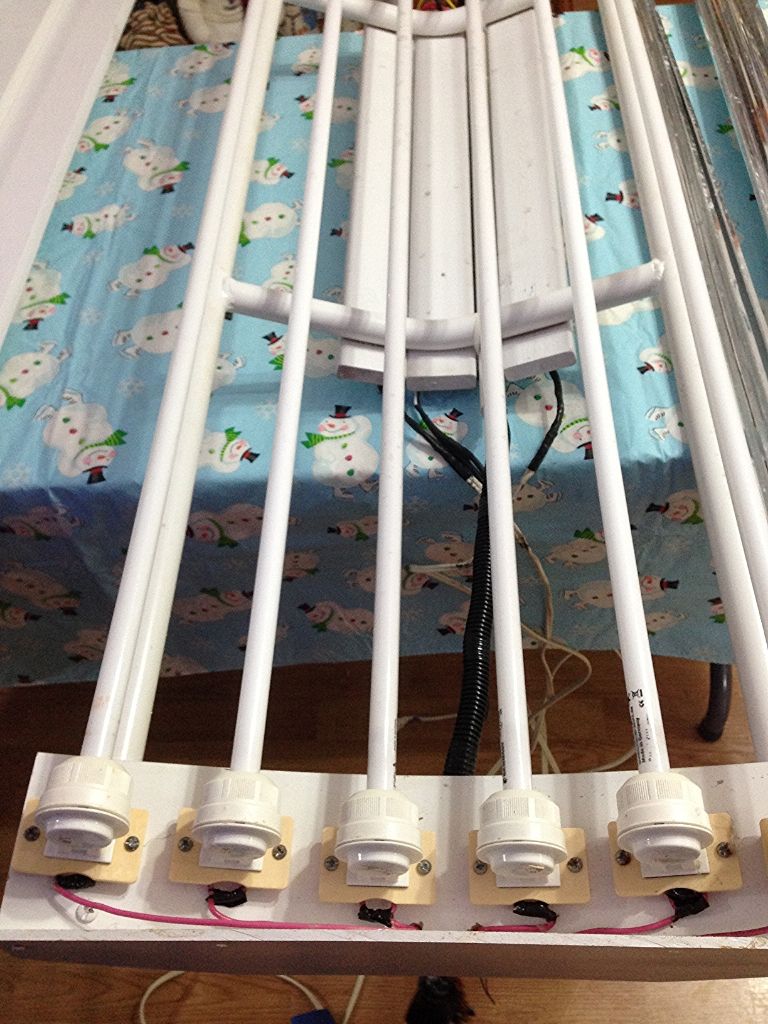
Removing bulbs
Removing bulb holders, which will get a cleaning.
Gone
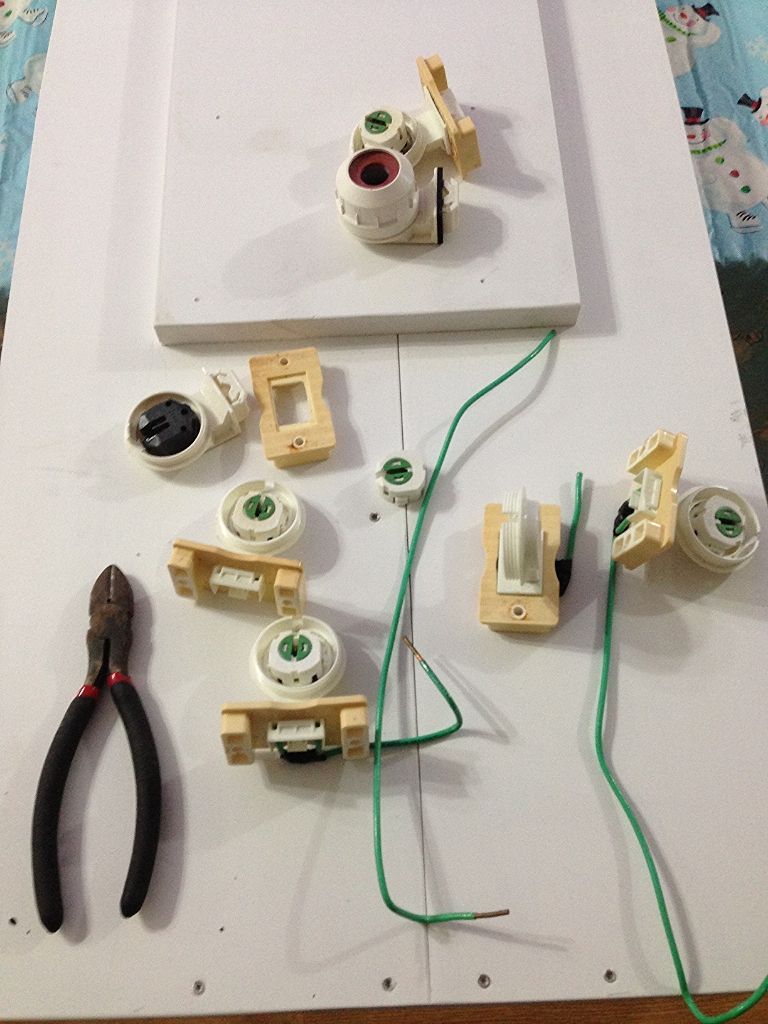

All cleaned up
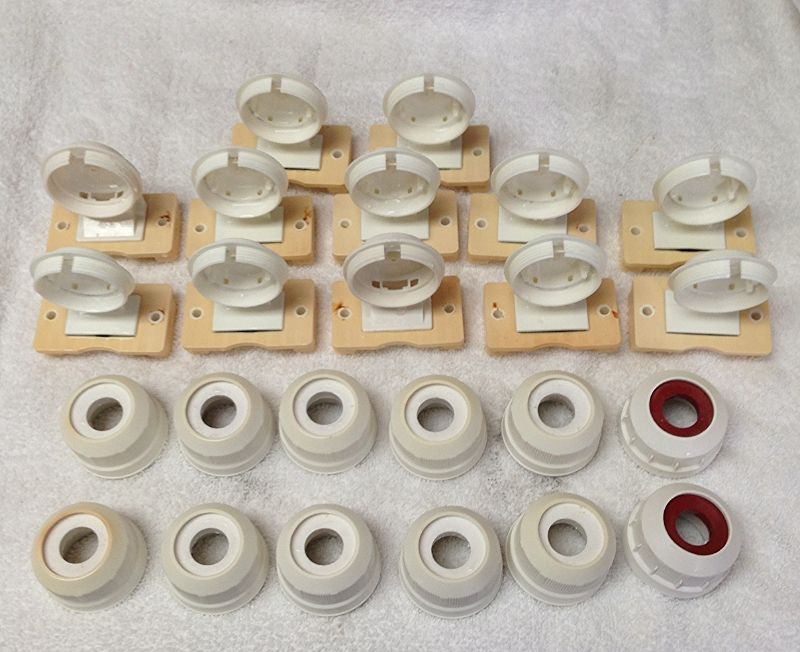
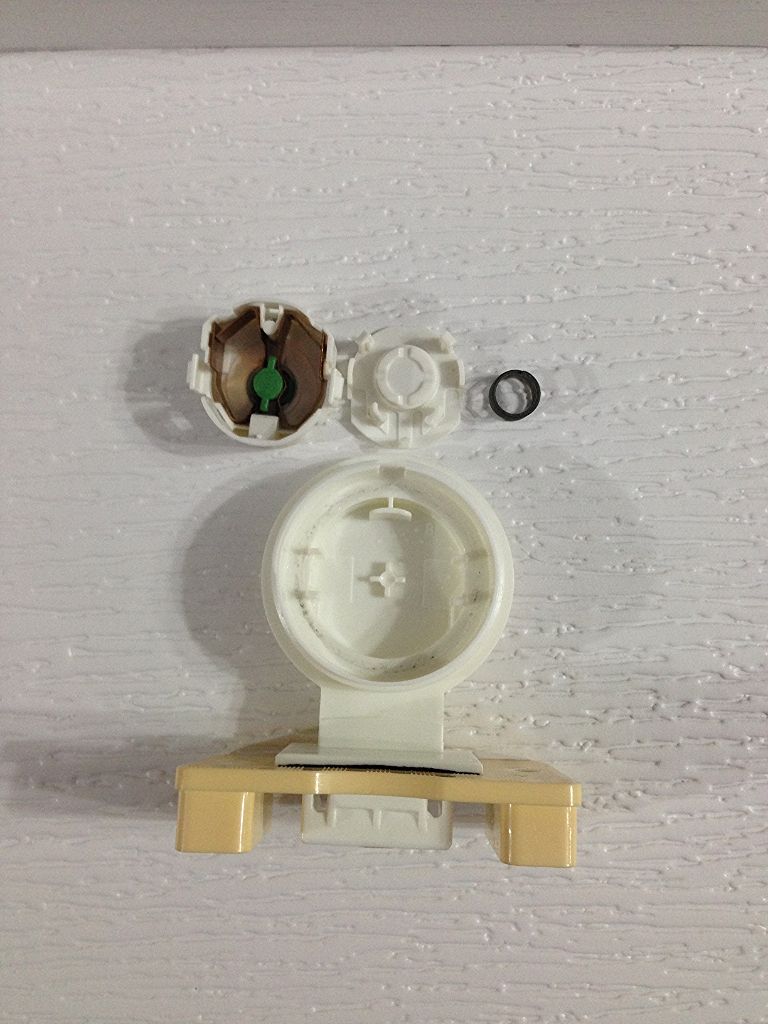
Easy disassemble and assemble
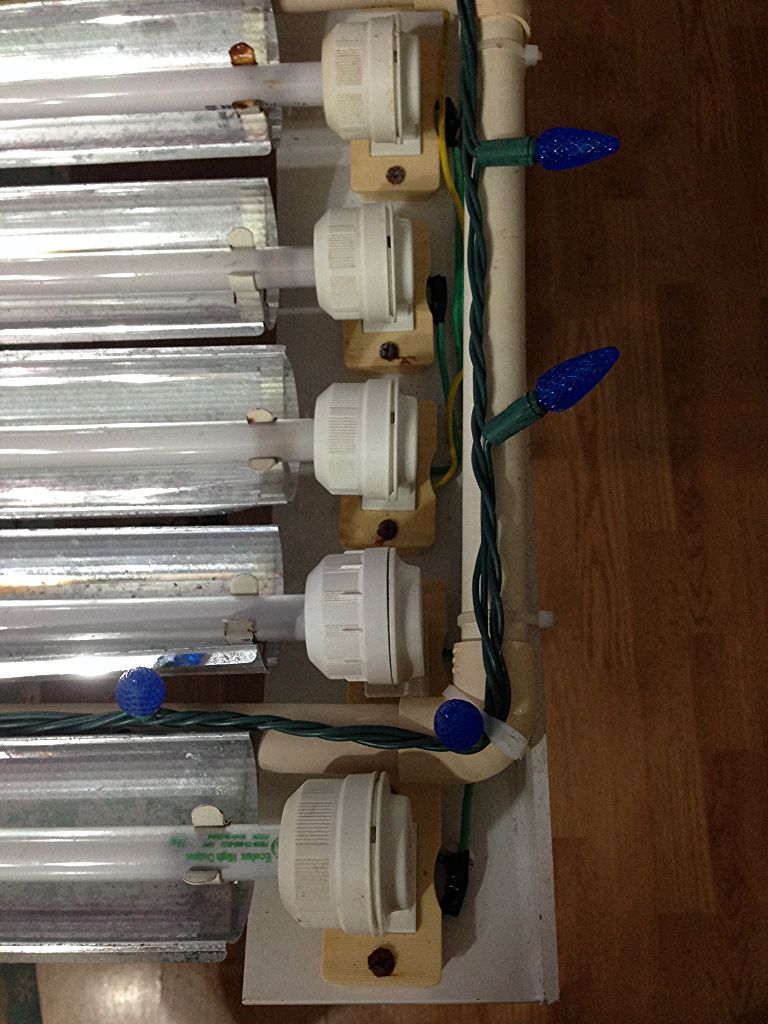
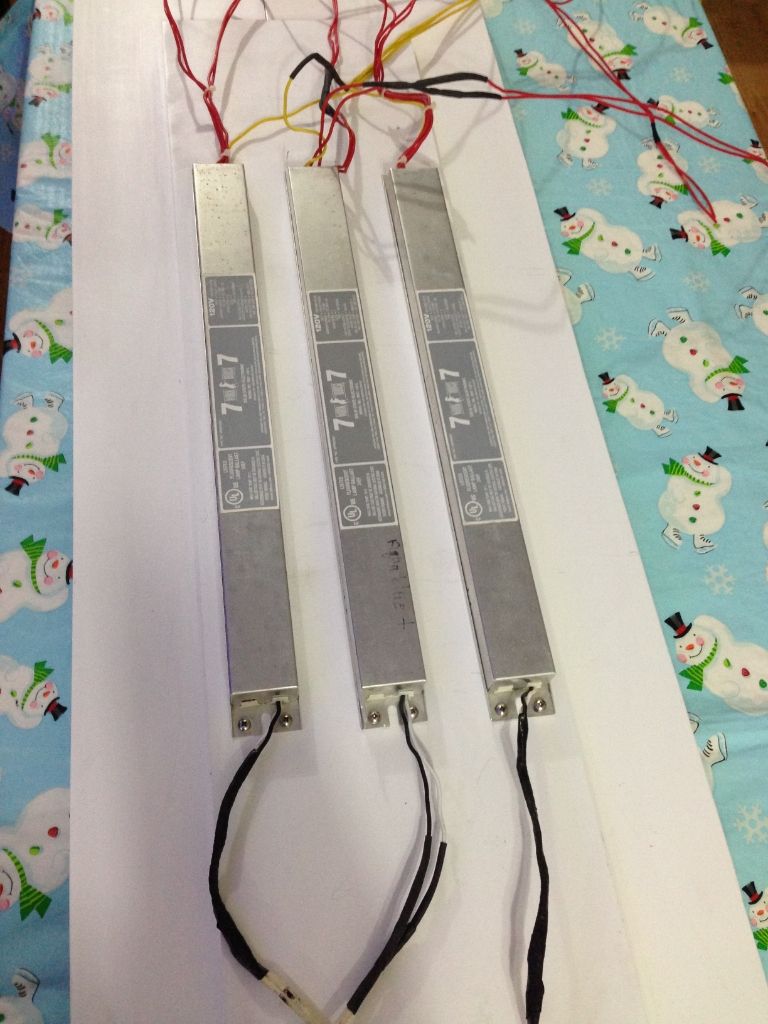
Workhorse 7's
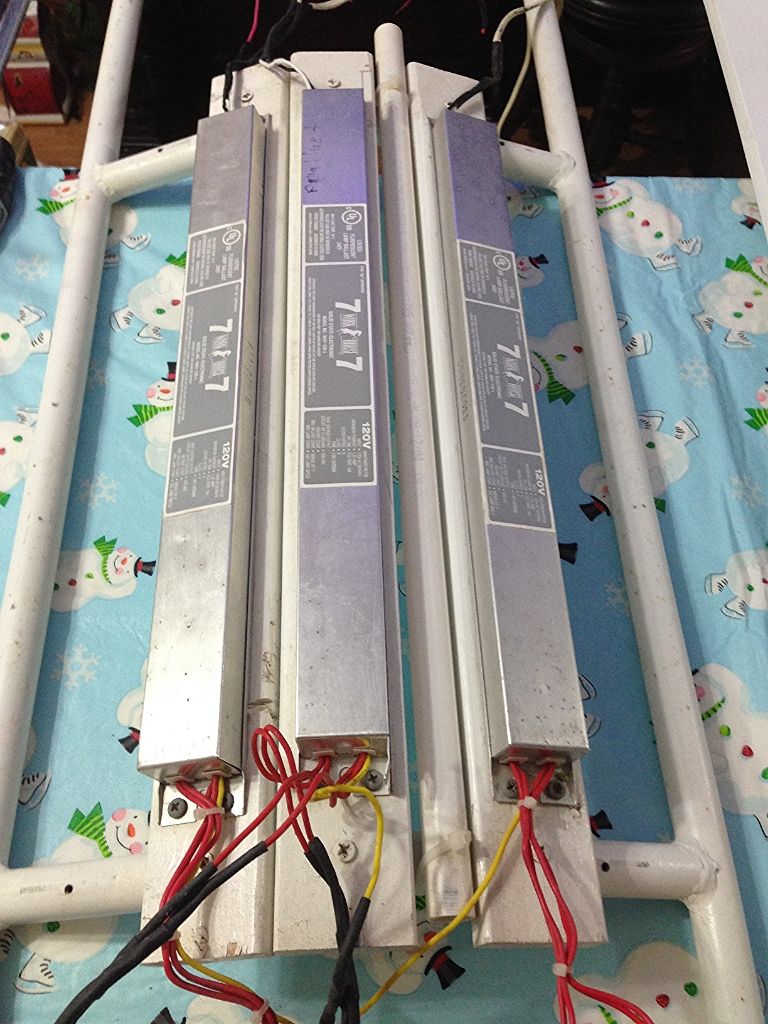
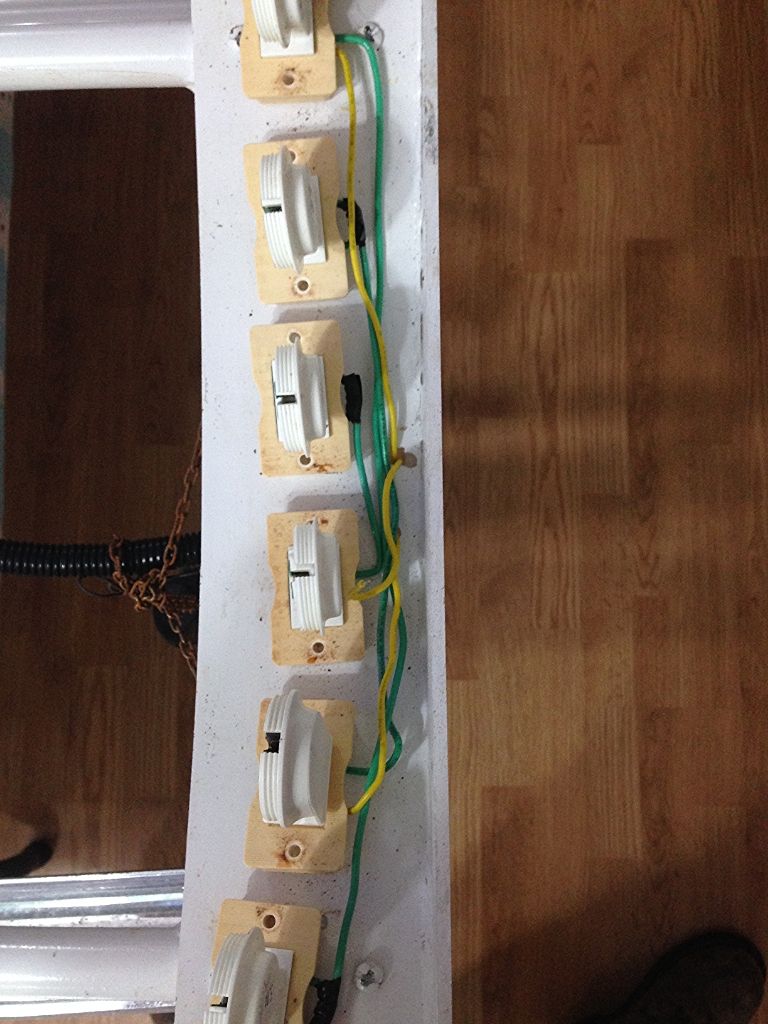
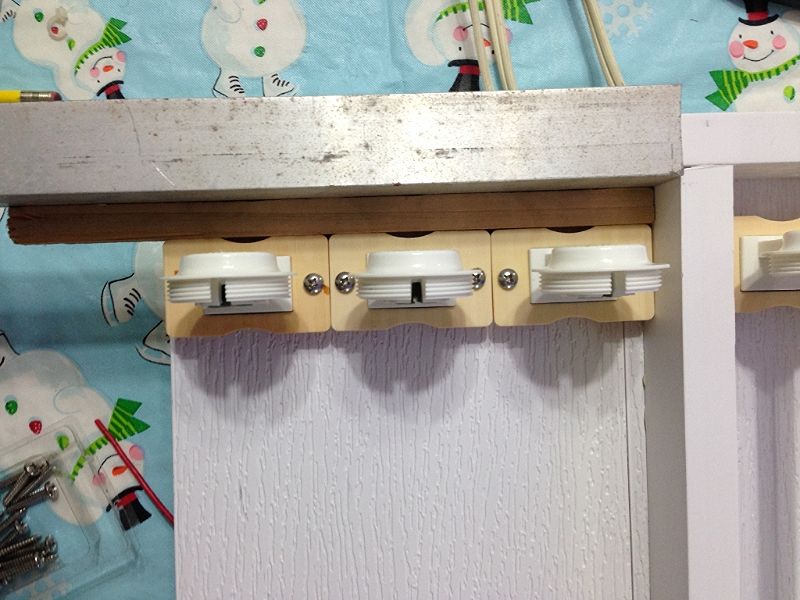
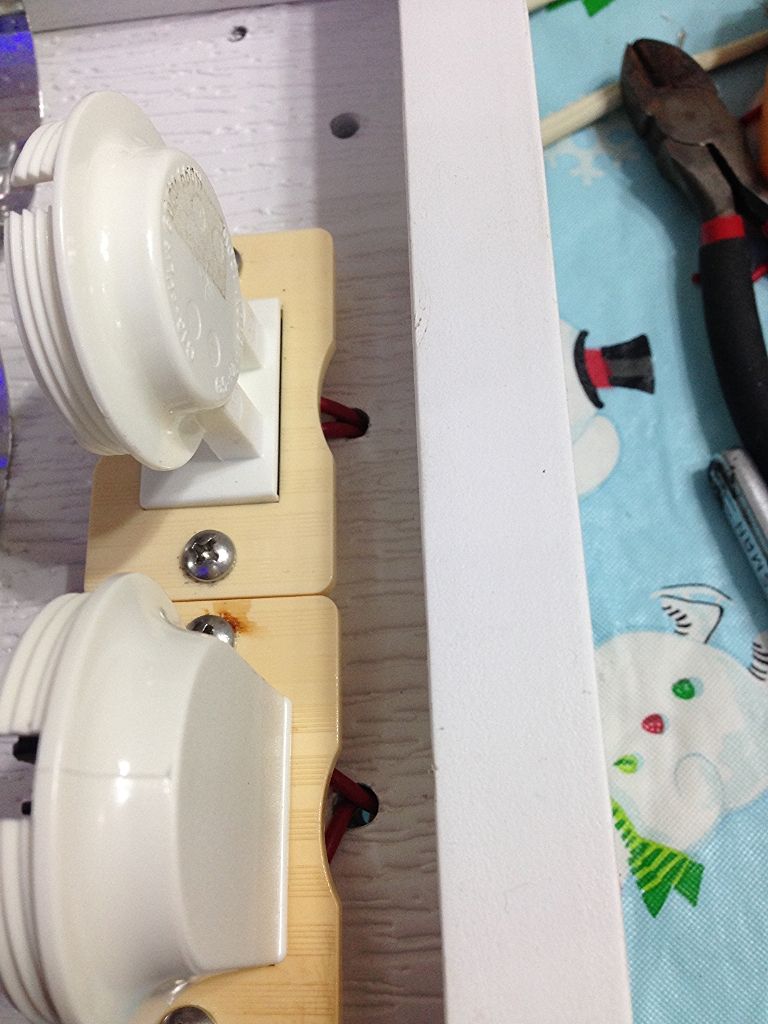
Screwed them down with stainless screws
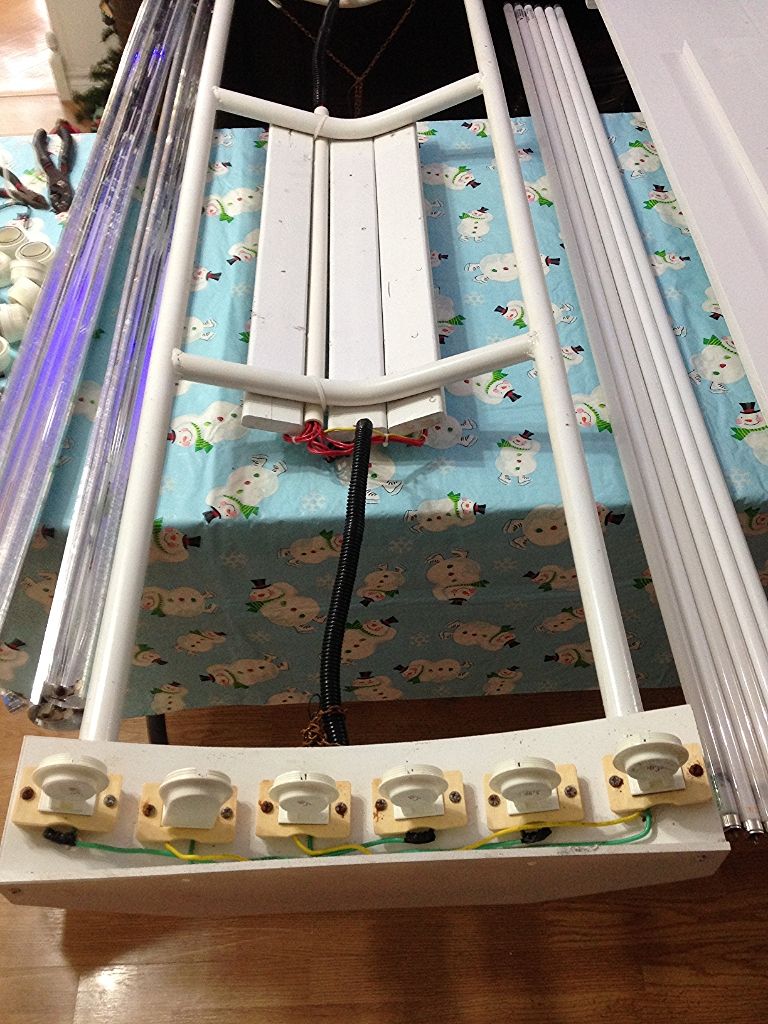
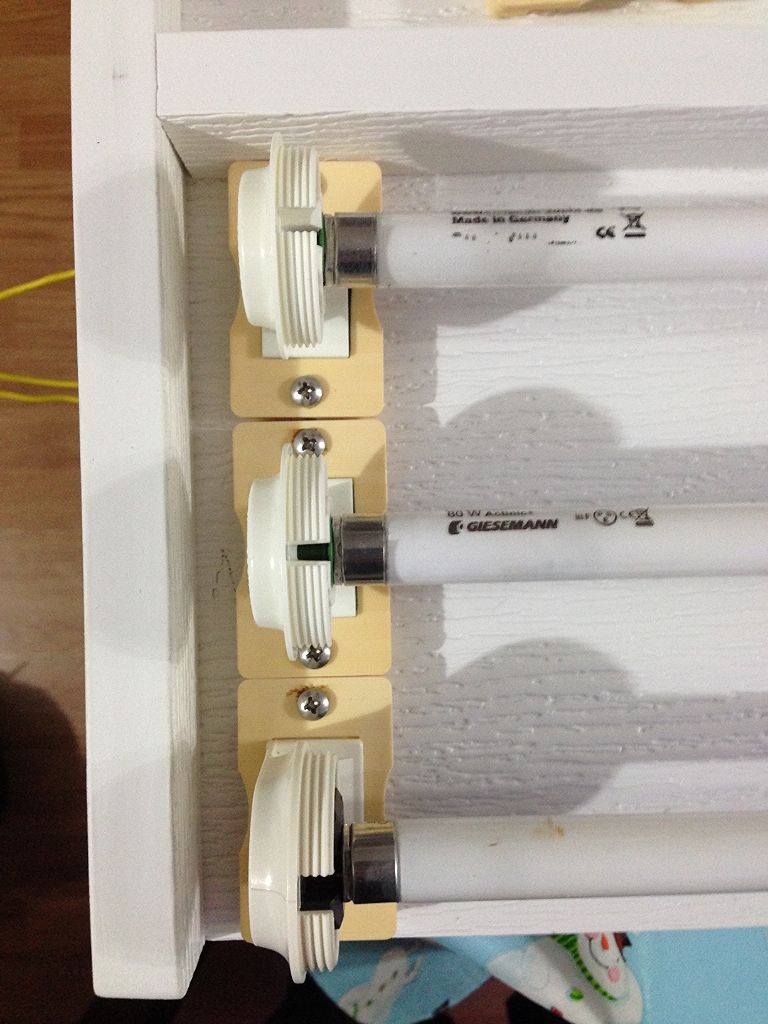
Lining them up to secure the holders.
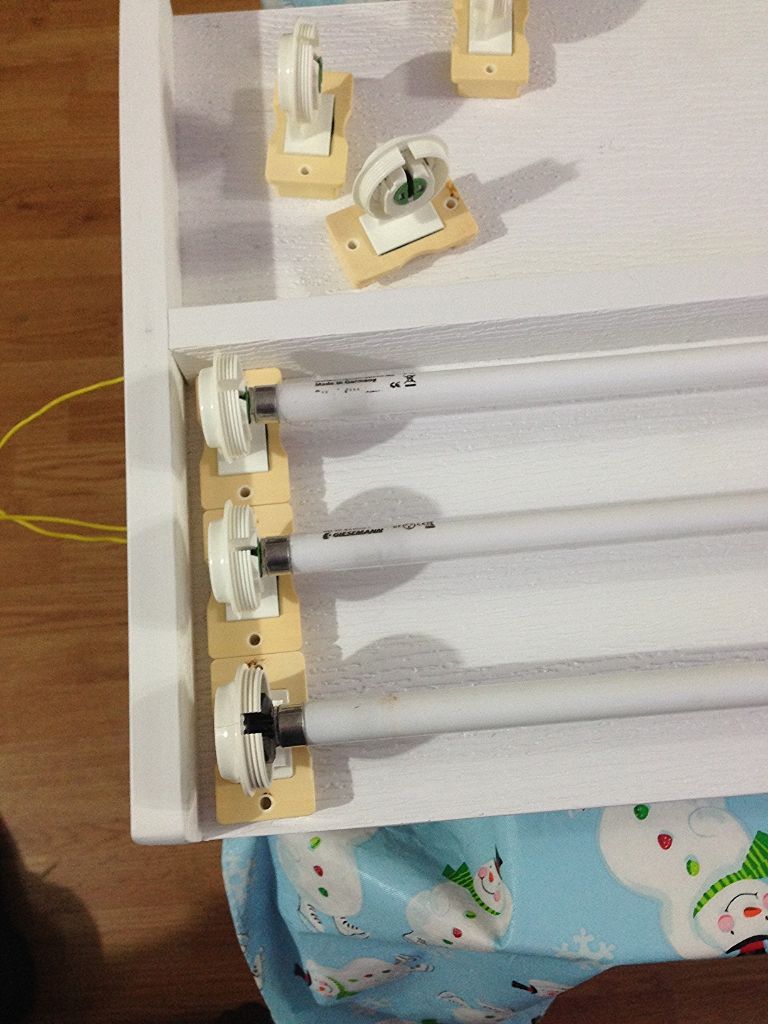
You have to mock them up on both sides. This way you can make sure the bulbs fit without any back and forth movement.
Stainless screws everywhere
Off with the old rusty ones
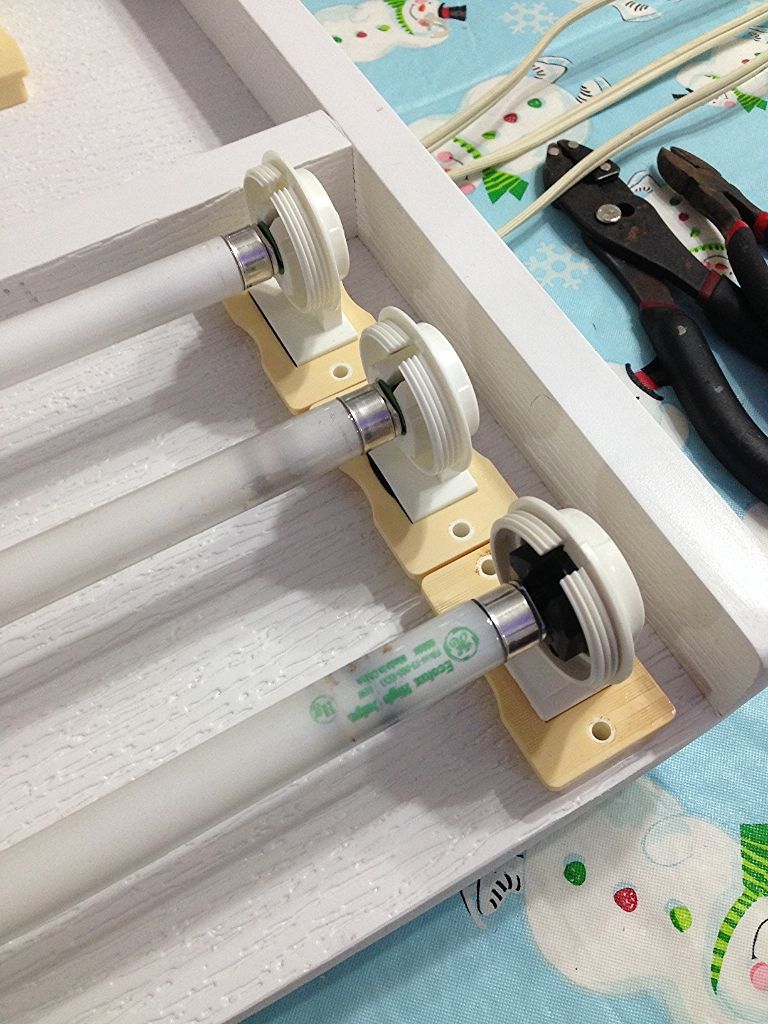
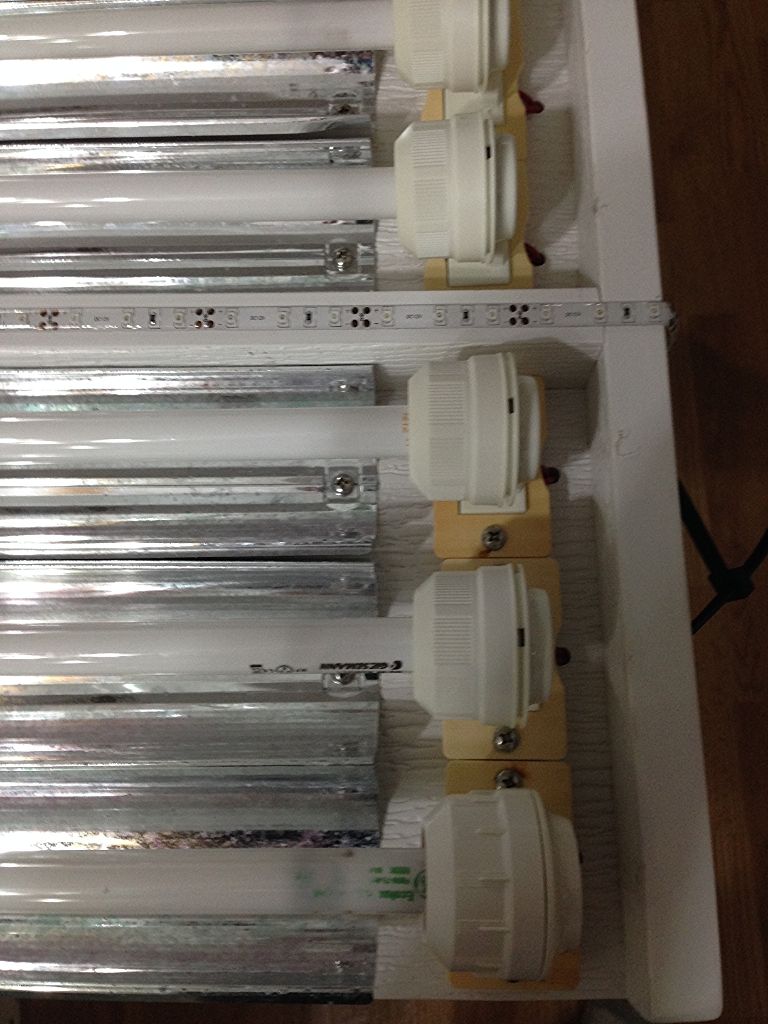
Mocking them up
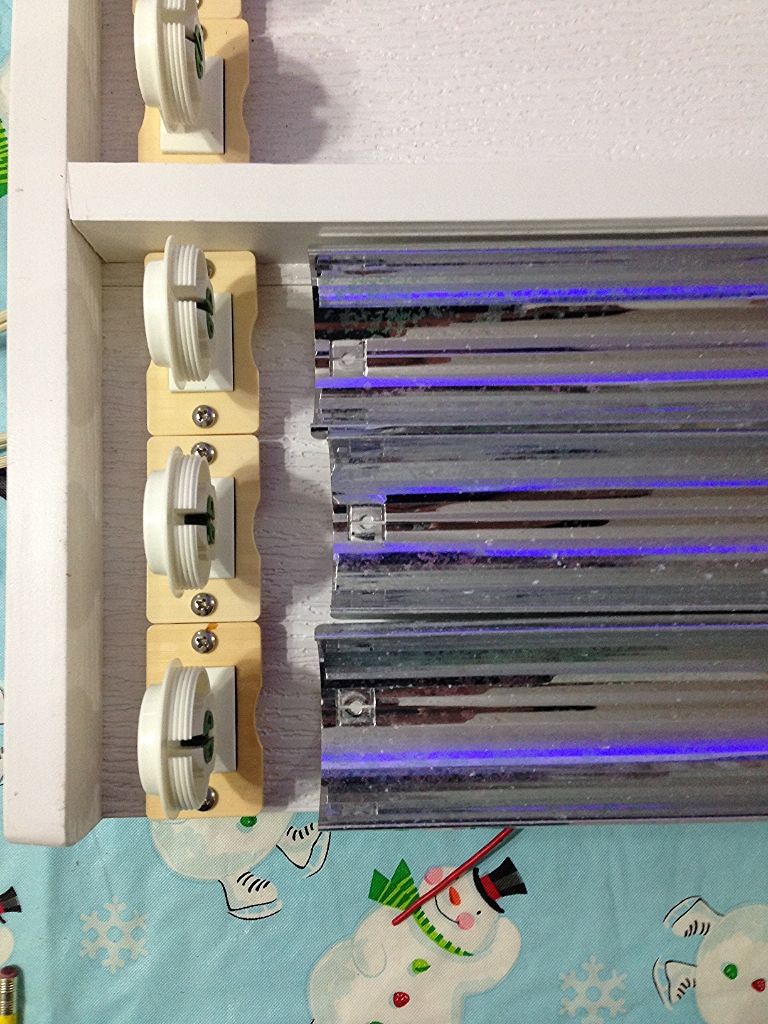
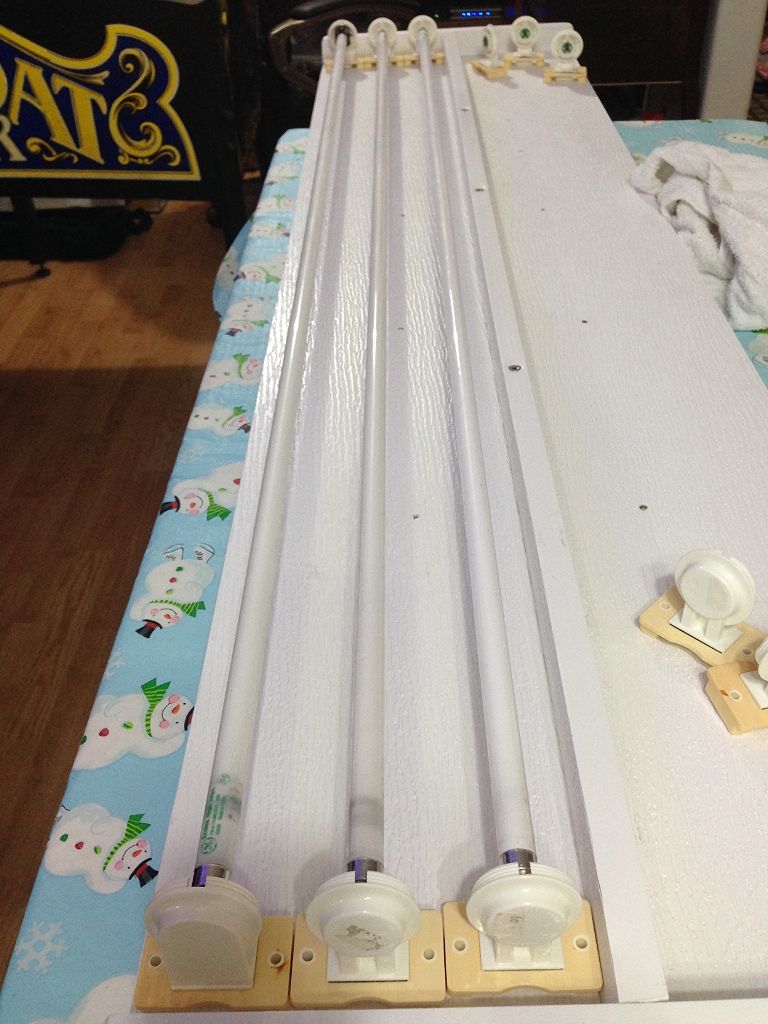
Stainless screws. I will have to remove them in about a week when my new bulbs come in. Sitting directly down on the PVC like that makes them sit well above the bulbs.
So when the bulbs are in place, they are about an inch lower than the sides of the reflectors.
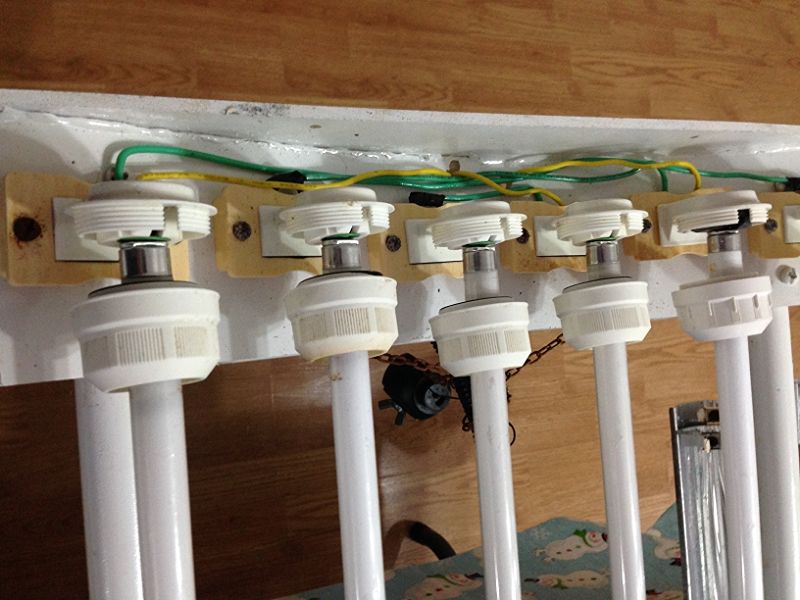
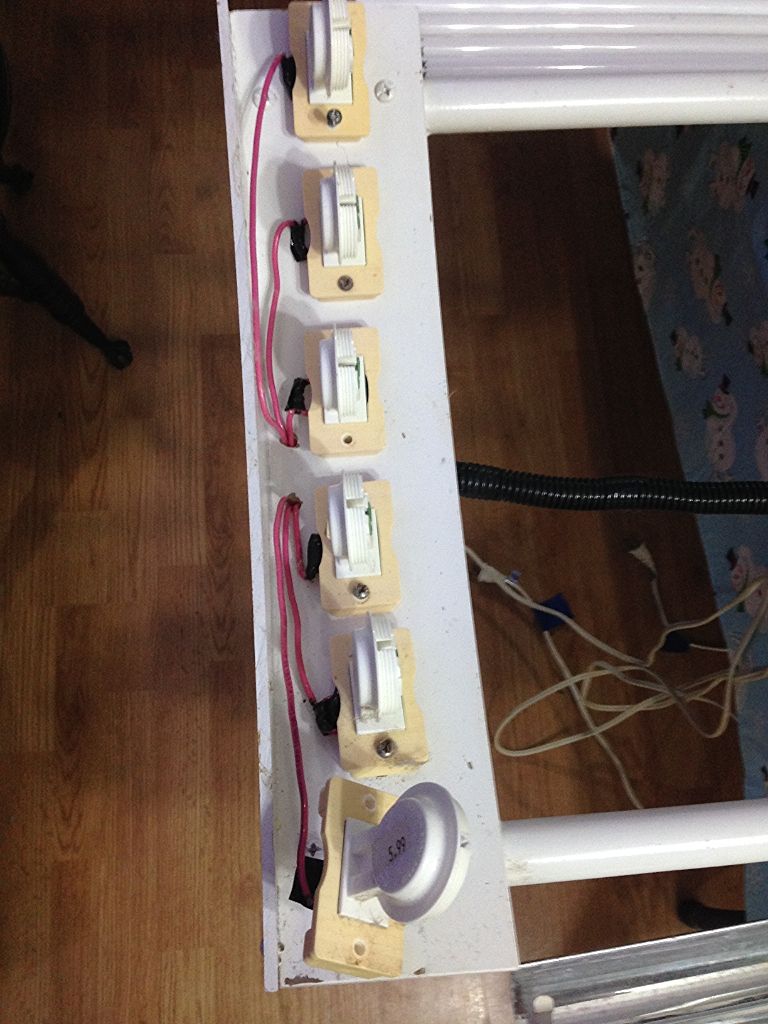
Getting the new wire ready by tinning the ends first.
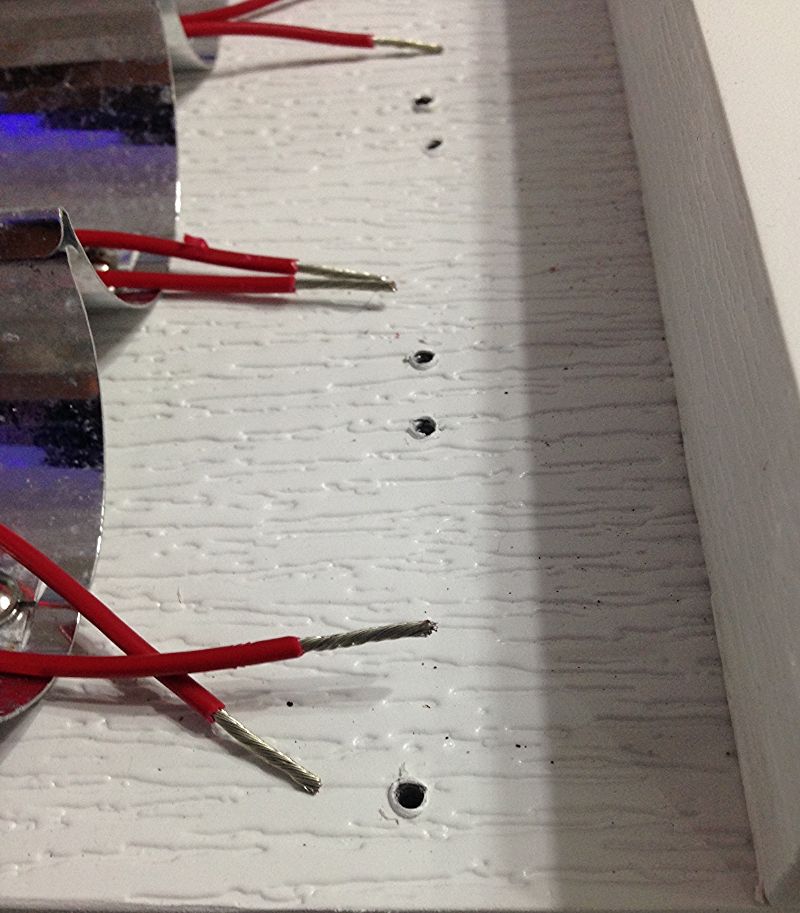
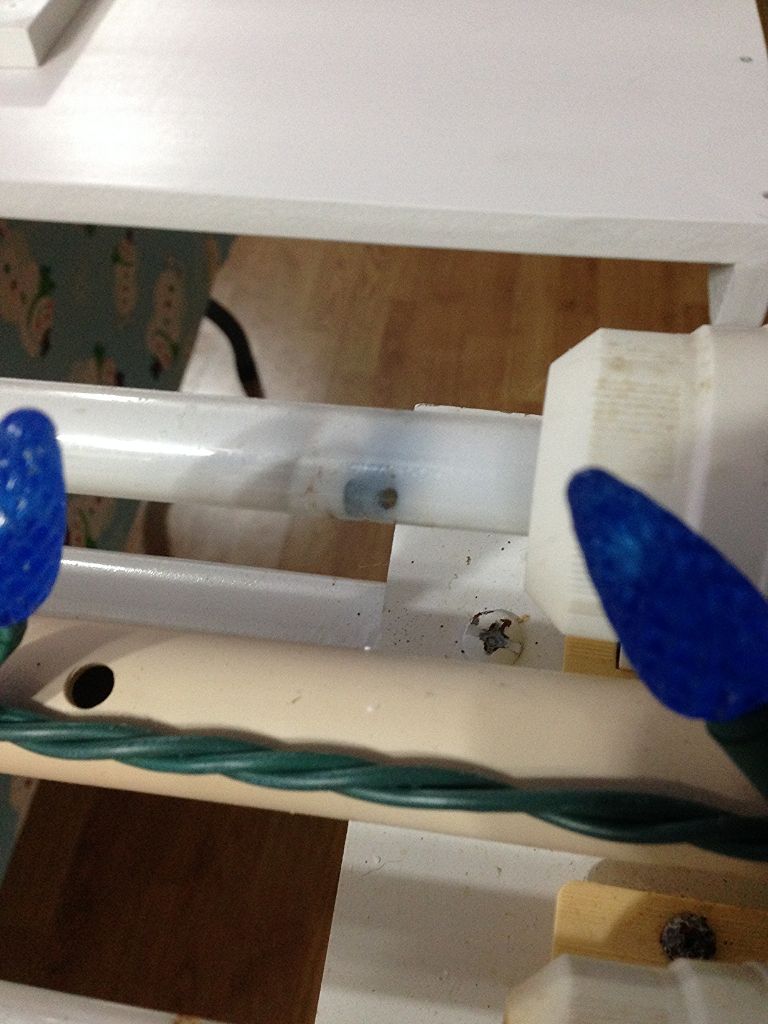
Then simply push up into the holders.
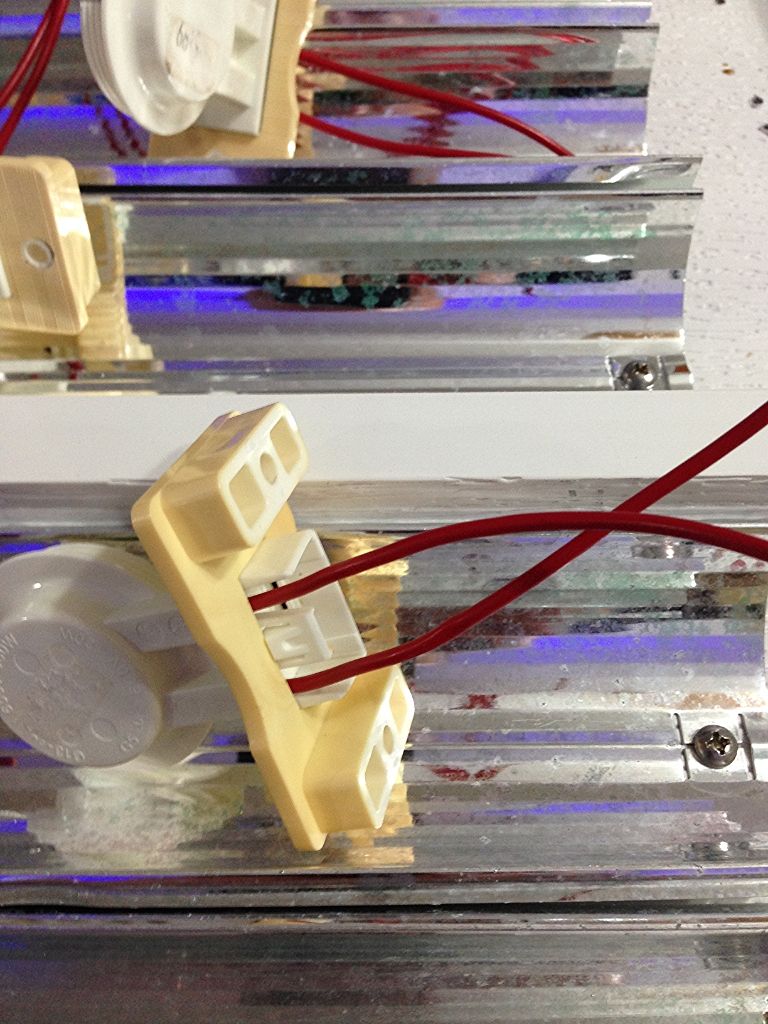
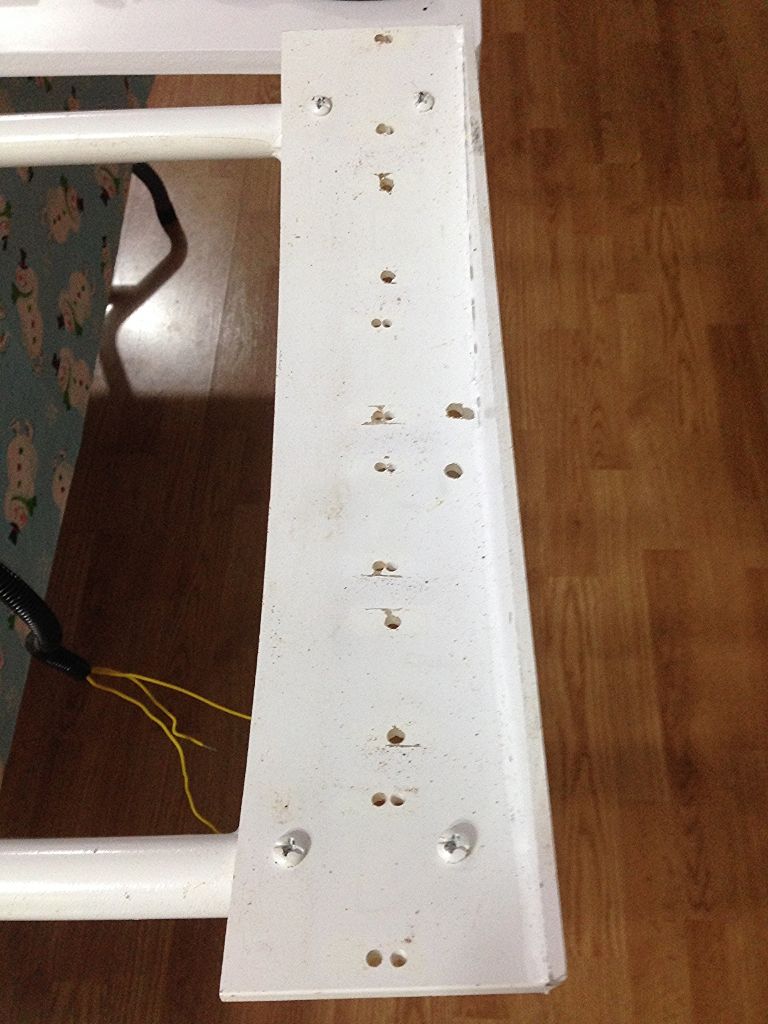
Drilled a hole for the wires to run through at each bulb.
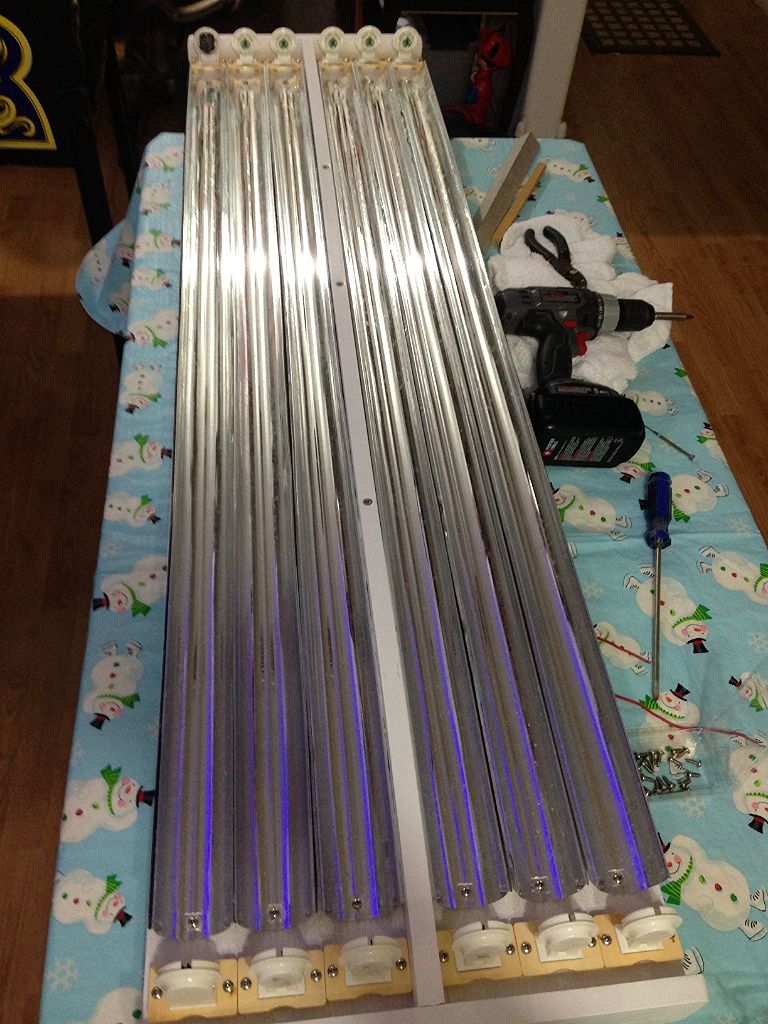
Once bulbs were in place, I put down the new LED strip. This 6 foot strip came with a remote controller that turns them on and off, and dims them in increments of 25, 20, 75 and 100 percent. It only cost $19.99 and he also has Aquarium LED lights. LEDs

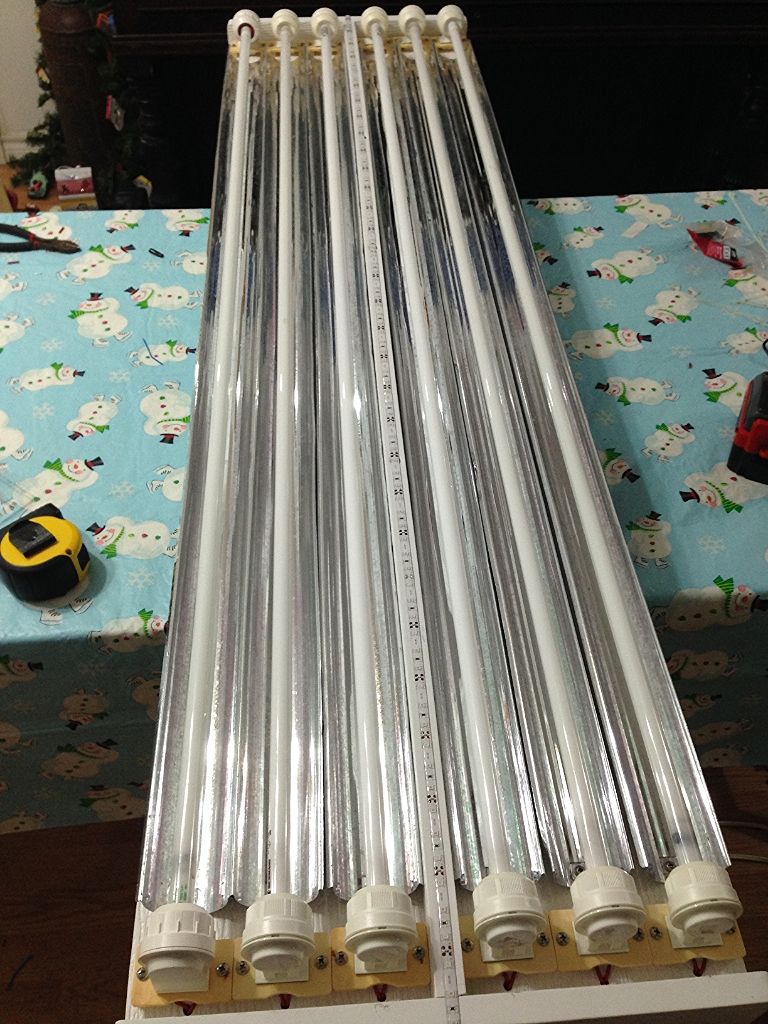
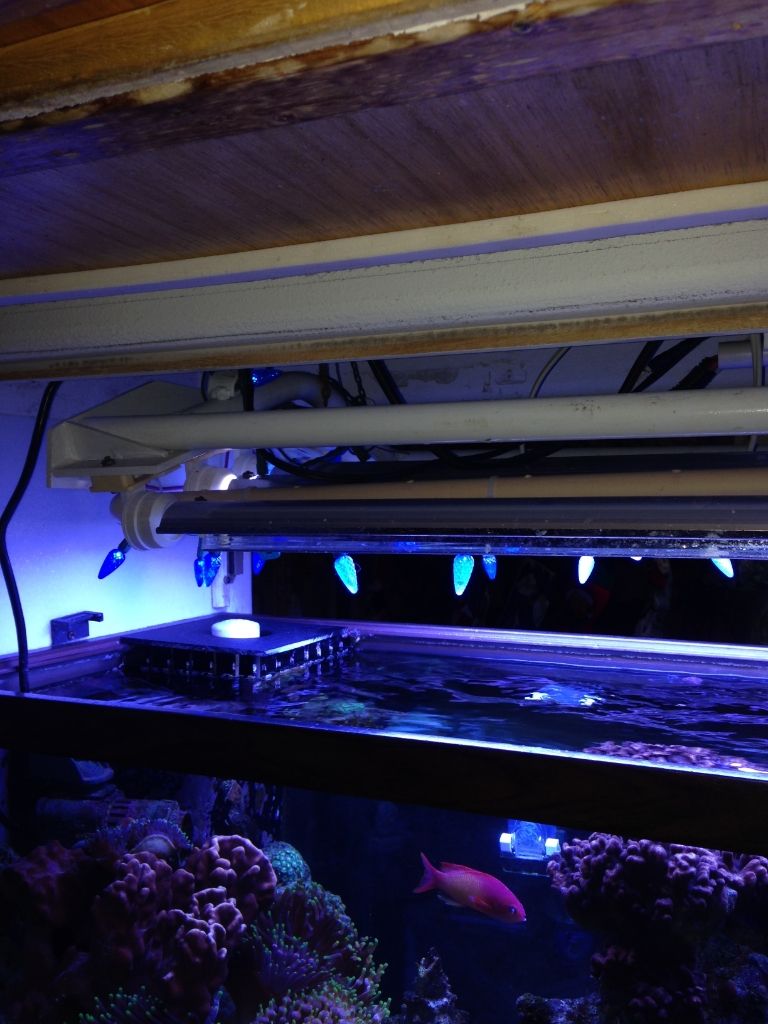
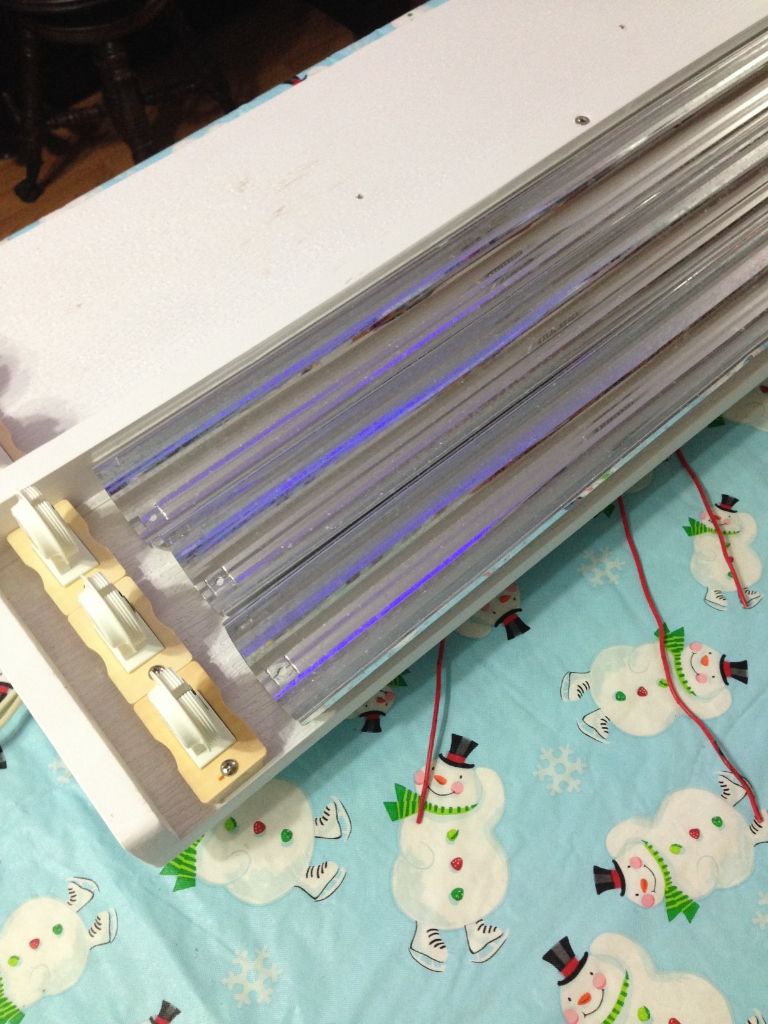
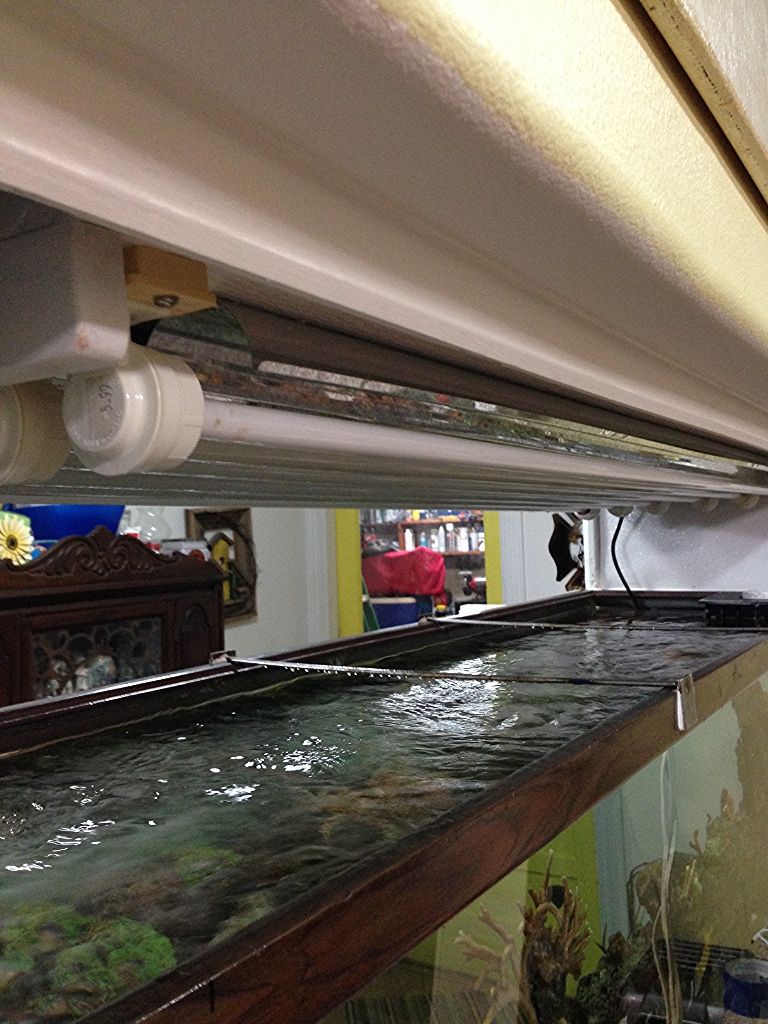
Getting ready to raise it up
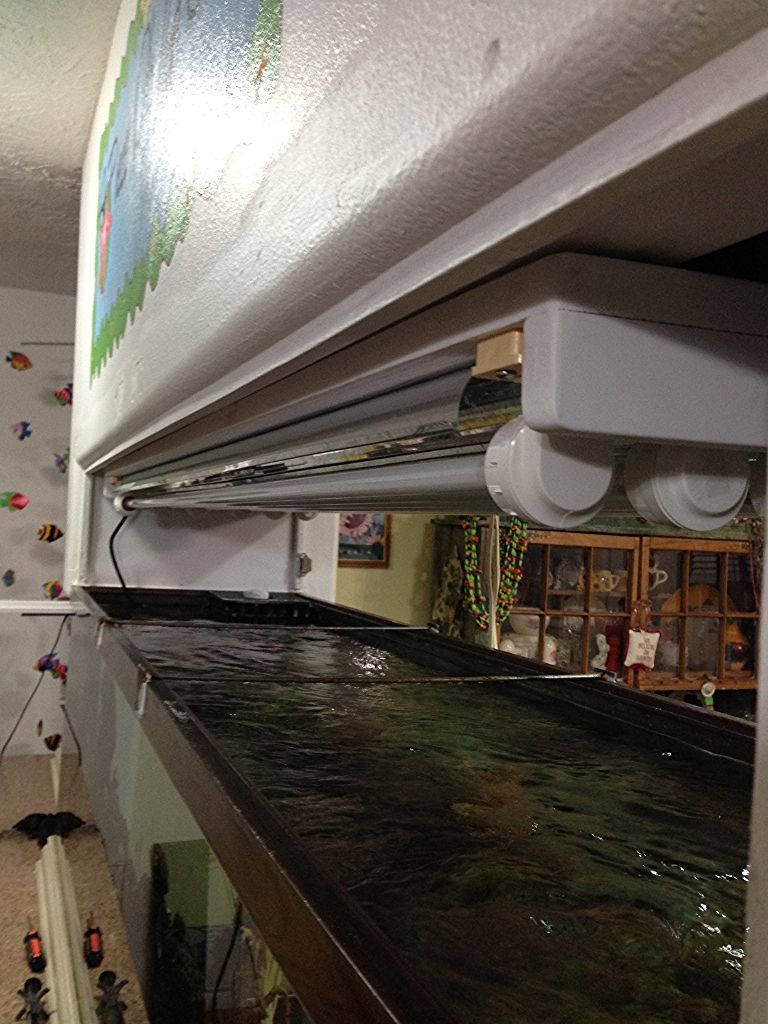
In place and a lot better
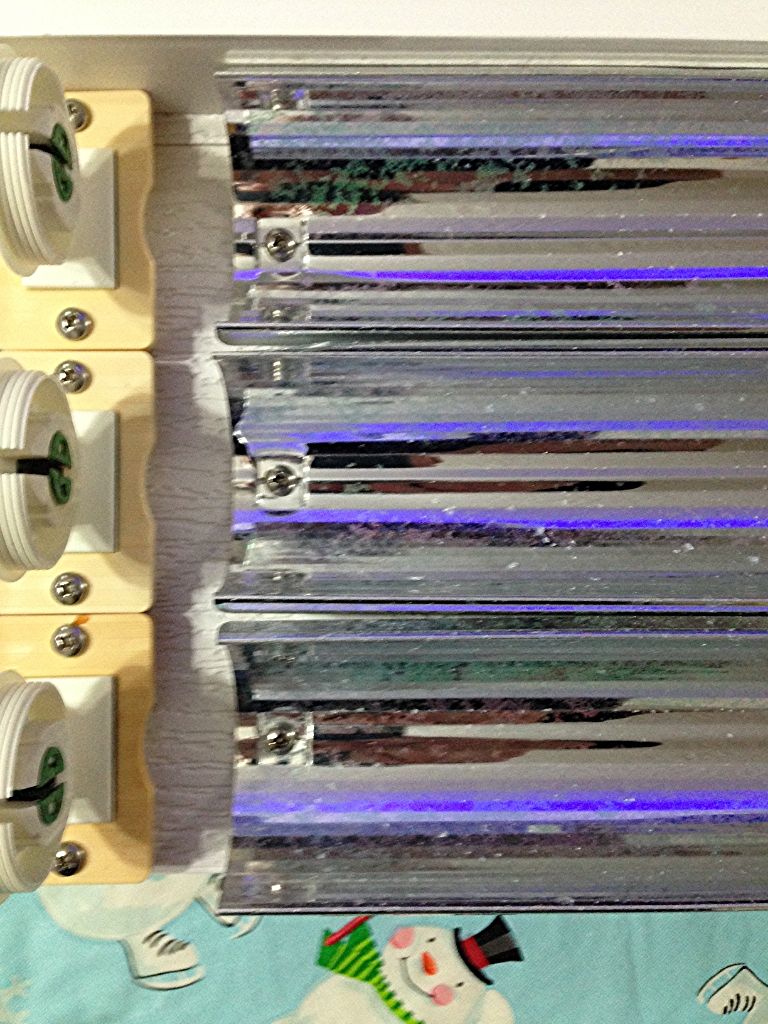
Here you can see how the reflectors sit to high. I'll simply make spacers to lower them down some.
My new bulbs are 4 ATI Blue Plus, 1 Geisseman Aqua Blue Plus and 1 ATI Purple Plus.
They are all on timers, the LED's stay on 24/7.
6AM - Blue Plus ON
9AM - Blue Plus ON
NOON - Aqua Blue Plus and Purple Plus ON
4PM - Aqua Blue Plus and Purple Plus OFF
7PM Blue Plus OFF
9PM Blue Plus OFF
Though there might be some adjusting on the times.
I wanted to go with something very simple. I had to completely remove the old light setup every time I had to replace a bulb. It was always in the way as it hung to low. When I worked on the tank, I had to prop up one side. Plus you can see the Moon Lights (LEDs) which were actually Christmas Lights. I went with new LEDs which are a lot better as you will see.
As I said, I wanted to go simple. The new light setup now is out of the way, I can change the bulbs while it is in place and it is just more user friendly.
I used PVC board from Lowe's, which has a wood grain on it. The board comes in different sizes and lengths and is use for outside of houses as it never rots, termite proof, bug proof, and last forever. Our boat had a lot of teak on it and I used this stuff to replace it.

I used long clamps to hold two pieces side by side. Then screw them down to another piece on what will be the top. This piece is where the ballasts will go.

I screwed a 3/4" X 1 1/2" piece on each end.

This is the piece where the ballasts will sit.

The stainless screws I used

I sanded this rough edge down with my belt sander.

And rounded off the corners of this piece.

The other end


I then screwed down a center piece and this is where the new LEDs will go.


This is how the old light setup sits


I placed these boards on the tank to lower the light setup.


Side by side

I wanted to get away from having the reflectors clip to the lights. They always seemed to have caused burnt spots on the bulbs.

The clips had to also go because of rust.

Burnt mark from clips

Reflectors removed

Crude LED holder removed


Removing bulbs


Removing bulb holders, which will get a cleaning.


Gone


All cleaned up

Easy disassemble and assemble

Workhorse 7's

Screwed them down with stainless screws

Lining them up to secure the holders.

You have to mock them up on both sides. This way you can make sure the bulbs fit without any back and forth movement.


Stainless screws everywhere


Off with the old rusty ones

Mocking them up


Stainless screws. I will have to remove them in about a week when my new bulbs come in. Sitting directly down on the PVC like that makes them sit well above the bulbs.
So when the bulbs are in place, they are about an inch lower than the sides of the reflectors.


Getting the new wire ready by tinning the ends first.

Then simply push up into the holders.

Drilled a hole for the wires to run through at each bulb.

Once bulbs were in place, I put down the new LED strip. This 6 foot strip came with a remote controller that turns them on and off, and dims them in increments of 25, 20, 75 and 100 percent. It only cost $19.99 and he also has Aquarium LED lights. LEDs


Getting ready to raise it up

In place and a lot better

Here you can see how the reflectors sit to high. I'll simply make spacers to lower them down some.

My new bulbs are 4 ATI Blue Plus, 1 Geisseman Aqua Blue Plus and 1 ATI Purple Plus.
They are all on timers, the LED's stay on 24/7.
6AM - Blue Plus ON
9AM - Blue Plus ON
NOON - Aqua Blue Plus and Purple Plus ON
4PM - Aqua Blue Plus and Purple Plus OFF
7PM Blue Plus OFF
9PM Blue Plus OFF
Though there might be some adjusting on the times.

