klondike4001
Guest
Jim, looks good so far, but we need more pics, and if there's nothing new to take pics of, then get moving!
I'm excited to see how this turns out.
I'm excited to see how this turns out.
klondike4001 said:if there's nothing new to take pics of, then get moving!
maybe that's what i'll have to do to get an upgrade...cut a random hole in the wall and let it sit there for a little while until my wife gets tired of seeing it. great way to get it done jim.boudster said:klondike4001 said:if there's nothing new to take pics of, then get moving!
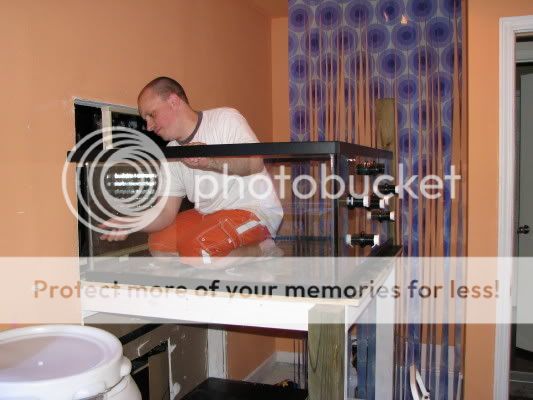
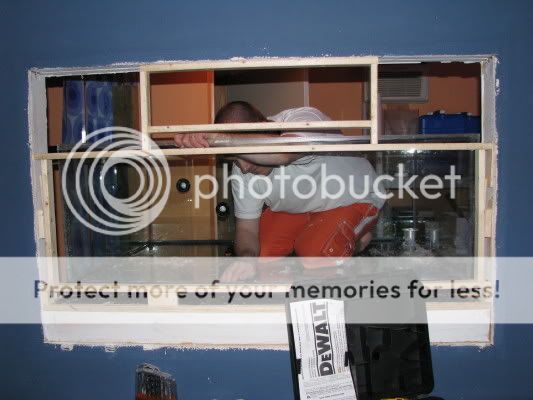
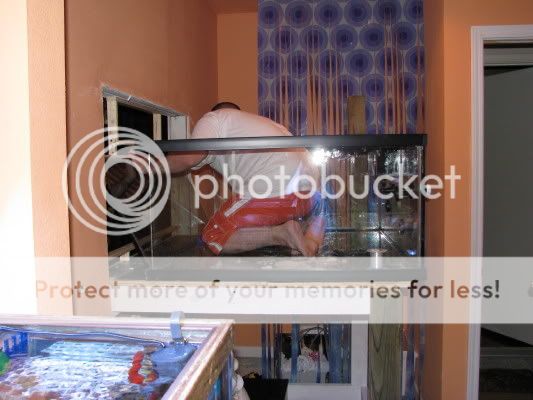
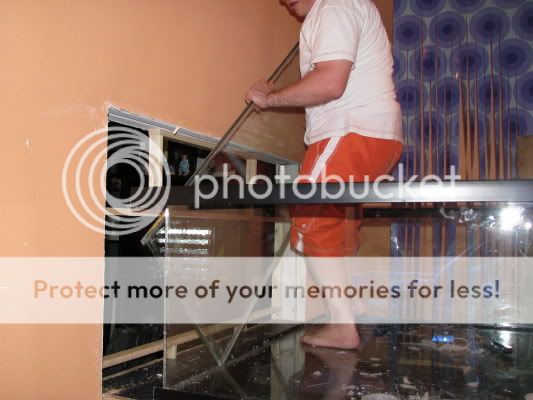
Fortunately my wife is tired of having a big hole in the wall, so she has instructed me to get moving as well. Hopefully Scott and I will have the tanks in the wall on Friday.
camaroracer214 said:maybe that's what i'll have to do to get an upgrade...cut a random hole in the wall and let it sit there for a little while until my wife gets tired of seeing it. great way to get it done jim.

txmedic1 said:this is just my 2 cents. i'm sure your in-wall stand will look great, but 1 thing concerns me, not just with your stand, but any and all stand made with treated wood. up until 2 years ago, treated wood was basically soaked in ARSNIC among other chemicals. these chemicals are immediatly, and streadily "released" by the wood into the enviorment.
i personally would not use treated wood in my home, around my kids, and of course, around hundreds, perhaps easily thousands of dollars worth of tank and its inhabitants.
i wish you best of luck with your project, but i hope this starts an awareness with everyone included in this great hobby.
or just take the massive mirror off the wall and leave the unpainted wall behind it... then build a massive stand... my gf keeps asking when the sheetrocking is going on it!! she is pushing harder than ever!!camaroracer214 said:maybe that's what i'll have to do to get an upgrade...cut a random hole in the wall and let it sit there for a little while until my wife gets tired of seeing it. great way to get it done jim.boudster said:klondike4001 said:if there's nothing new to take pics of, then get moving!
Fortunately my wife is tired of having a big hole in the wall, so she has instructed me to get moving as well. Hopefully Scott and I will have the tanks in the wall on Friday.


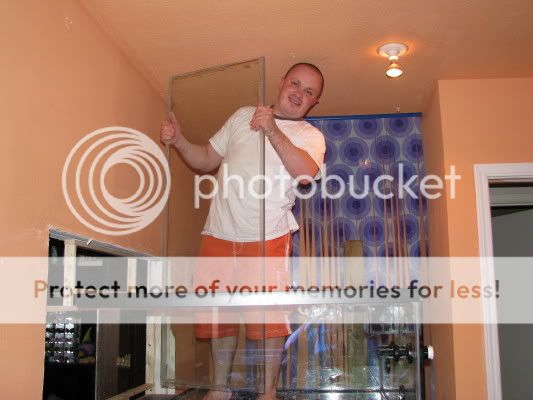
boudster said:Scott building the frame for the drywall
Scott said:boudster said:Scott building the frame for the drywall
Don't let him fool you guys, he was helping.

boudster said:I need something 4' long....135 is 6' I believe