• Welcome back Guest!

    MARSH is a private reefing group. Comments and suggestions are encouraged, but please keep them positive and constructive. Negative threads, posts, or attacks will be removed from view and reviewed by the staff. Continually disruptive, argumentative, or flagrant rule breakers may be suspended or banned.

210 Build Thread (1 Viewer)

Users who are viewing this thread

rking77573

Guest
Joined
Oct 17, 2007
Messages
92
Reaction score
0
Location
League City, TX
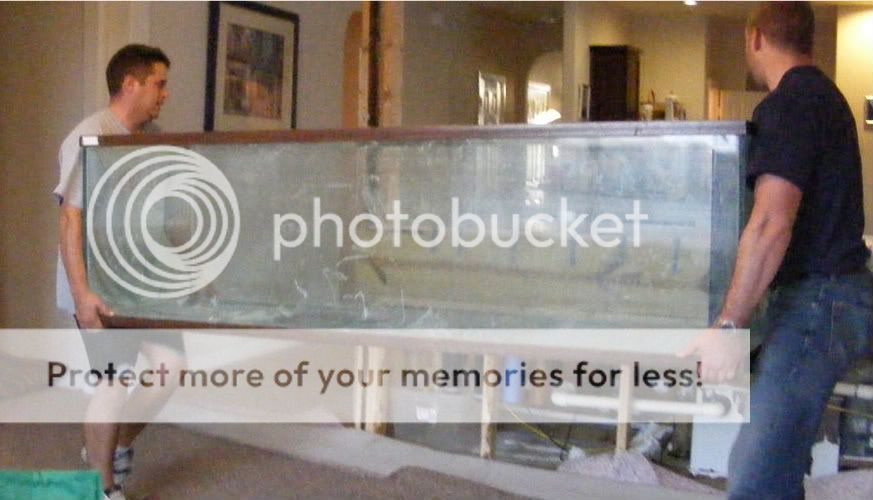
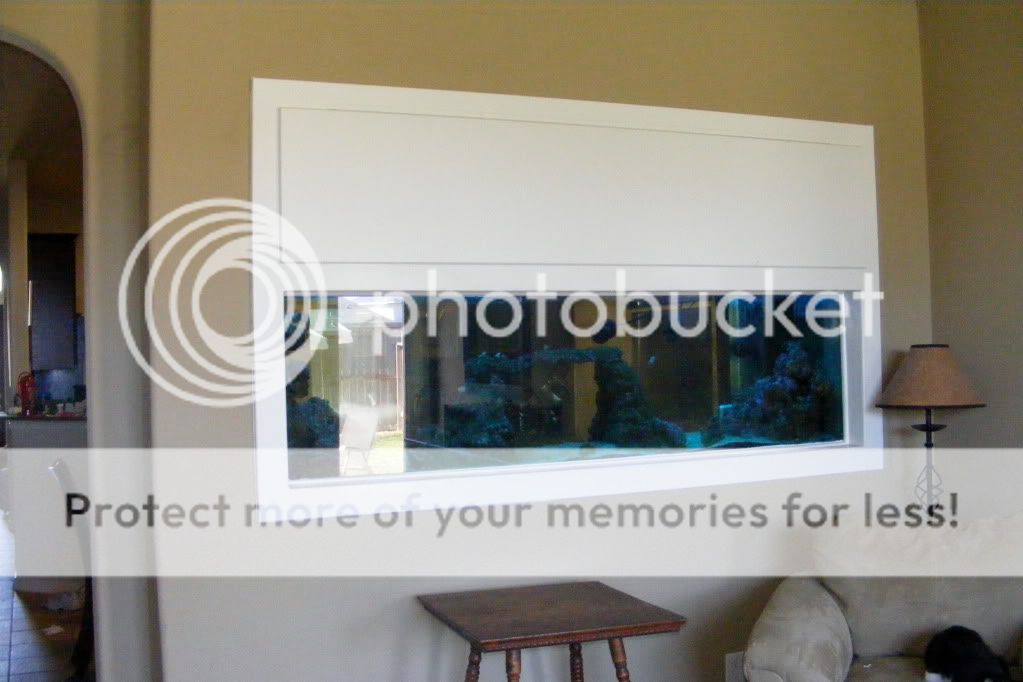
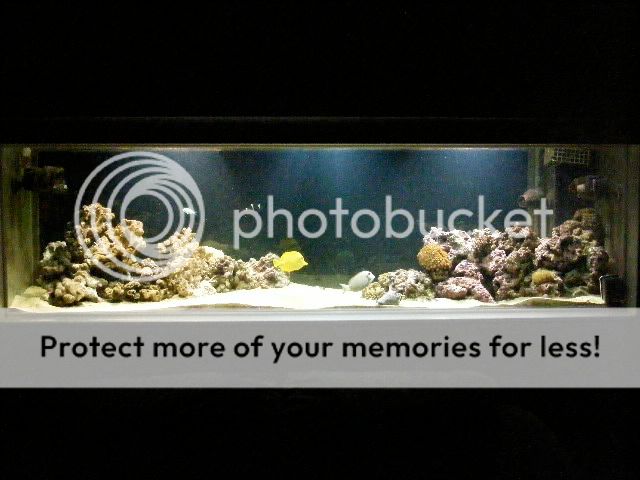
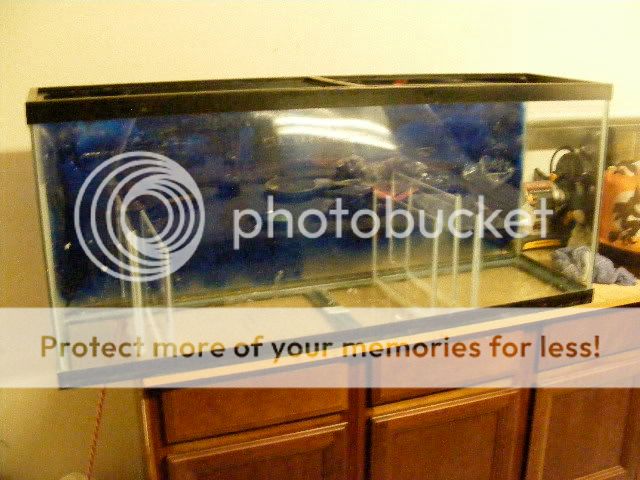
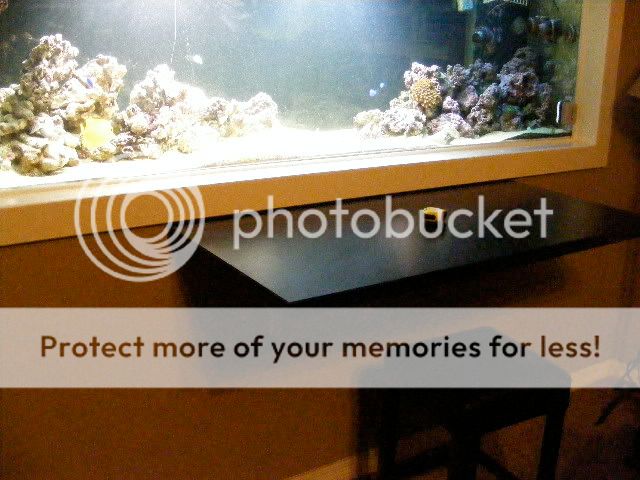
I have the tank up already but it's far from completed so I decided that it wasn't too late to post some sort of build thread. Along the way I will also post some shots of the complete and total failures that some of my ideas turned out to be as well as the good. I hope you guys enjoy looking at it as much as I have enjoyed working on this project. I'll start with a before shot to give you a little background. I spent the better part of a decade as a home builder and I always had the habit of deciding while I was building a home where I would put the "tank", so it was an easy choice when a buyer backed out of a deal and I was in position to buy the house myself. Looking back, I'm really lucky that I'm still alive and still married because I just went home from work one day and told my wife that I had put earnest money down on a house. She's a remarkable woman to put up with me and in this case I got lucky because she loved the house enough that I was allowed to live. The idea in our home was to build a true room divider reef tank between the dining room and the family room where you could look through the reef and see what was happening in the other room. As much as I'd like to look at a reef from the master bedroom I didn't put this idea into play there for the obvious reason. The tank is 7 feet long so there weren't too many places in the house that it would fit.

2007_101310-18-070088.jpg


From this point it was just a matter of destroying part of my wife's brand new house. I told you she was a remarkable woman didn't I?

2007_111010-31-070006.jpg


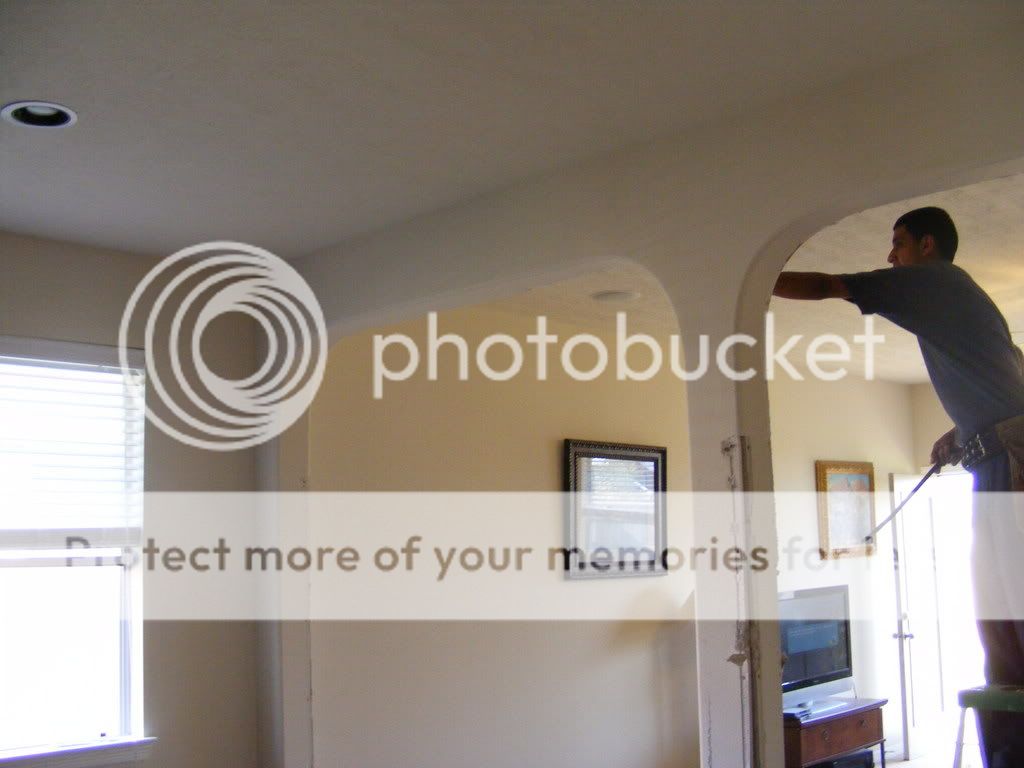
At this point I should point out that my lovely wife hid in another room while we were tearing the pony wall and post out so that she couldn't see what was going on.

2007_111010-31-070005.jpg


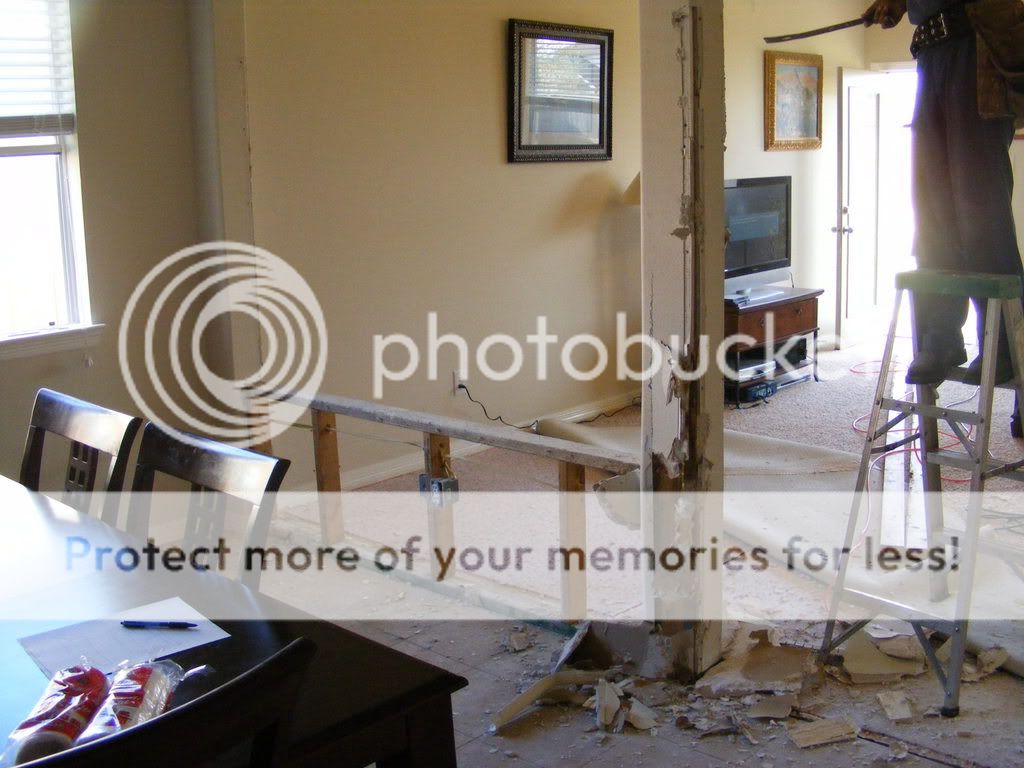
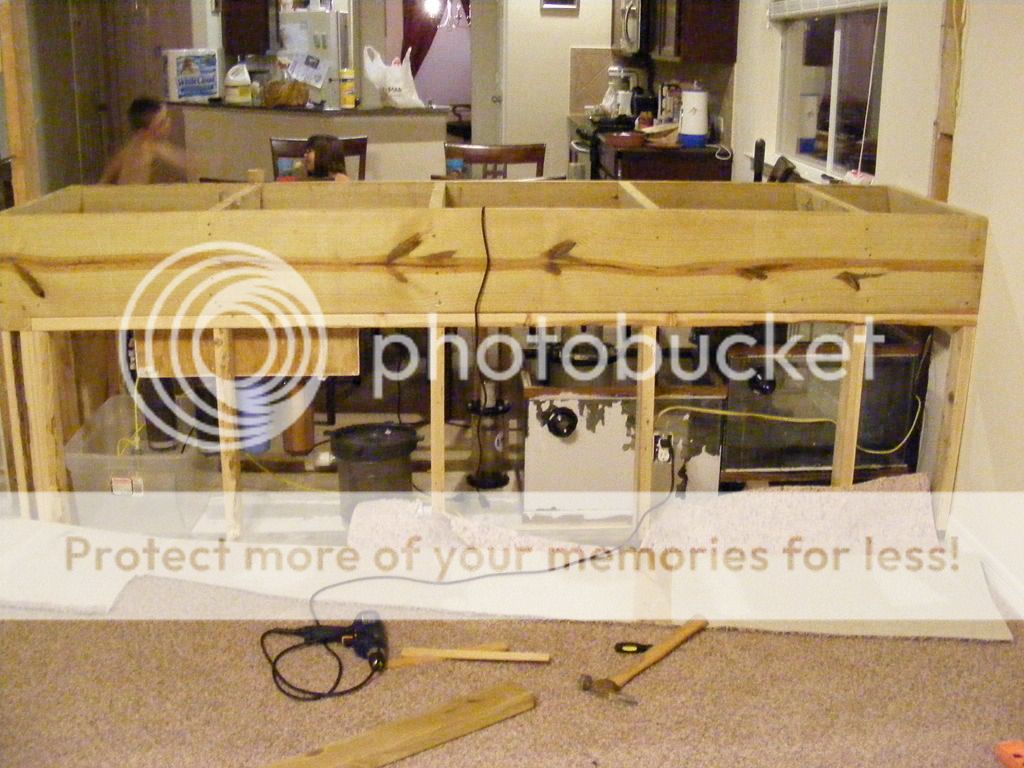
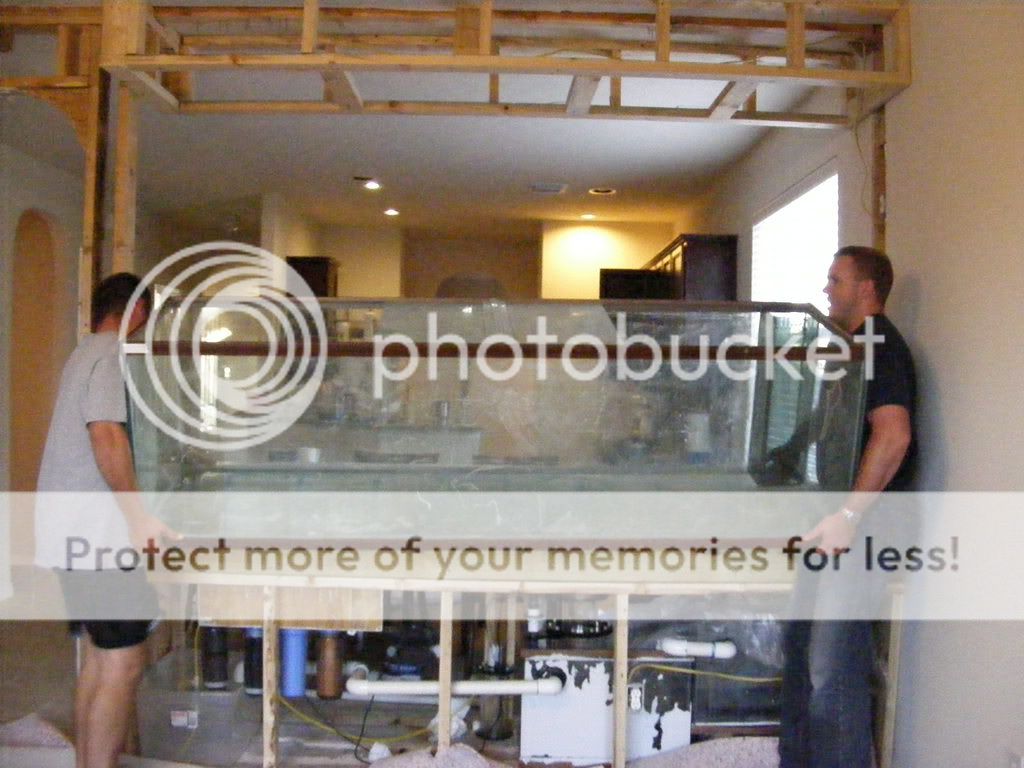
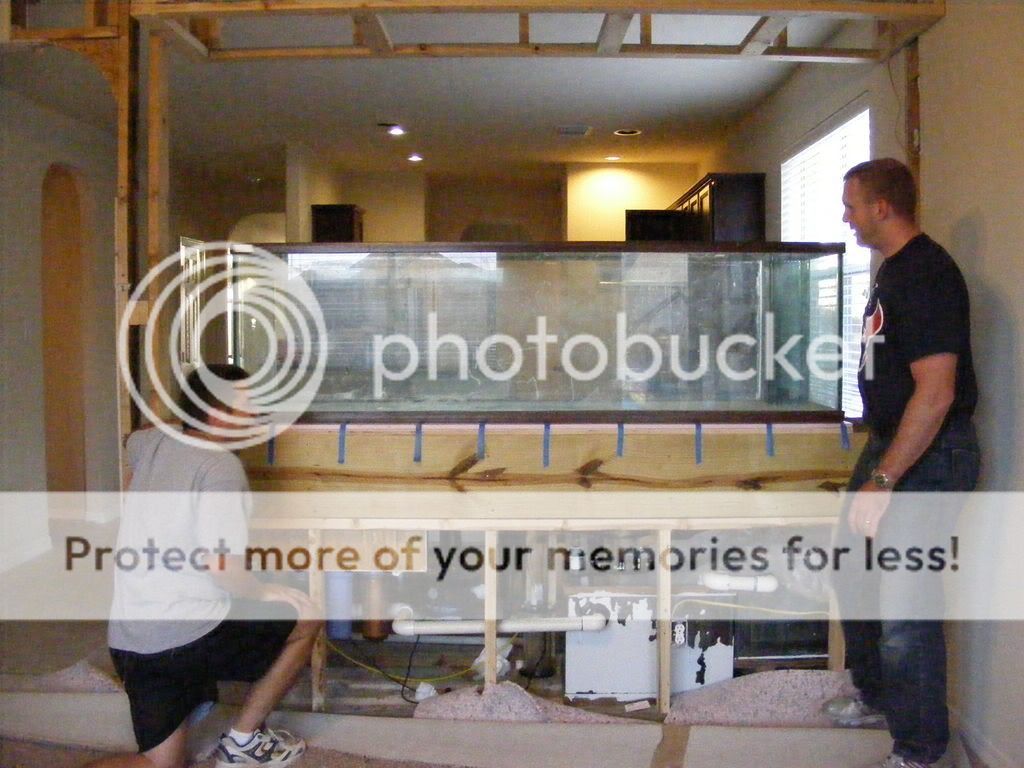
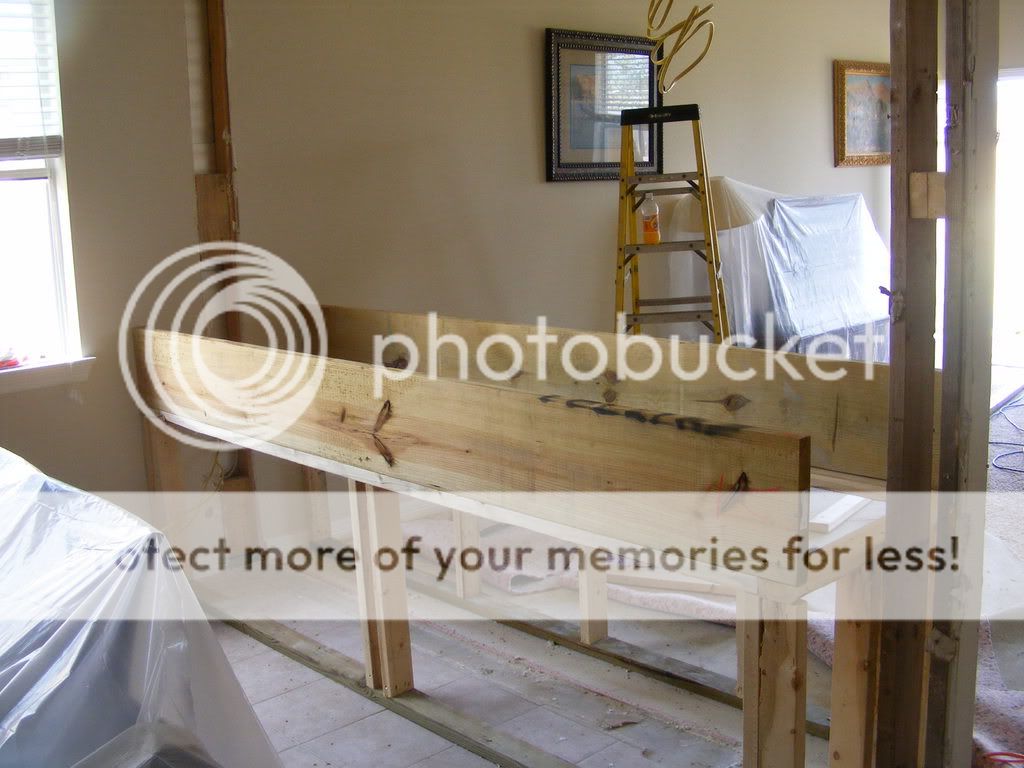
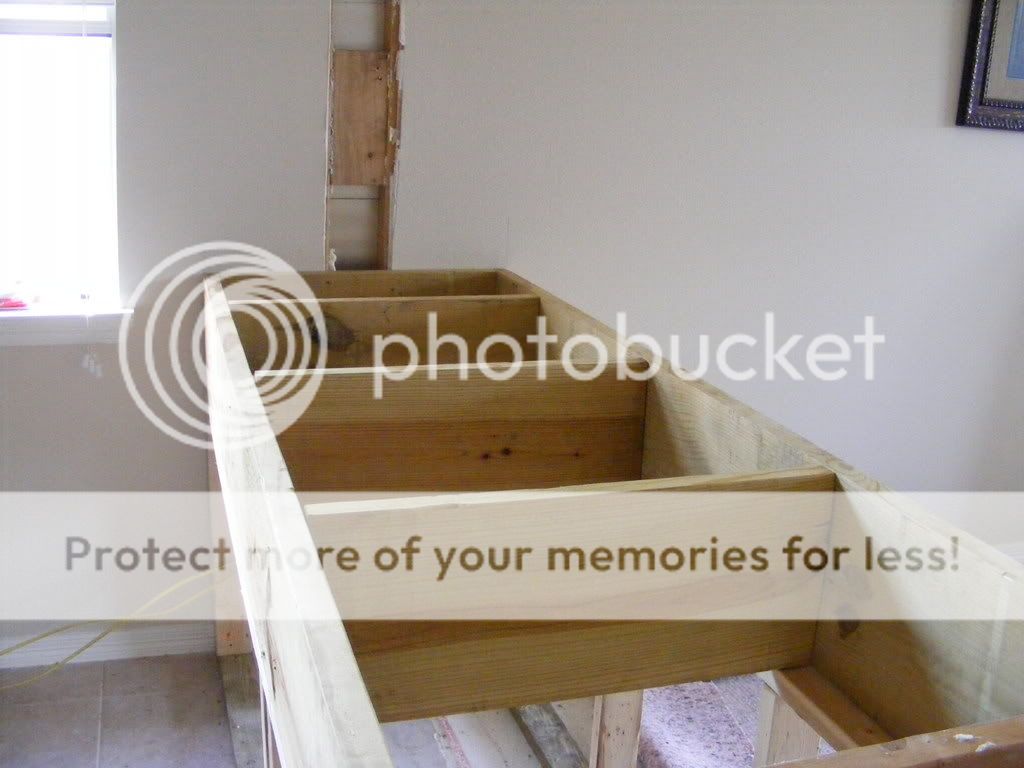
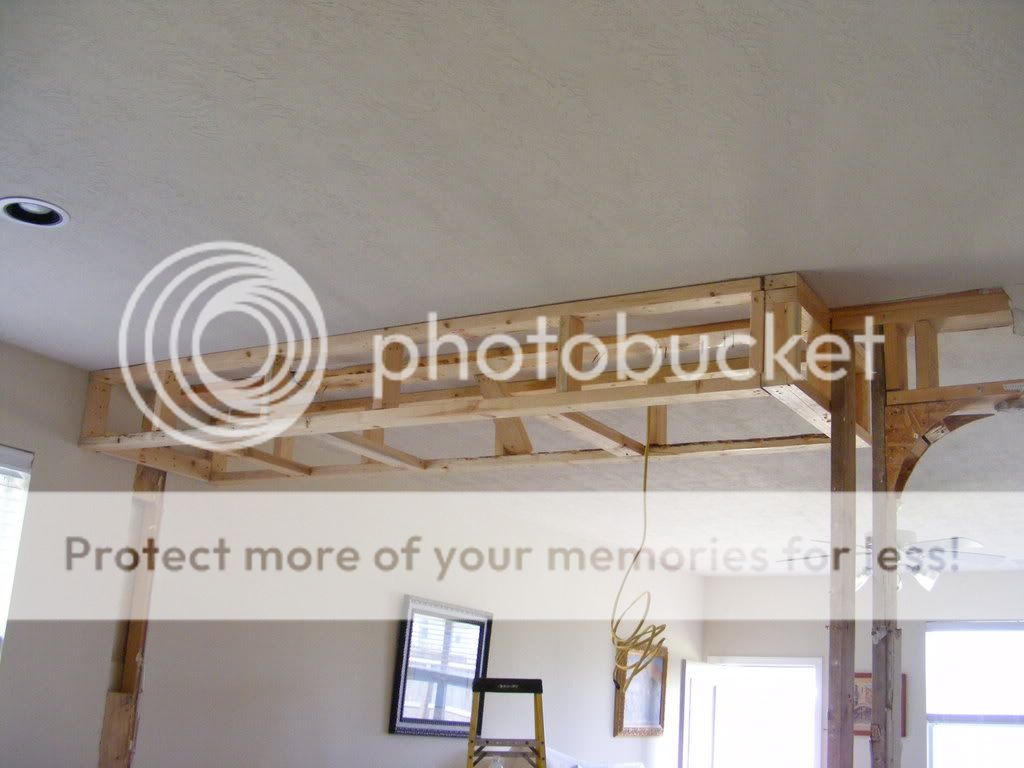
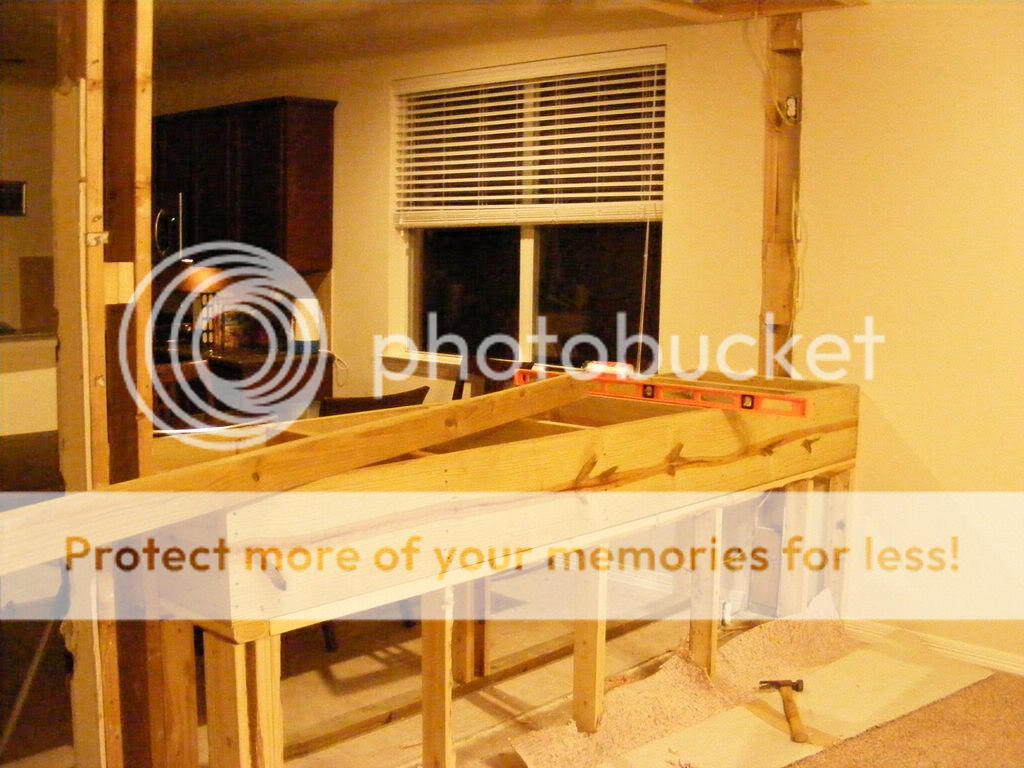
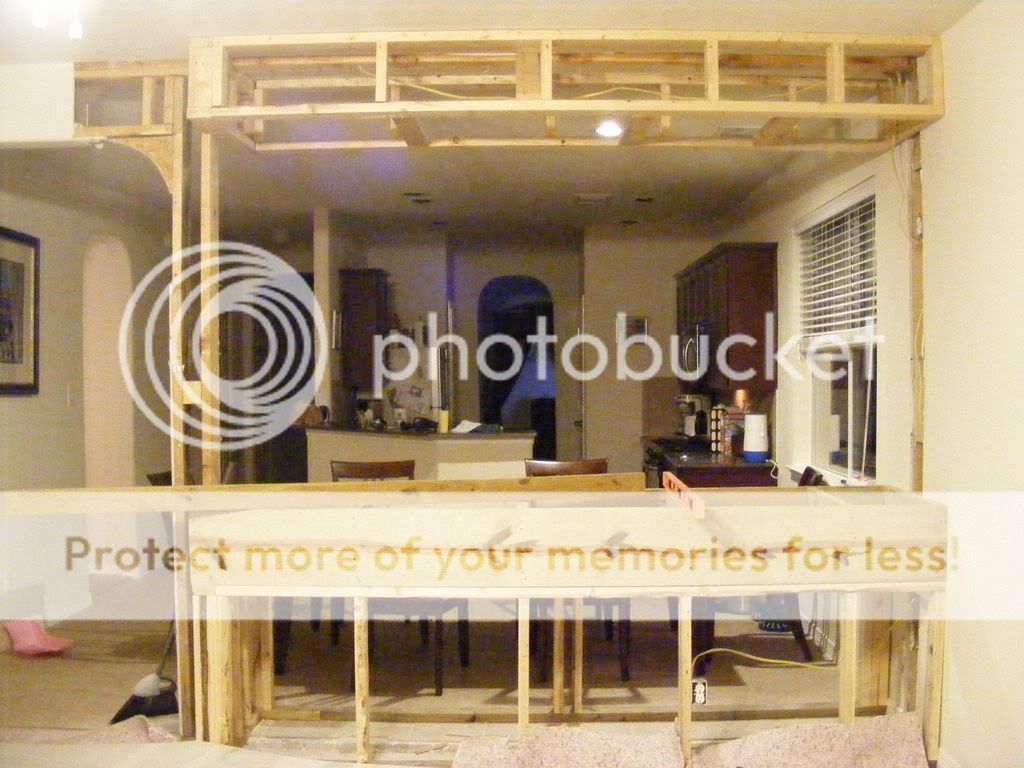
Once we got the wall and wiring out of the way, it was time to start building the stand portion of the new wall. When I decided to build it strong enough to hold a tank I decided not to split hairs about whether it was a reef tank or a sherman tank that I had in mind so it's all a bit overdone.

2007_111010-31-070008.jpg


2007_111010-31-070009.jpg


2007_111010-31-070007.jpg


2007_111010-31-070012.jpg


2007_111010-31-070011.jpg


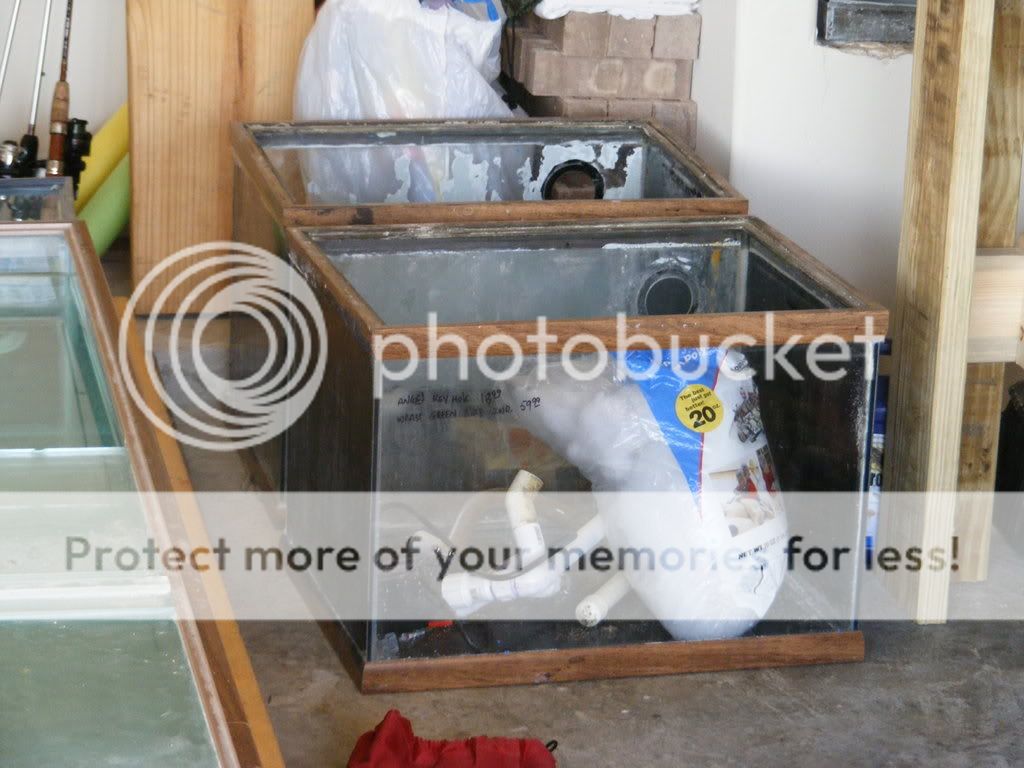
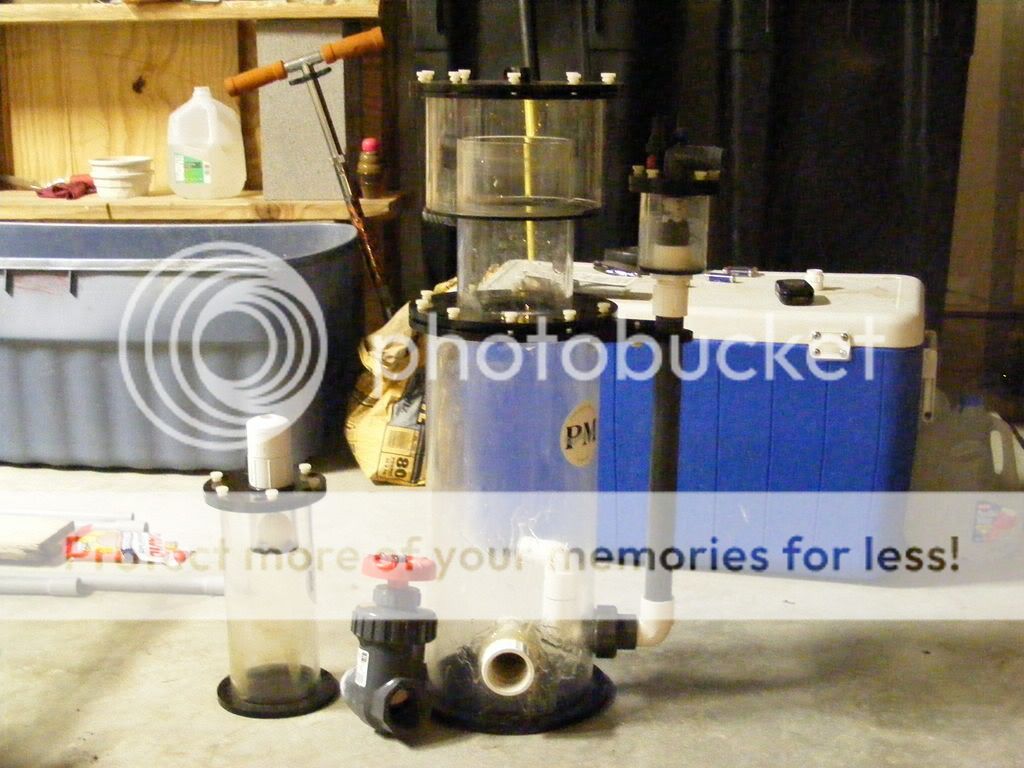
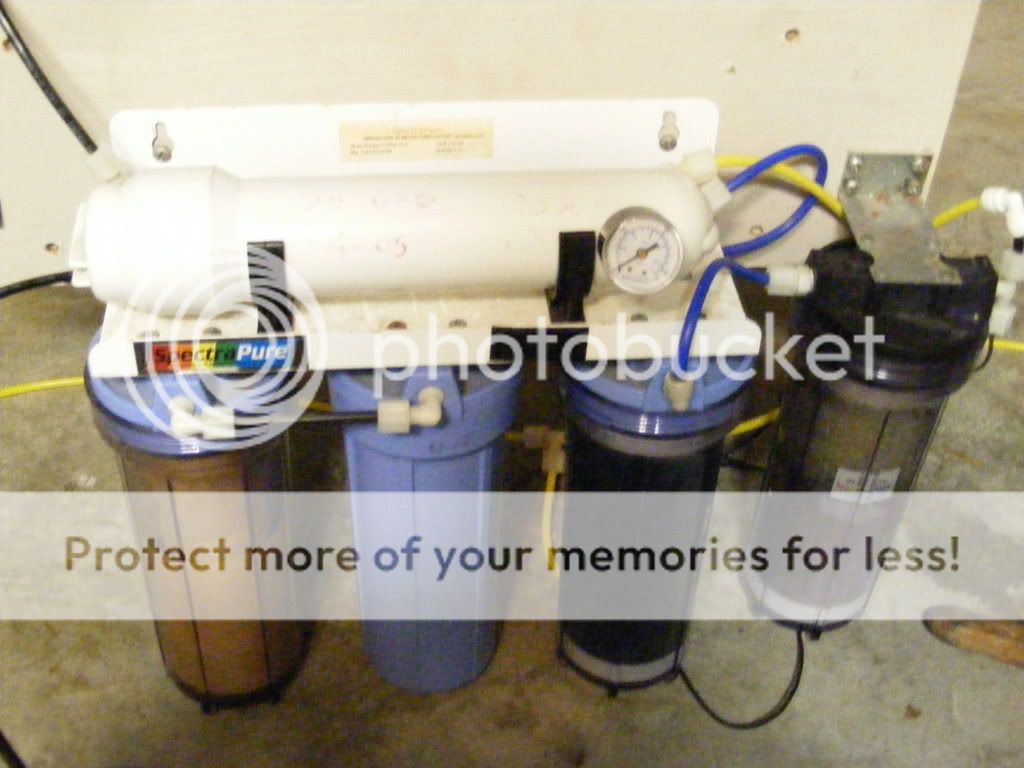
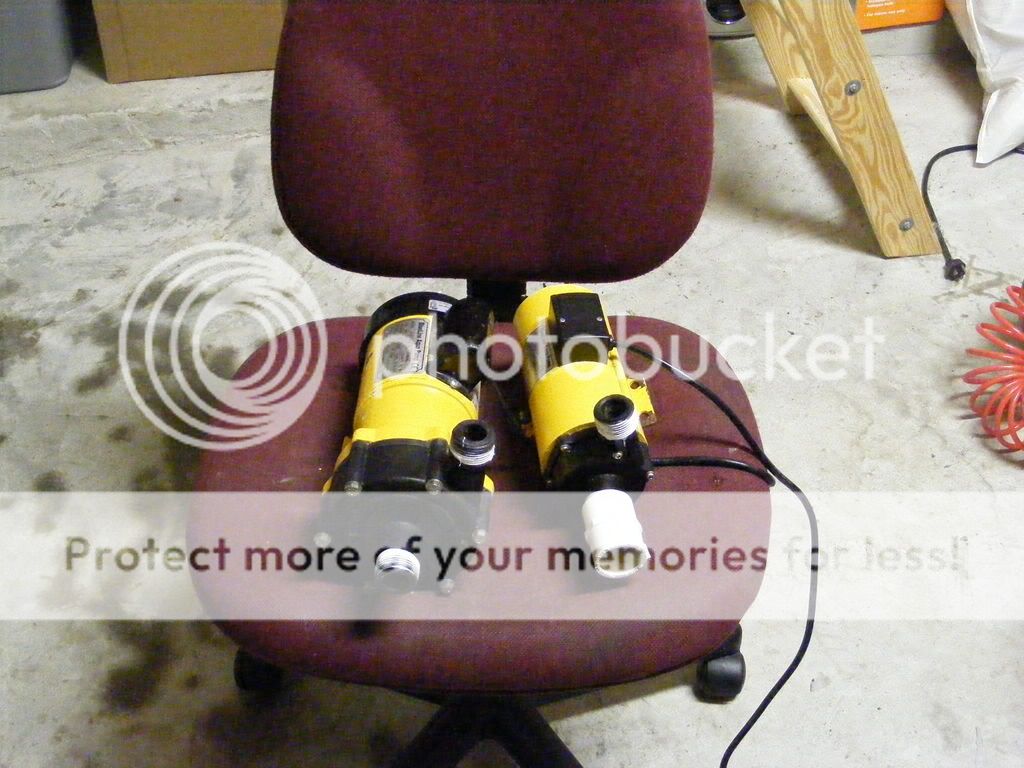
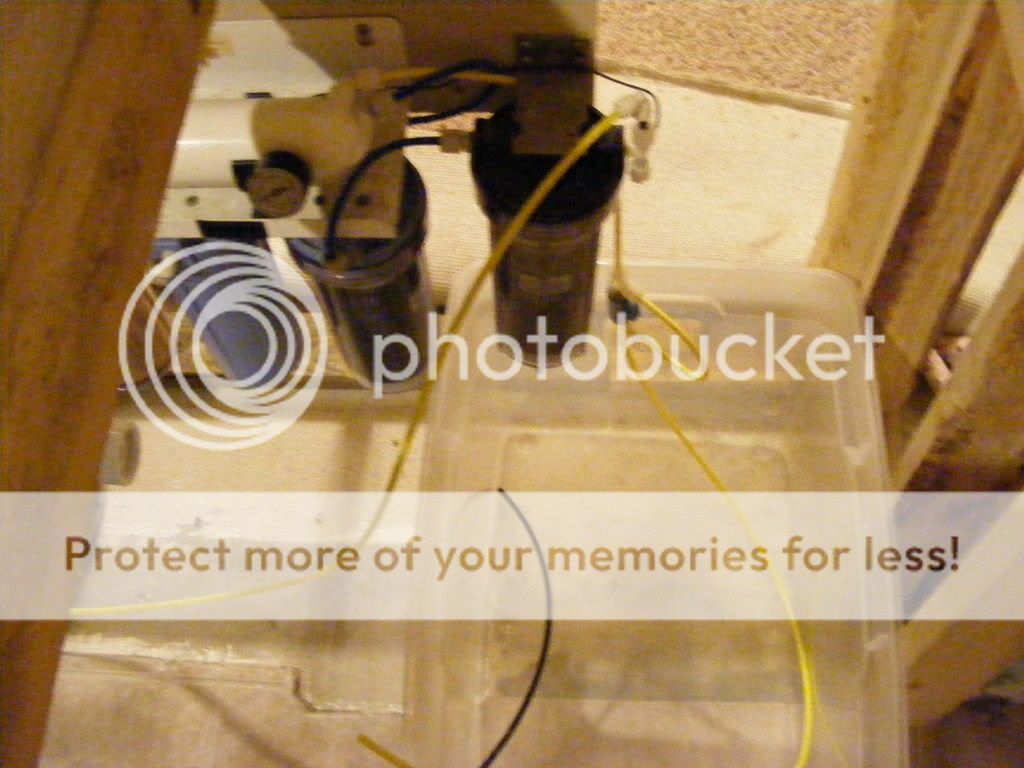
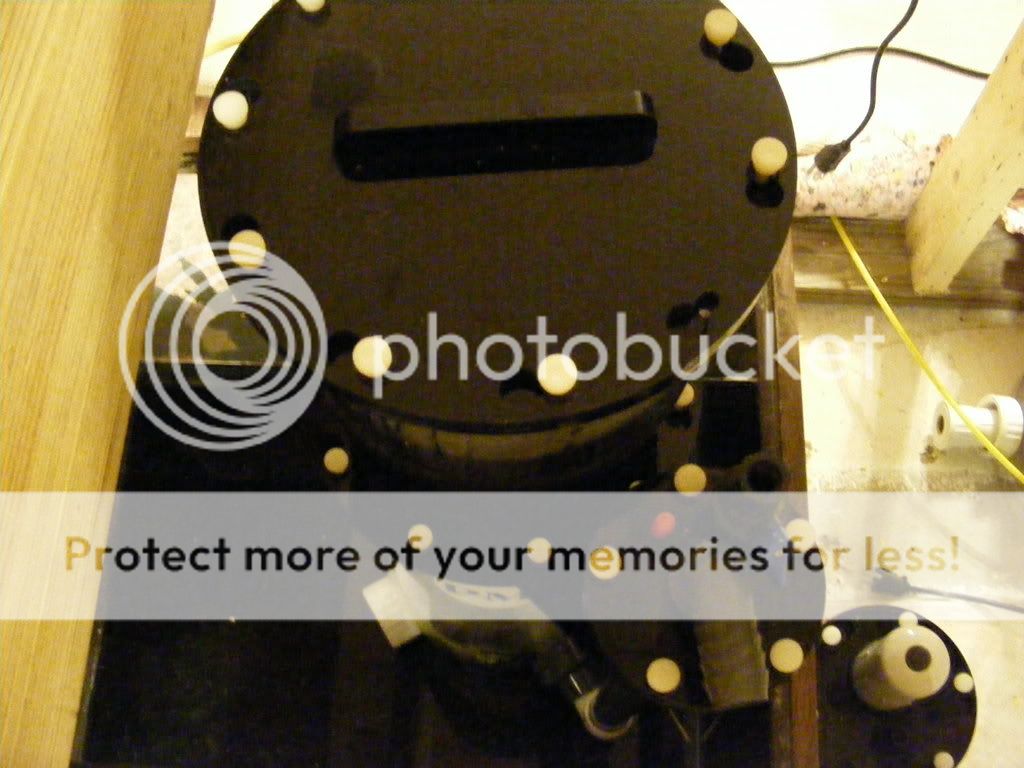
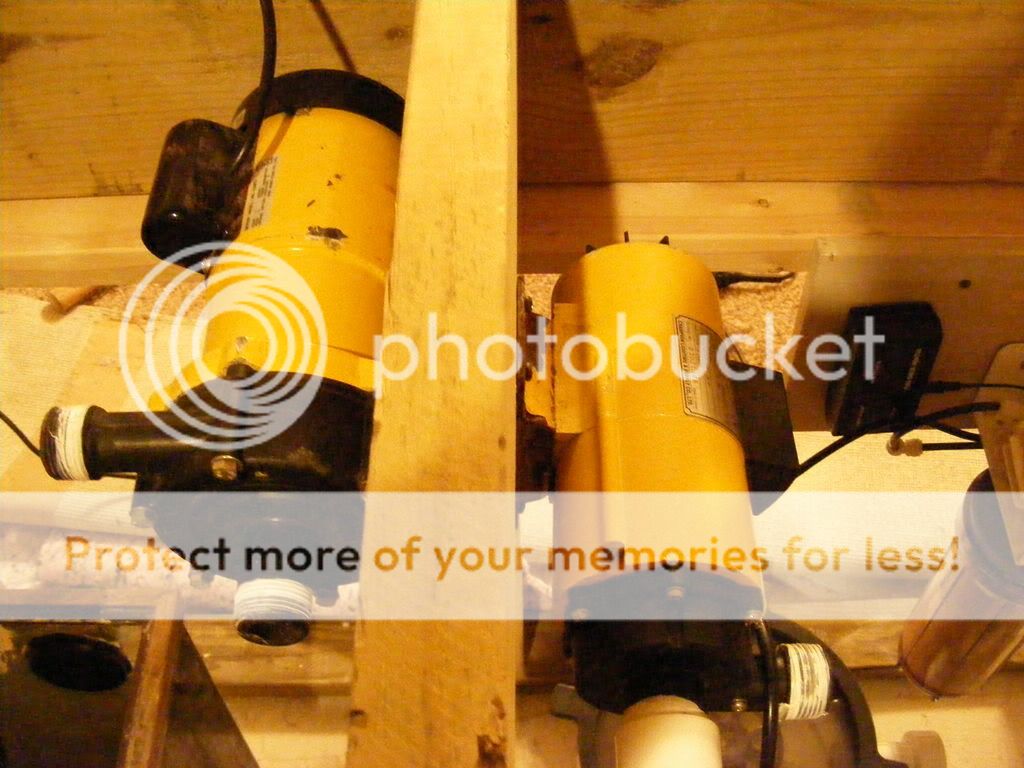
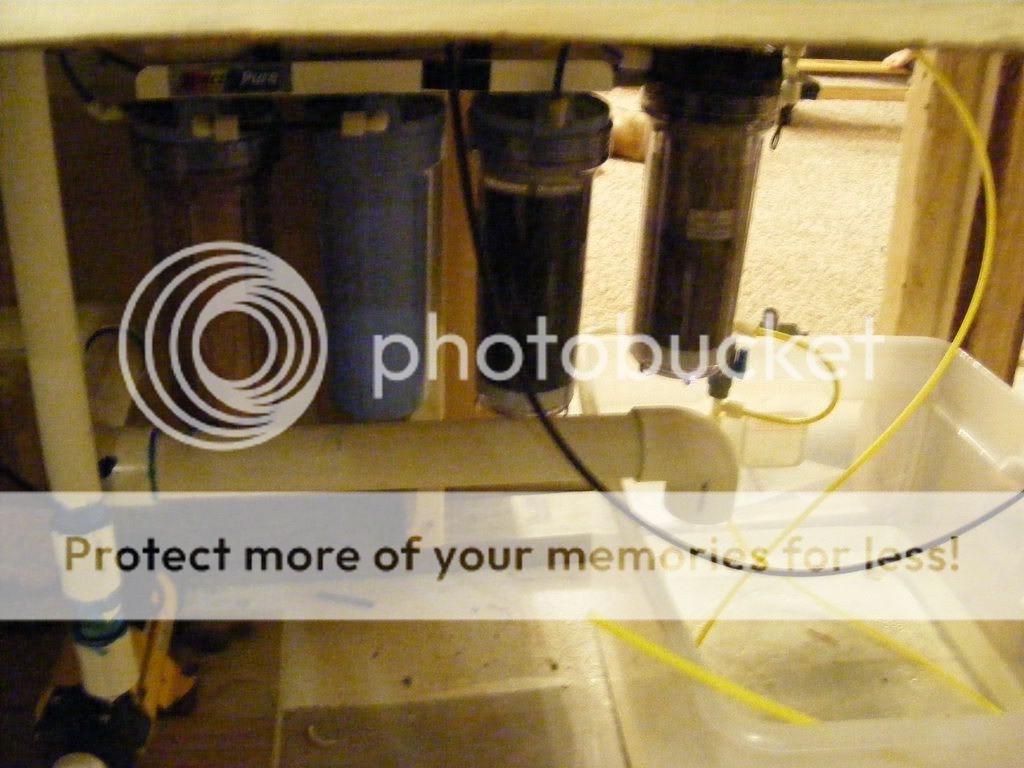
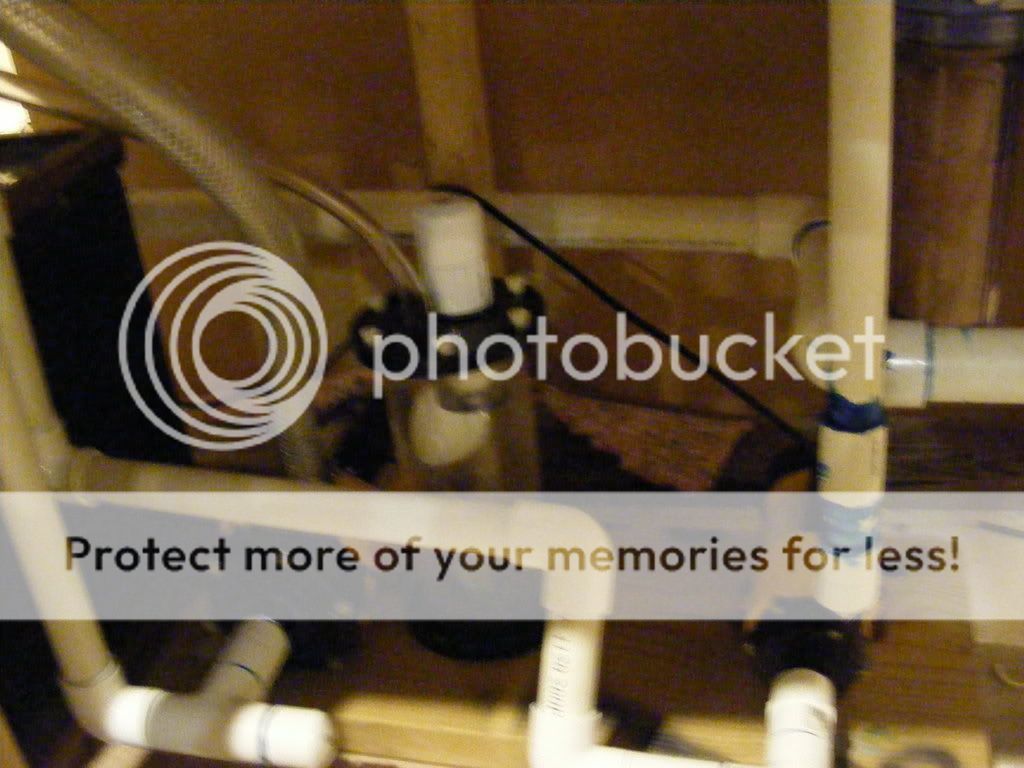
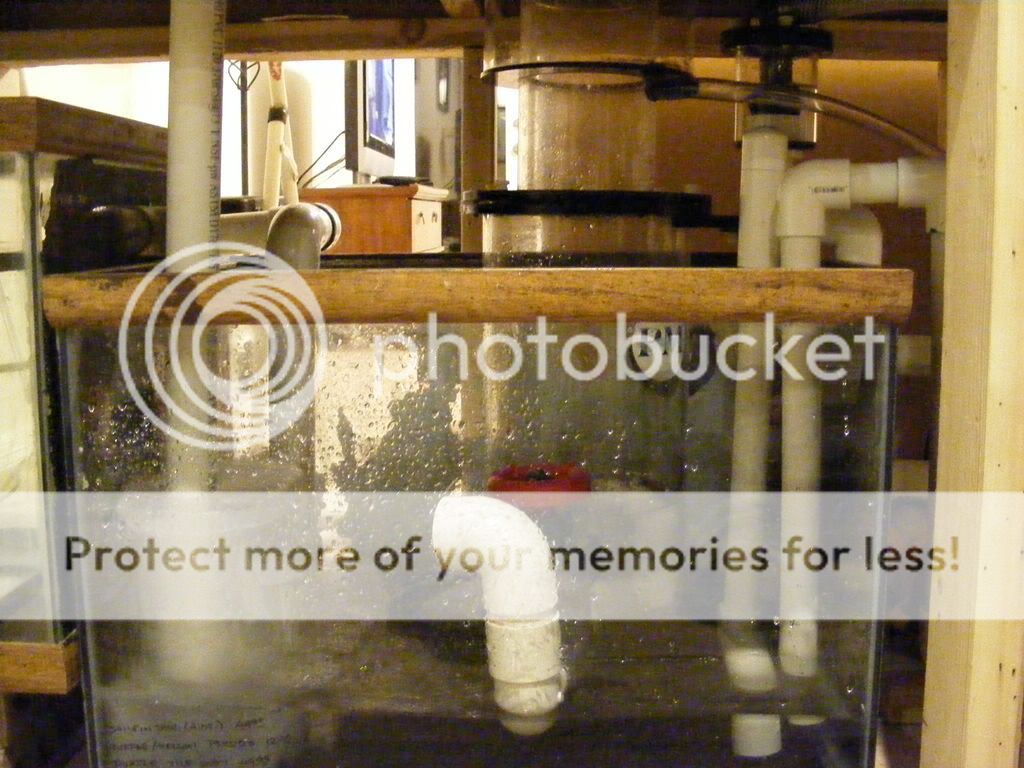
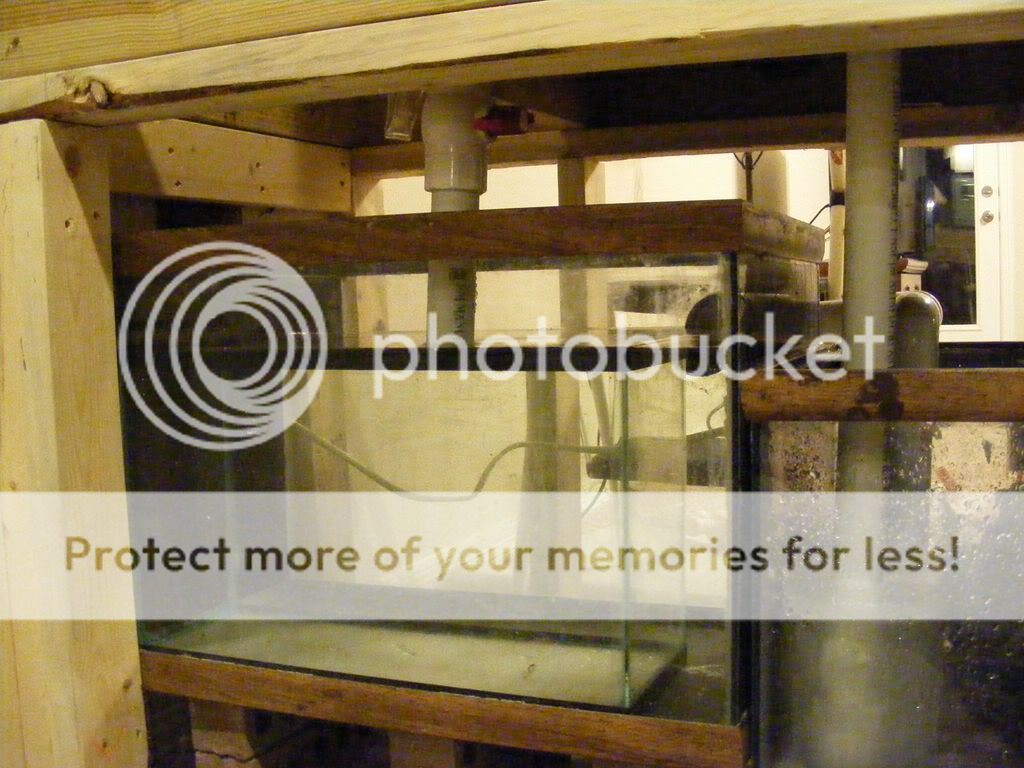
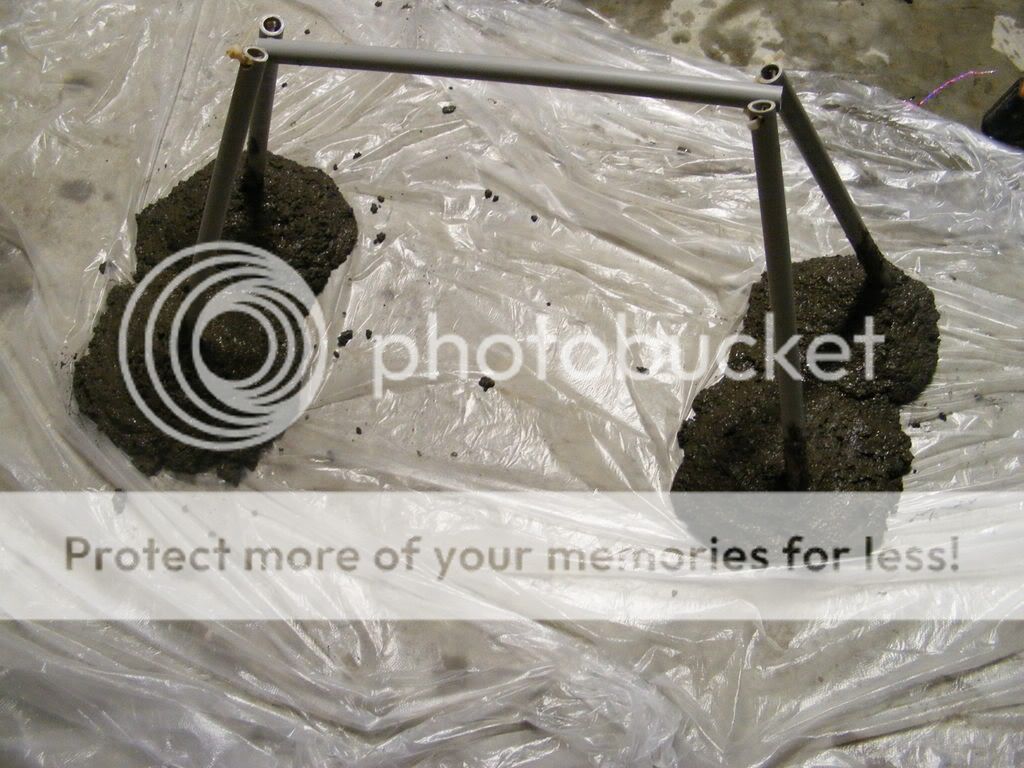
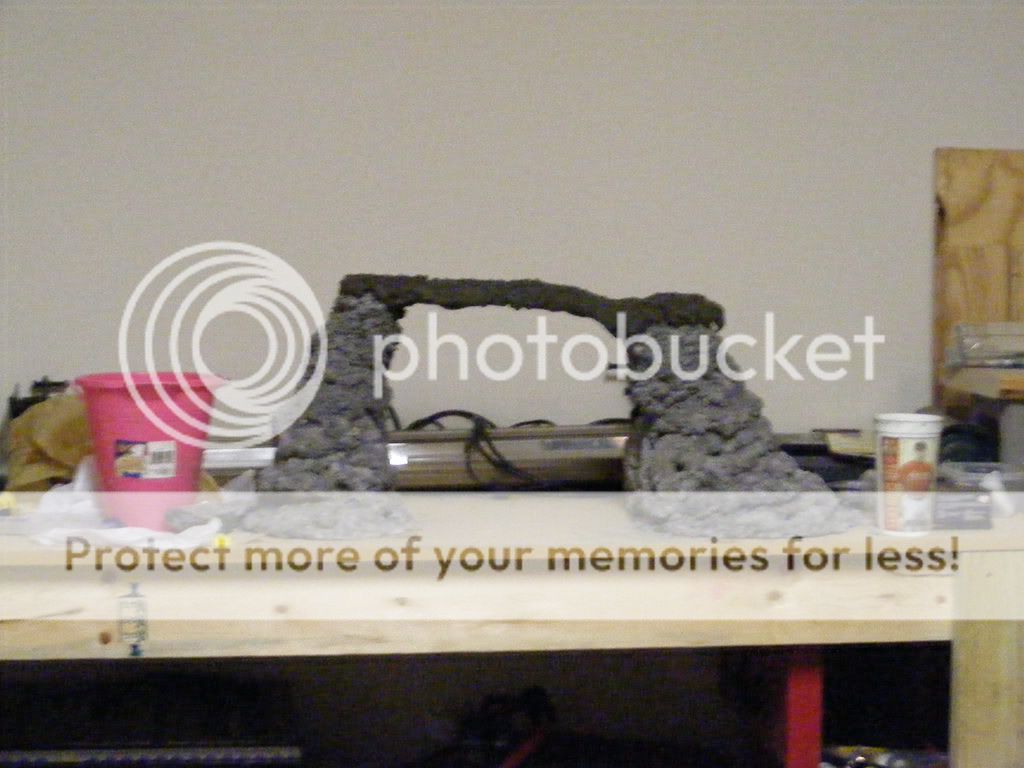
On the next post I will show some shots of the equipment and taking going in and at least one of my very bad ideas.
 

jhand

Guest
Joined
Oct 4, 2006
Messages
300
Reaction score
0
Location
Clear Lake
Heavy duty for sure, good looking carpentry work! How long have you been working on it?
 
OP
OP
R

rking77573

Guest
Joined
Oct 17, 2007
Messages
92
Reaction score
0
Location
League City, TX
It's been mostly done for a long time now. I've taken this opportunity to work out my newly acquired patience muscle. Who knew that we all came equipped with one of those. The tank is in presentable form now... these pictures are just from the beginning. I'll post some more here in a few.
 
OP
OP
R

rking77573

Guest
Joined
Oct 17, 2007
Messages
92
Reaction score
0
Location
League City, TX
Ok, dinners over and it's time for some more pictures. There are some shots of the original equipment going in and of course some pictures of the tank in place and the finish carpentry/drywall, but I'll also post a couple of shots of some really bad ideas that I had along the way.

Here's a shot of a couple of 30g tanks I picked up from City Pets for $5 each and decided to use as a sump and refugium. The refugium i still love, but the sump is an idea that's not working well. I have a 55g in the garage thats about to get some baffles for a new sump.

2007_101310-18-070124.jpg


Next are pictures of the original skimmer, rodi unit, and pumps that I bought off of the used equipment forum here way back when.

2007_110810-31-070001.jpg


2007_110810-31-070004.jpg


2007_110810-31-070003.jpg


EmergencyOverflow.jpg


Skimmer.jpg


Overallviewfromrear.jpg


And here is the first of my very bad ideas. Even though I have 24 square feet of space under the tank, I decided to maximize my space by mounting the pumps on either side of one of the 2x12 joists. Obviously, I hadn't considered how the pumps would stay primed in the event of a power outage. Luckily the only thing that was damaged was my pride.

Pumps.jpg


Here are a few shots of the tank finally coming home. It spent some years in a storage room in college station, then several years in a garage, and a few months stashed behind our couch before we moved into the house, and finally a couple of months again in a garage before it came inside.

2007_111410-31-070001.jpg


2007_111410-31-070002.jpg


2007_111410-31-070003.jpg


And then there are some pictures of my less than well planned plumbing set up. Notice the complete lack of unions or any way of reliably disconnecting a pump for maintenance.

2007_111410-31-070005.jpg


2007_111410-31-070006.jpg


2007_111410-31-070008.jpg


2007_111410-31-070009.jpg


On the next round of photos I will show the next (I'm sure it won't be the last) of my bad ideas. This one actually caused me problems for several months before I gave up.
 
OP
OP
R

rking77573

Guest
Joined
Oct 17, 2007
Messages
92
Reaction score
0
Location
League City, TX
So..... the next bad idea that I had was to attempt some DIY live rock. I've read of several people who had decent, good, or even great results with making their own rock but my results definitely varied. I wanted to create a "nice" arch piece for the center of the tank that you could look through to the other side. Due to the material I was working with and very possibly also my lack of experience the "nice" piece became more like... I can live with that I guess. I really just loved the idea of being able to make live rock more affordable for a budget project. In the end it didn't work for me. The piece was massive and formed in 3 different sections. It probably weighed around 120 pounds total and even after "curing" it in fresh water with daily water changes the thing constantly left an odd film on nearly everything around it. I had nearly convinced myself that it was something wrong with my water quality... or maybe I needed a new RO membrane or a laundry list of other potential culprits because I just didn't want to admit defeat. In the end Travis talked sense into me and we pulled the giant monstrosity out. Imagine my total lack of surprise when corals stopped dying and the water cleared up within a week. Needless to say, I've given up on the idea of DIY rock. In the end the savings are not all that great in the first place, so I just decided to put natural rock back into the system. Here are a few pictures of the failed experiment.

2007_101310-18-070125.jpg


2007_101310-18-070127.jpg


2007_101310-18-070158.jpg


You will also be able to see some pictures of it in the tank. It didn't turn out at all like I wanted, but I had to show it anyway. Next are some shots of the trim going up around the tank and us getting prepared to finish it.

2007_111410-31-070010.jpg


2007_112410-31-070001.jpg


2007_112410-31-070002.jpg


2007_112410-31-070001-1.jpg


On the next post I'll show some shots of the doors on it and the finished product painted. Unfortunately, I'm already planning on changing the trim on the family room side when we put the wood floors down. Good enough never seems to actually be good enough for me for some reason.
 

tmgrash

Guest
Joined
Oct 17, 2009
Messages
770
Reaction score
0
Location
League City
You did leave that monstrosity in there quite a bit longer than my liking! But, its not my tank. Tank looks MUCH better now.


Travis
 
OP
OP
R

rking77573

Guest
Joined
Oct 17, 2007
Messages
92
Reaction score
0
Location
League City, TX
More Pictures

Ok here are some more shots of the tank as the trim was being finished.

2008_012410-31-070117.jpg


2008_012410-31-070118.jpg


And with the walls and trim painted. One side is white to fit with the colors in the family room, and the other side is a chocolate brown to match our kitchen cabinets, table etc. I like the colors, but in reality I had no say whatsoever in the color it was painted. At this point it impacted my wife's house and she wasted no time in letting me know my boundaries.

2008_012410-31-070234.jpg


2008_012410-31-070244.jpg


2008_012410-31-070245.jpg


DSCF1015.jpg


Here is a full tank shot of it recently. I don't have much in the way of camera skills, but I'm trying. I've also got a hundred pictures of rocks/corals/fish that I keep taking because I cant seem to make it look quite right.

DSCF1165.jpg


It looks like the new sump will be a project for tomorrow. I'm just to lazy to work much on a day off.
 
OP
OP
R

rking77573

Guest
Joined
Oct 17, 2007
Messages
92
Reaction score
0
Location
League City, TX
Working on the new redneck fabulous 55g converted into a sump. I'll post pics of it later when its "finished" and some current full tank shots as well.
 
OP
OP
R

rking77573

Guest
Joined
Oct 17, 2007
Messages
92
Reaction score
0
Location
League City, TX
4 of 5 baffles are in. If I could find a way without removing the spacers under 2 of the baffles, I'd be done with it. Unfortunately, patience is not a virtue I was ever graced with so I'm pacing back and forth in front of the thing trying to keep myself from messing with it and having to start over when the silicone breaks free. Grr.
 
OP
OP
R

rking77573

Guest
Joined
Oct 17, 2007
Messages
92
Reaction score
0
Location
League City, TX
The sump is complete. We used the latest in innovative hydrodynamic design and the absolute cutting edge in silicone adhesion technology to create this bad boy. Please hold your applause until after the presentation.

DSCF1045.jpg


Since the sump didn't exactly require all of my time today, I was coerced into a trip to IKEA this morning. Did anyone else realize they serve food in that place? It's not bad either. I was simply amazed with that place and I'm currently trying to forget how dangerous it is that my wife now knows it's exact location. (Way out on the west side isn't gonna fly anymore) While we were there we picked up a table top that would be perfect for a bar height type table for the family room side of the tank wall. What tank would be complete without a place to rest your beer.... and chips..... and guacamole.... and....?!?!?

Anyway... Here are a couple of shots of the thing going in and as you can see in the second photo.... the stools we bought just don't quite cut it. We will have to return to garden ridge in the morning (lord have mercy on me) and exchange them for taller models.

DSCF1044.jpg


DSCF1048.jpg


Full tank shots will have to wait until tomorrow evening when I can hopefully get the new sump in and get rid of those insane microbubbles. I hate those things with a passion I didn't know I was capable of. Well I guess there is a tank shot involved with both of the pics but it looks like hell and I'm desperately trying to fix that.

Have a good evening.
 

tmgrash

Guest
Joined
Oct 17, 2009
Messages
770
Reaction score
0
Location
League City
Those baffles look better than I was expecting. I do like that table, cant wait to have a beer on it.
 
Top